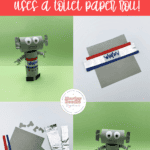
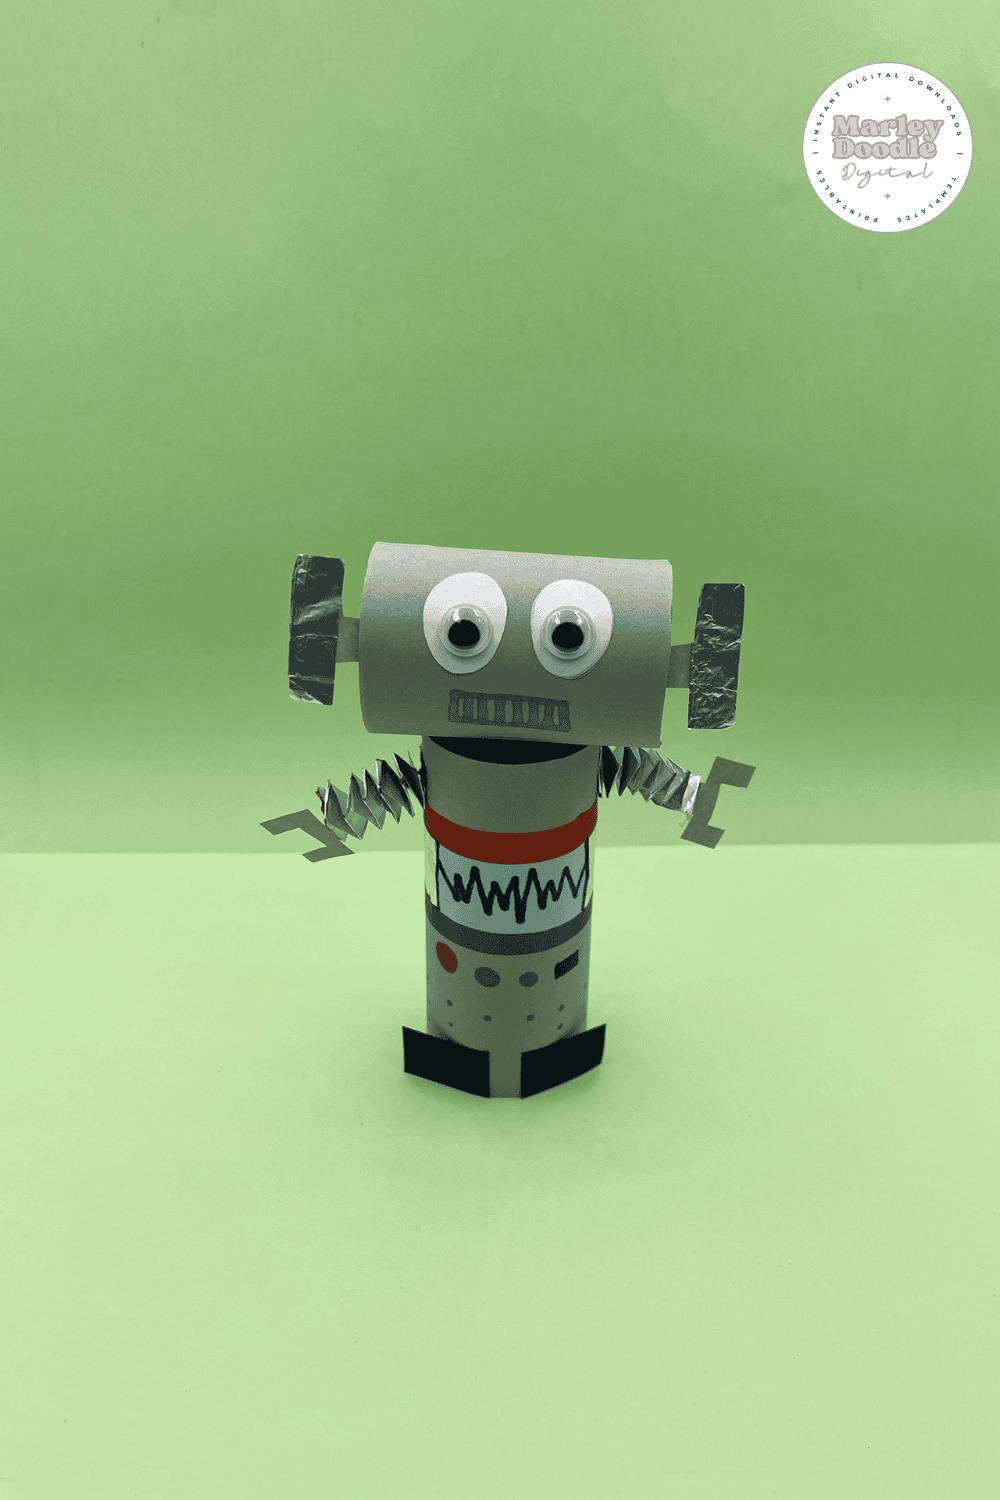
Fun Toilet Paper Roll Robot Craft for Kids


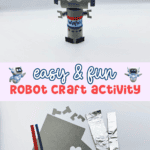

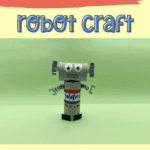


Looking for a simple and super fun activity to keep little hands busy? This Easy Robot Craft for Kids is the perfect DIY project. Just grab an empty toilet paper roll and a few basic supplies, and you’re ready to create your very own robot buddy! Also makes a great addition for those learning about space, the solar systems, and planets.
Love Marley Doodle Digital?
Make us your preferred source on Google so our posts, printables, and guides show up first when you search. One tap and you’re set — it’s free and it helps us so much.
There are affiliate links in this post – please read my full disclosure policy. As an Amazon Associate, I earn from qualifying purchases.
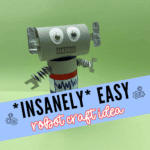
Whether you’re crafting with preschoolers or planning a quick rainy-day activity, this robot craft is an easy, mess-free way to keep kids entertained. With our free printable template and a few basic supplies, you’ll turn everyday items into an adorable robot that is fun to make and offers hours of play time.
Be sure to also see this Easy DIY Toilet Paper Roll Rocket Craft for Kids.
🌟Don’t Leave Before You Check Out These Fun Ideas!🌟
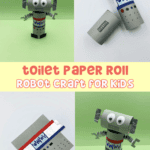
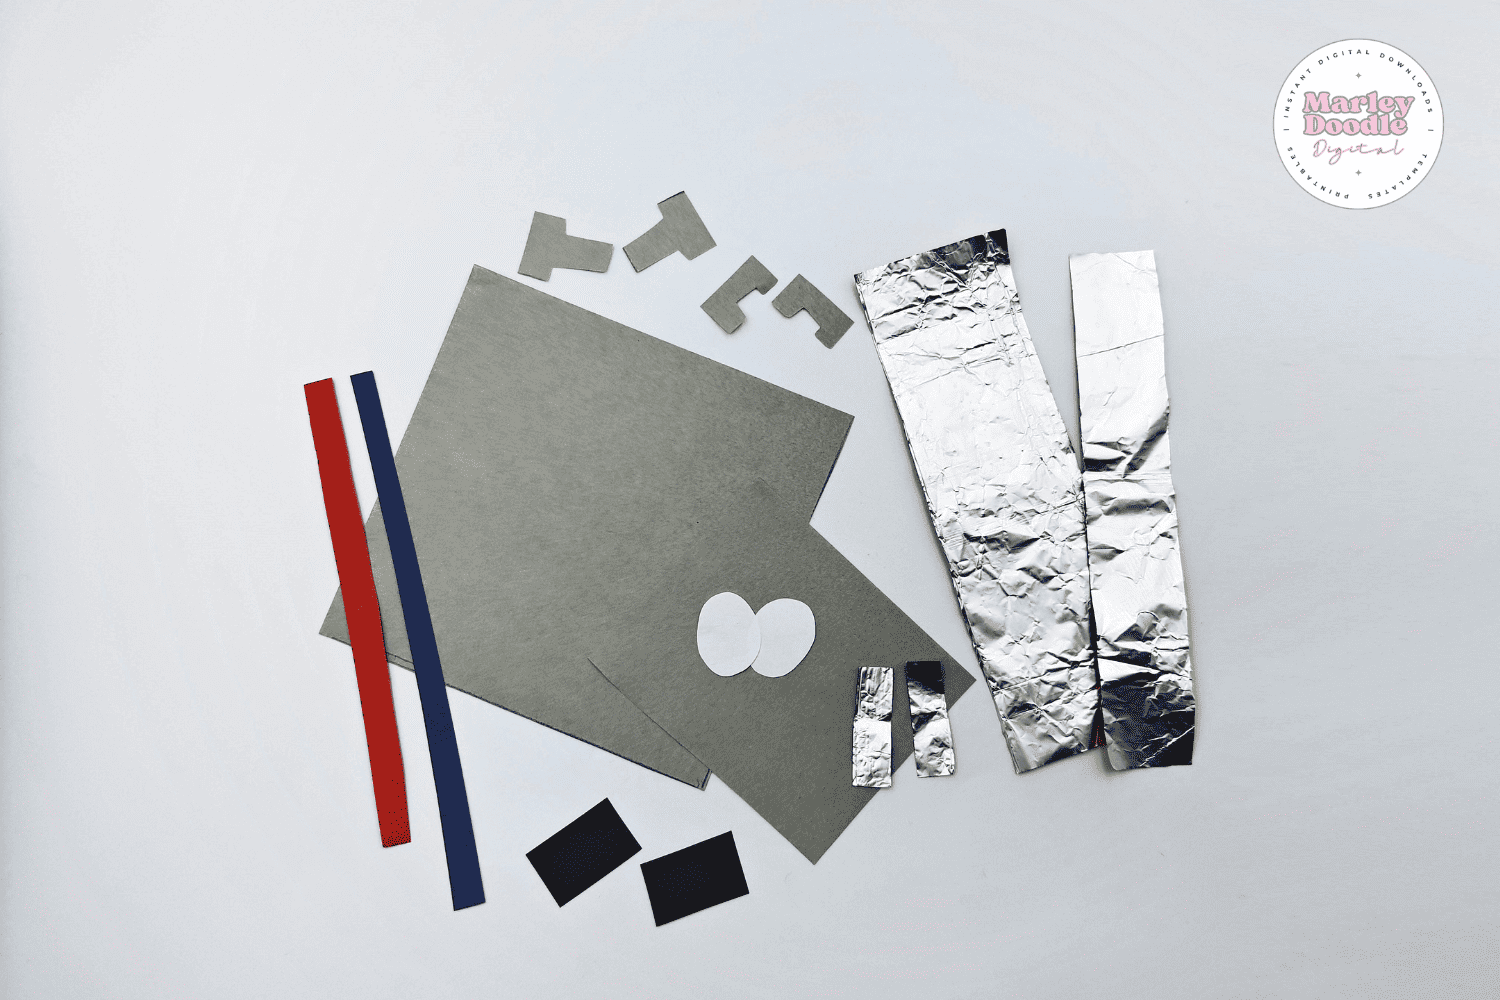
📌What You’ll Need
- Toilet Paper Rolls
- Construction Paper
- Foil Paper or aluminum foil
- Pencil
- Scissors
- Glue
- Ruler
- Markers or crayons
- Free printable template

✨How to Make a Robot Craft
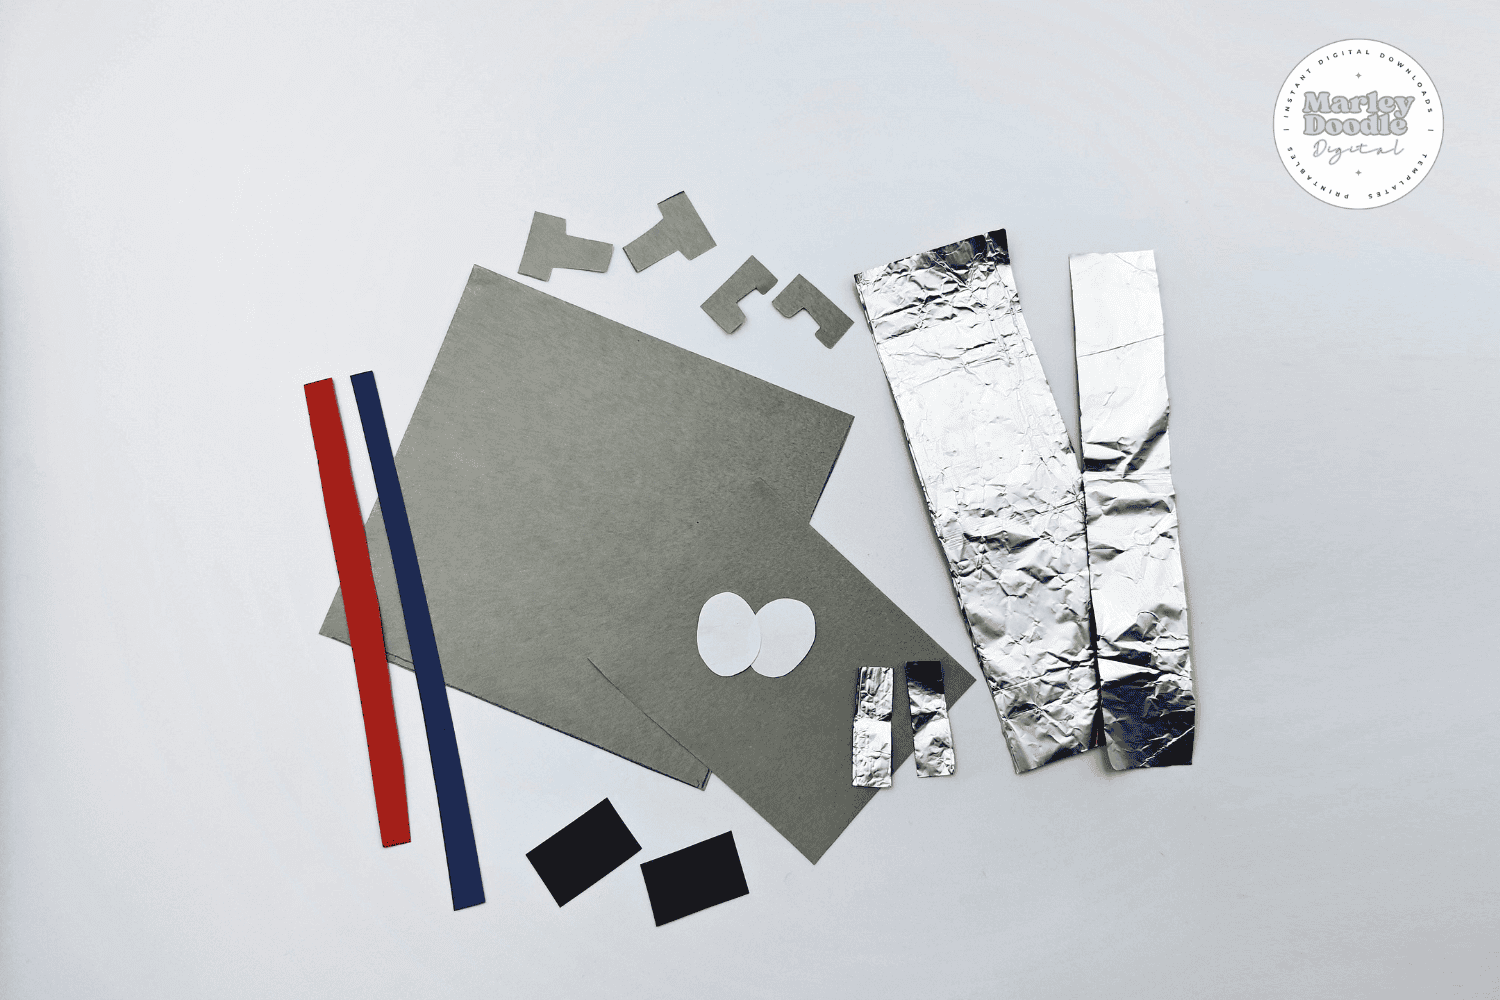
STEP 1: Download and print the free robot craft template. Use it to trace and cut out the shapes from colorful construction paper and foil paper. The template sheet is numbered so you can match the pieces up.
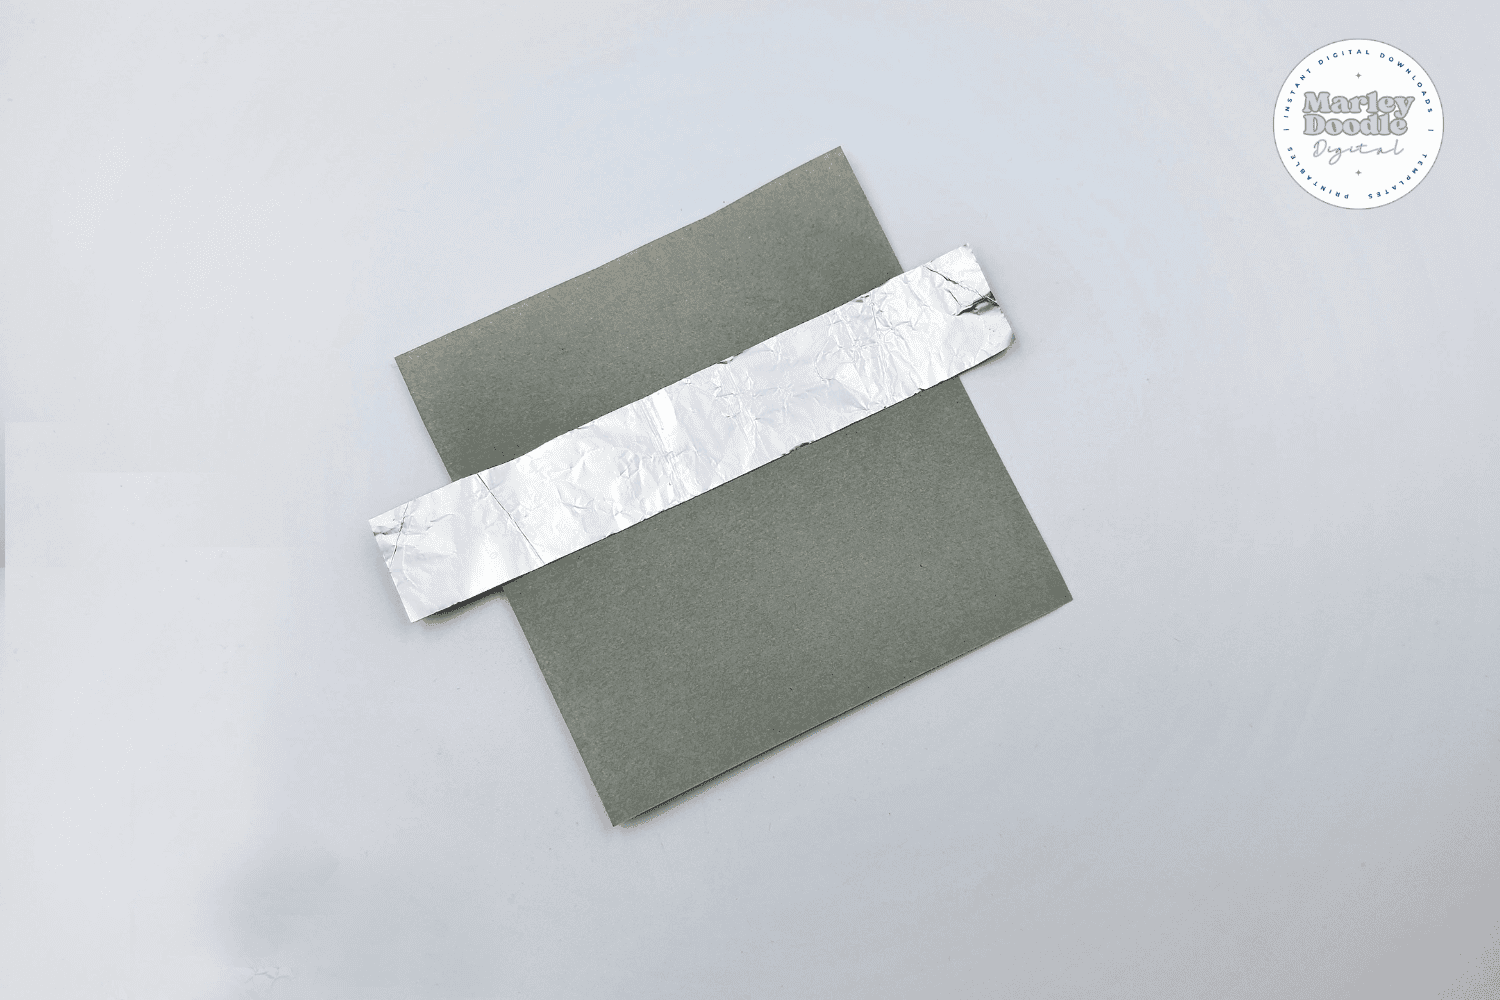
STEP 2: Start by gluing a long strip (2) of foil onto the square body piece (1). This creates the robot’s center panel.
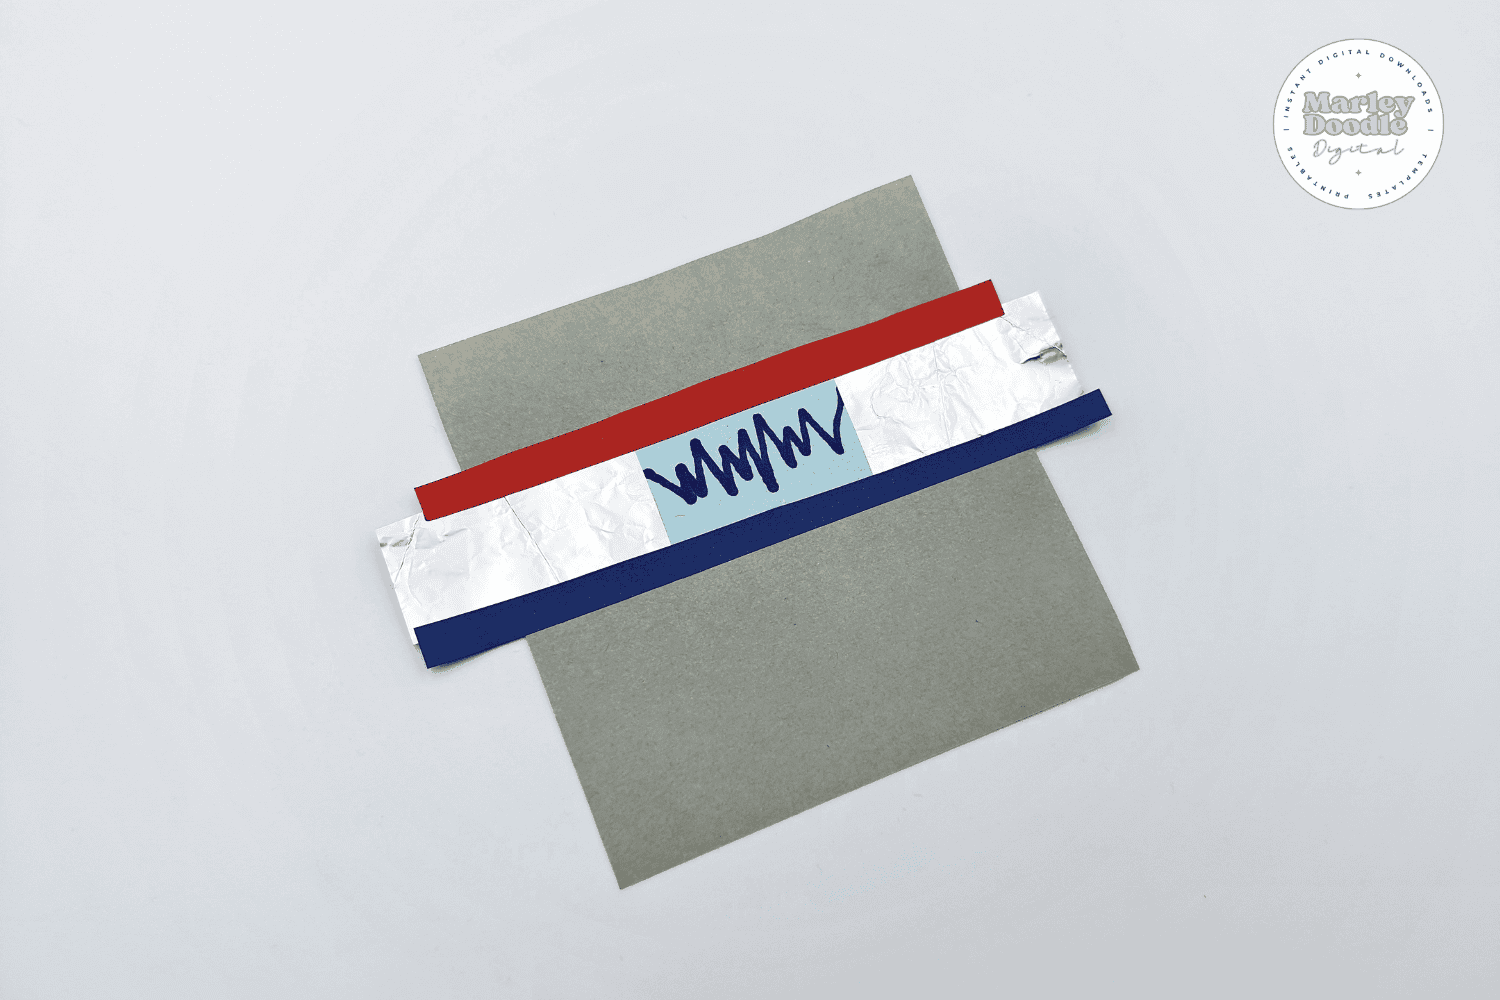
STEP 3: Glue the (3) red and blue strips horizontally on either side of the foil piece. Then attach the (4) light blue rectangle in the center and draw a fun zigzag line across it.
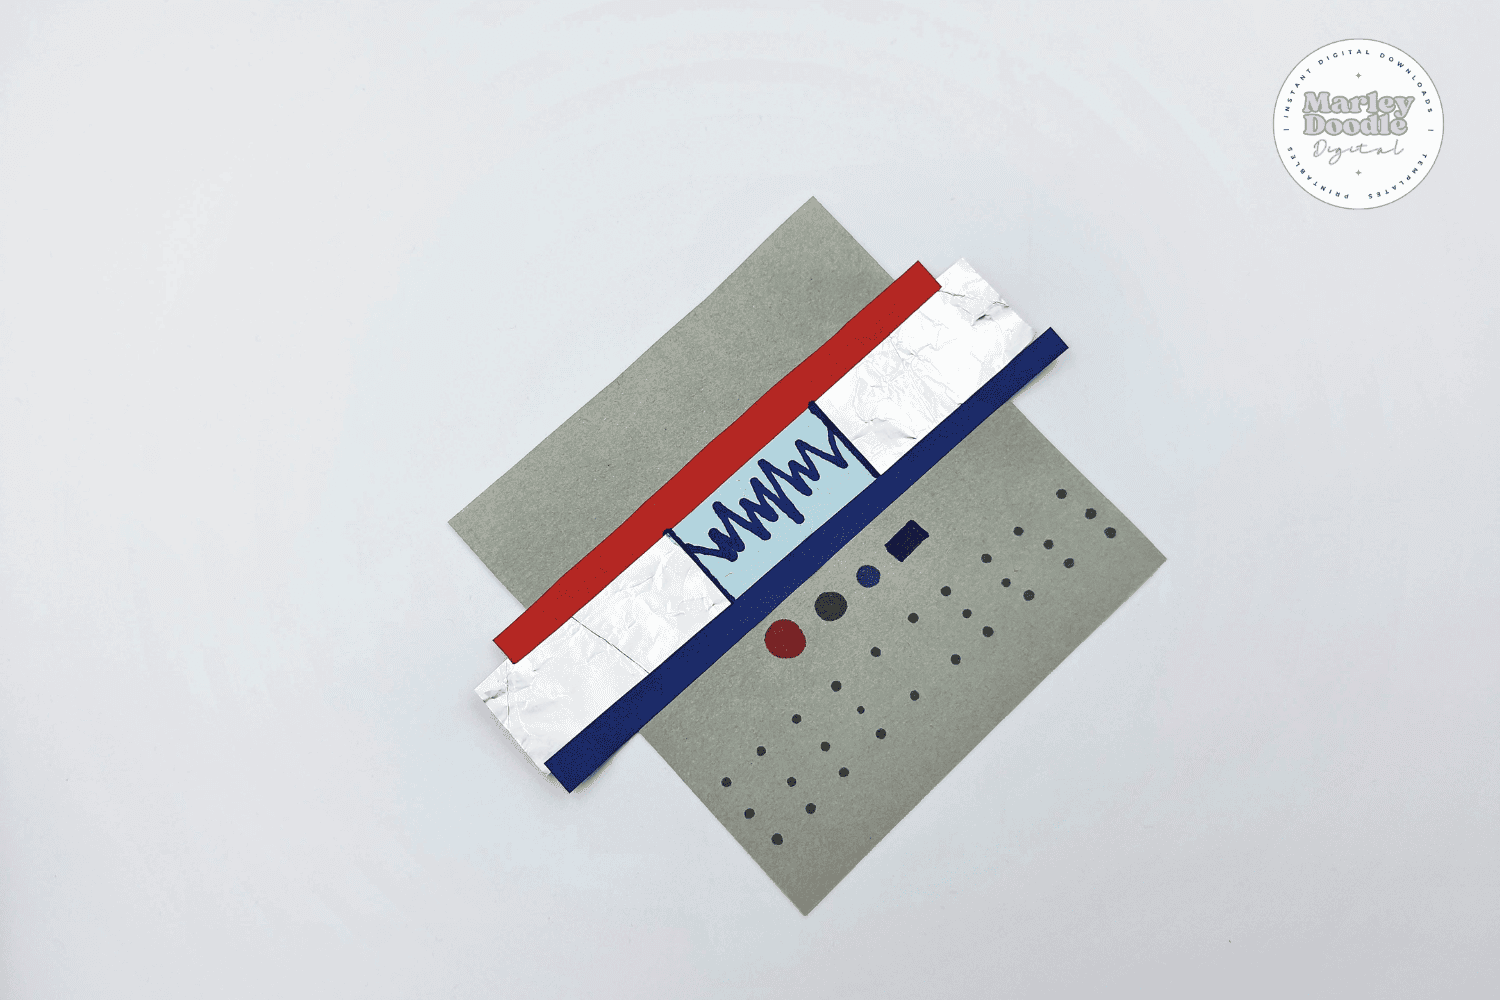
STEP 4: Use markers to draw extra details like buttons, screws, or dials on the body panel. Let kids get creative here!
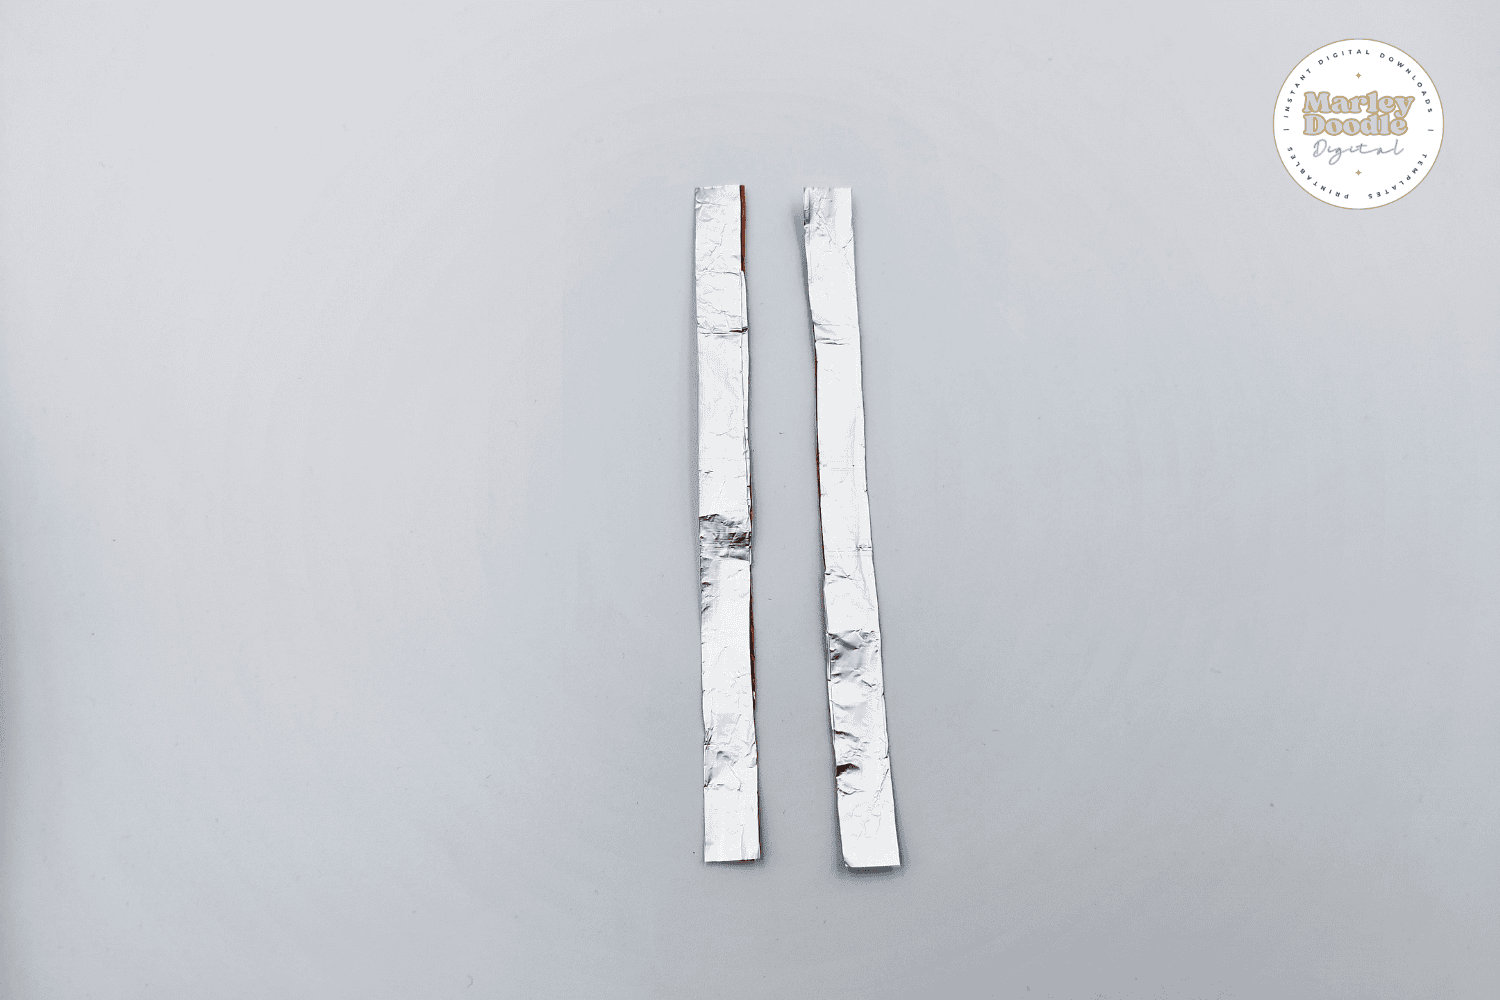
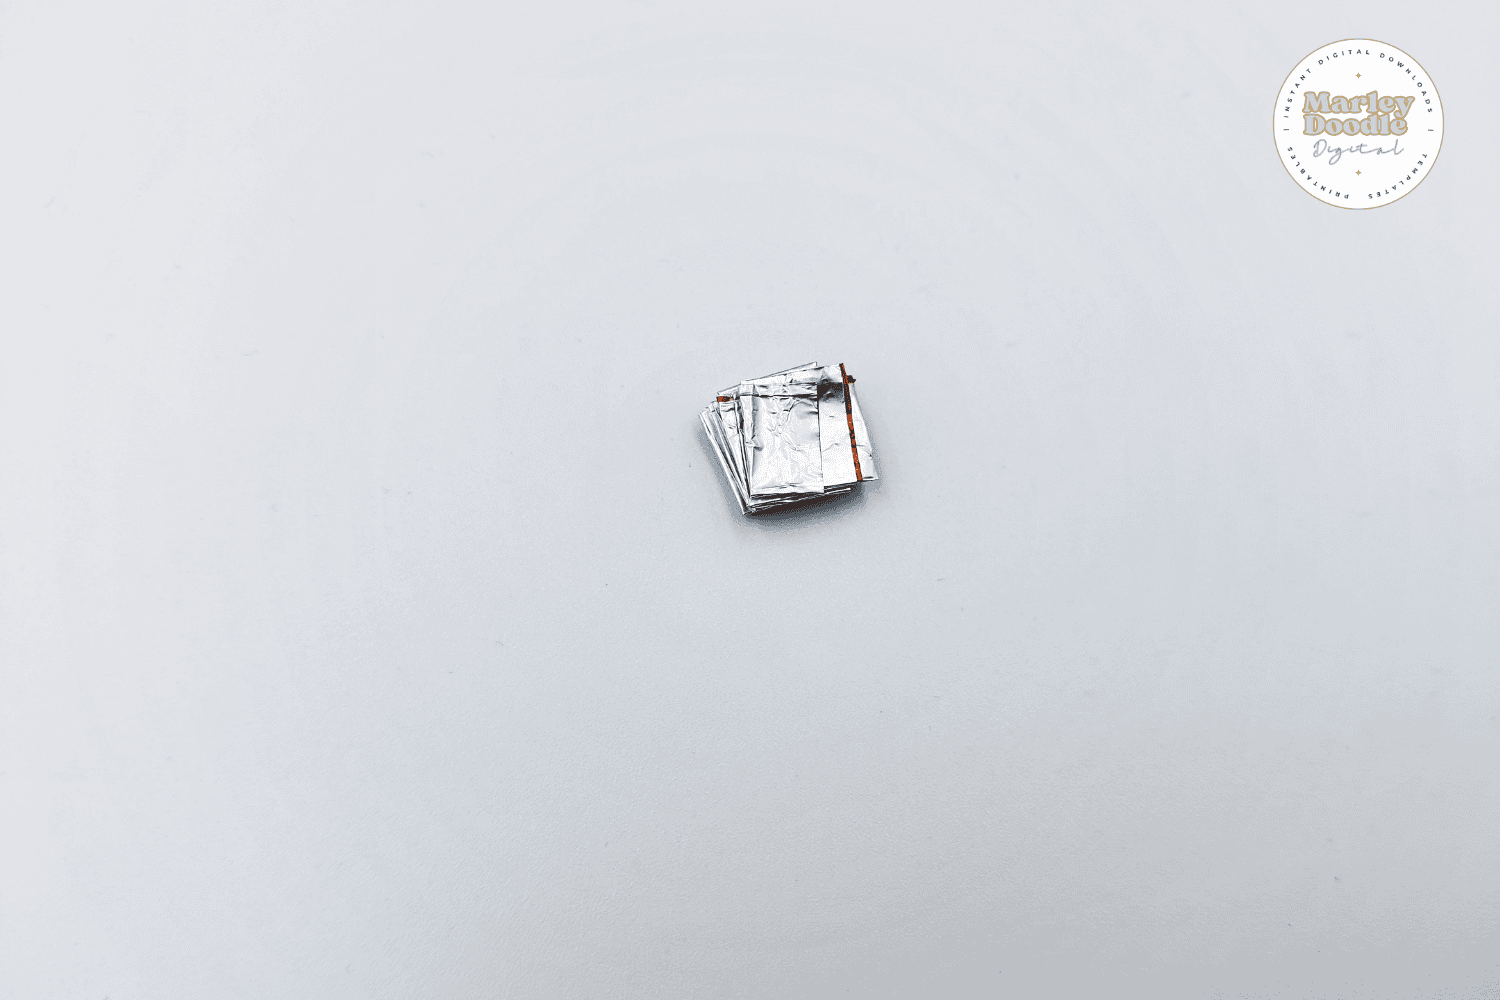
STEP 5: To make the robot arms, cut two strips of foil paper (about 5″ x 2″) and fold them vertically.
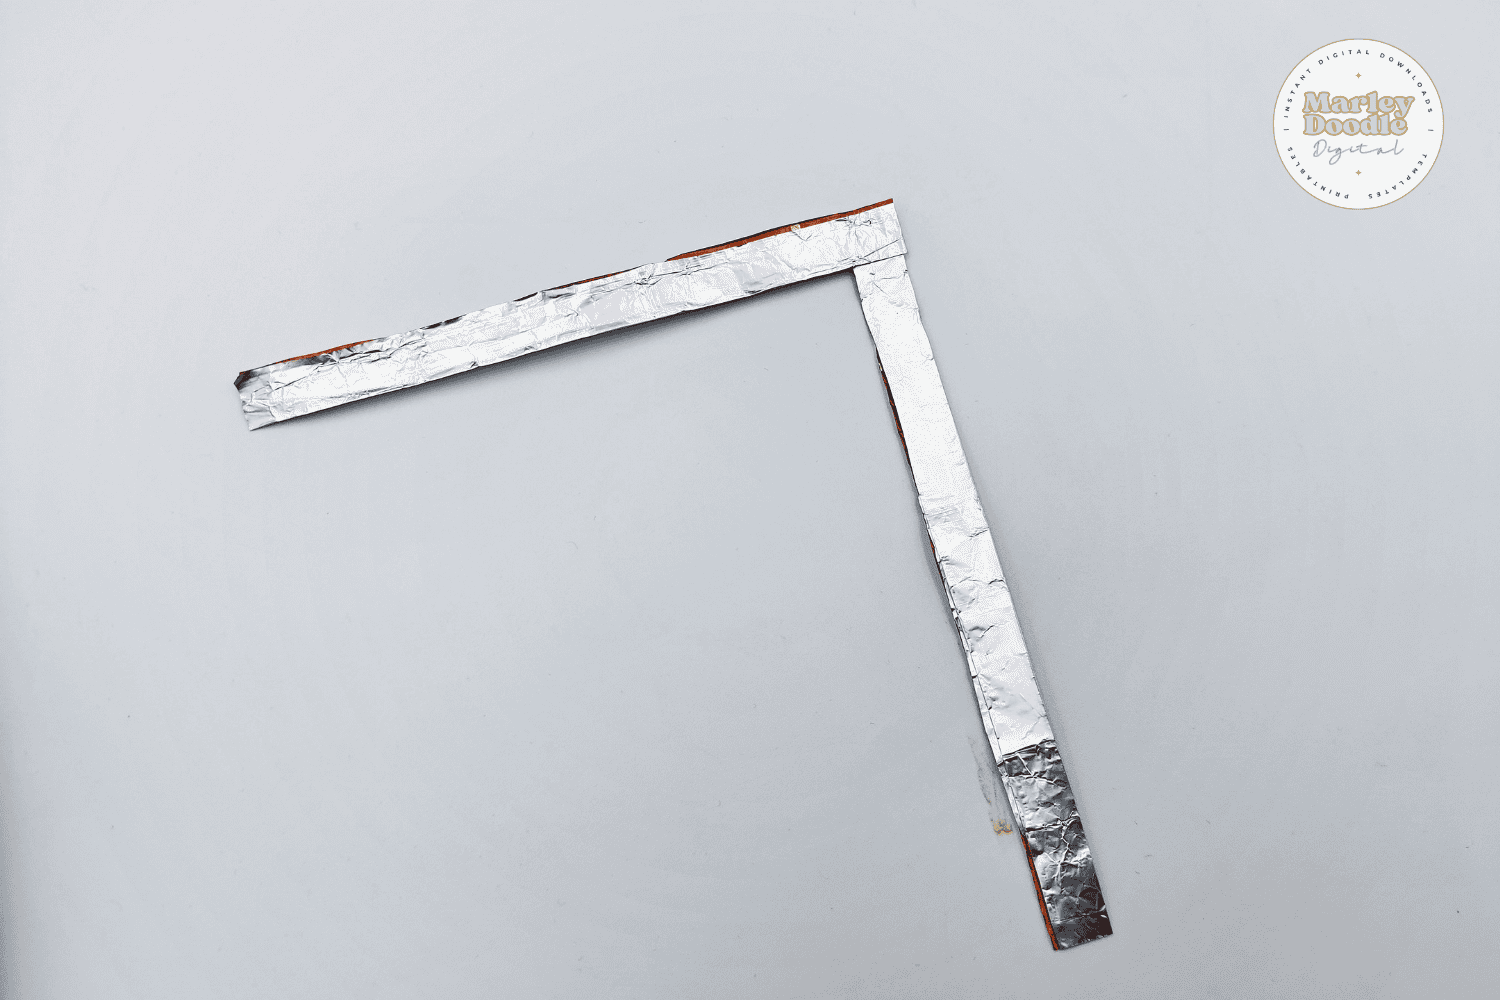
STEP 6: Use a double-sided sticky tape to glue two ends of the strips together to make an “L” shape.

STEP 7: Take the horizontal strip from the right side and fold it over to the left side along the edge of the vertical strip.
STEP 8: Take the vertical strip from the bottom and fold it up on the top along the edge.
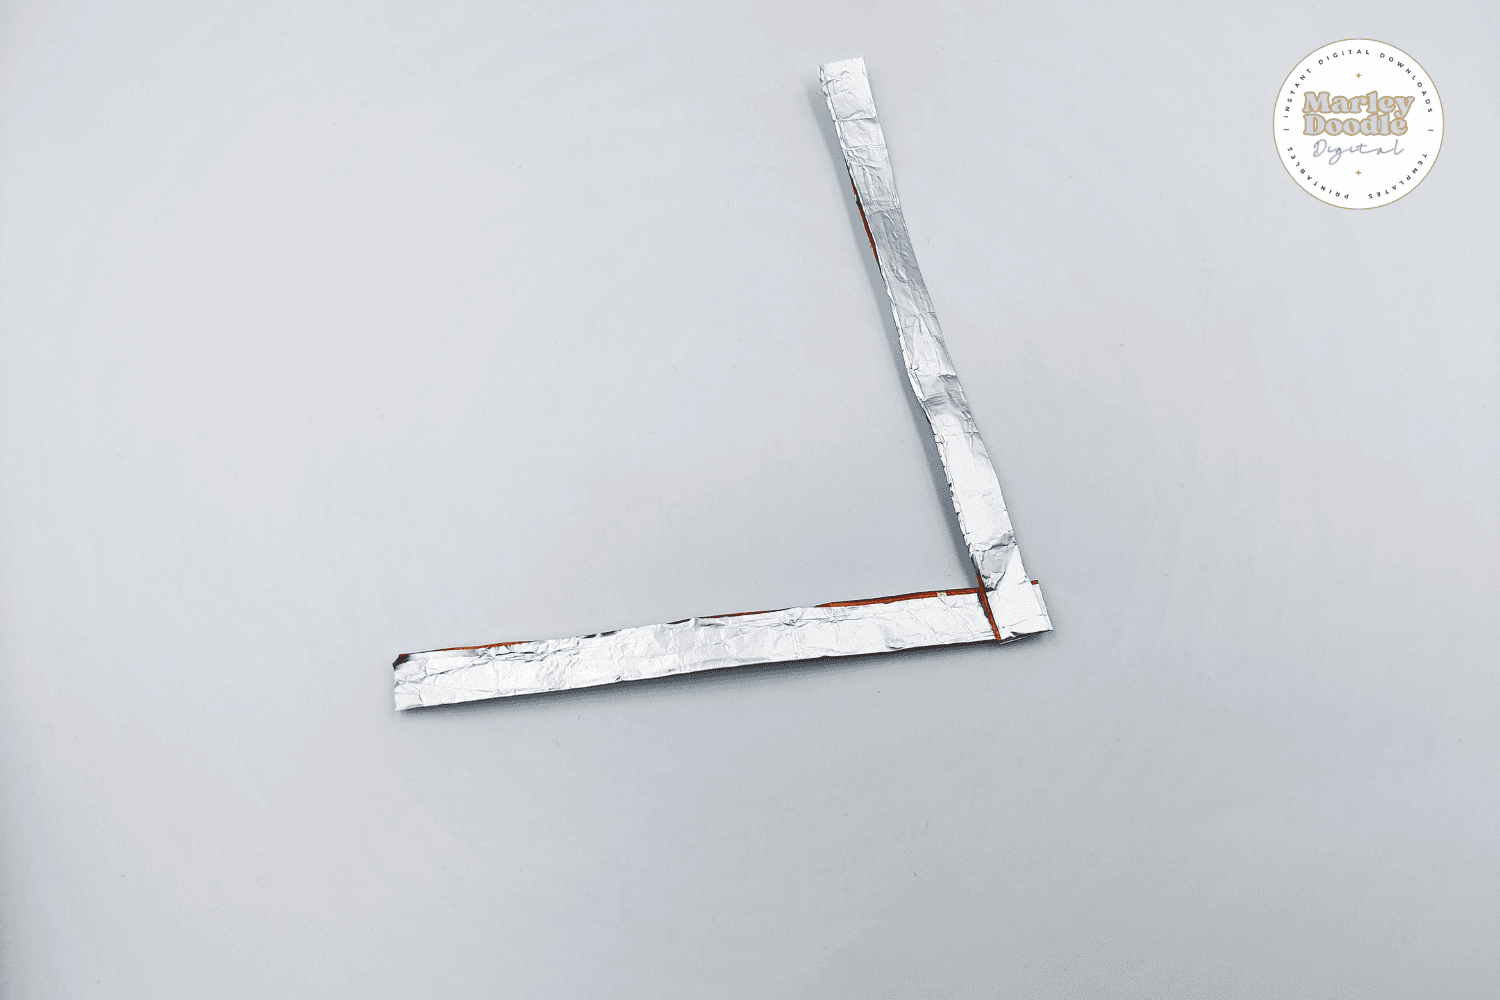
STEP 9: Repeat the same method, just take one strip from right to left, the other bottom to up overlapping each other.
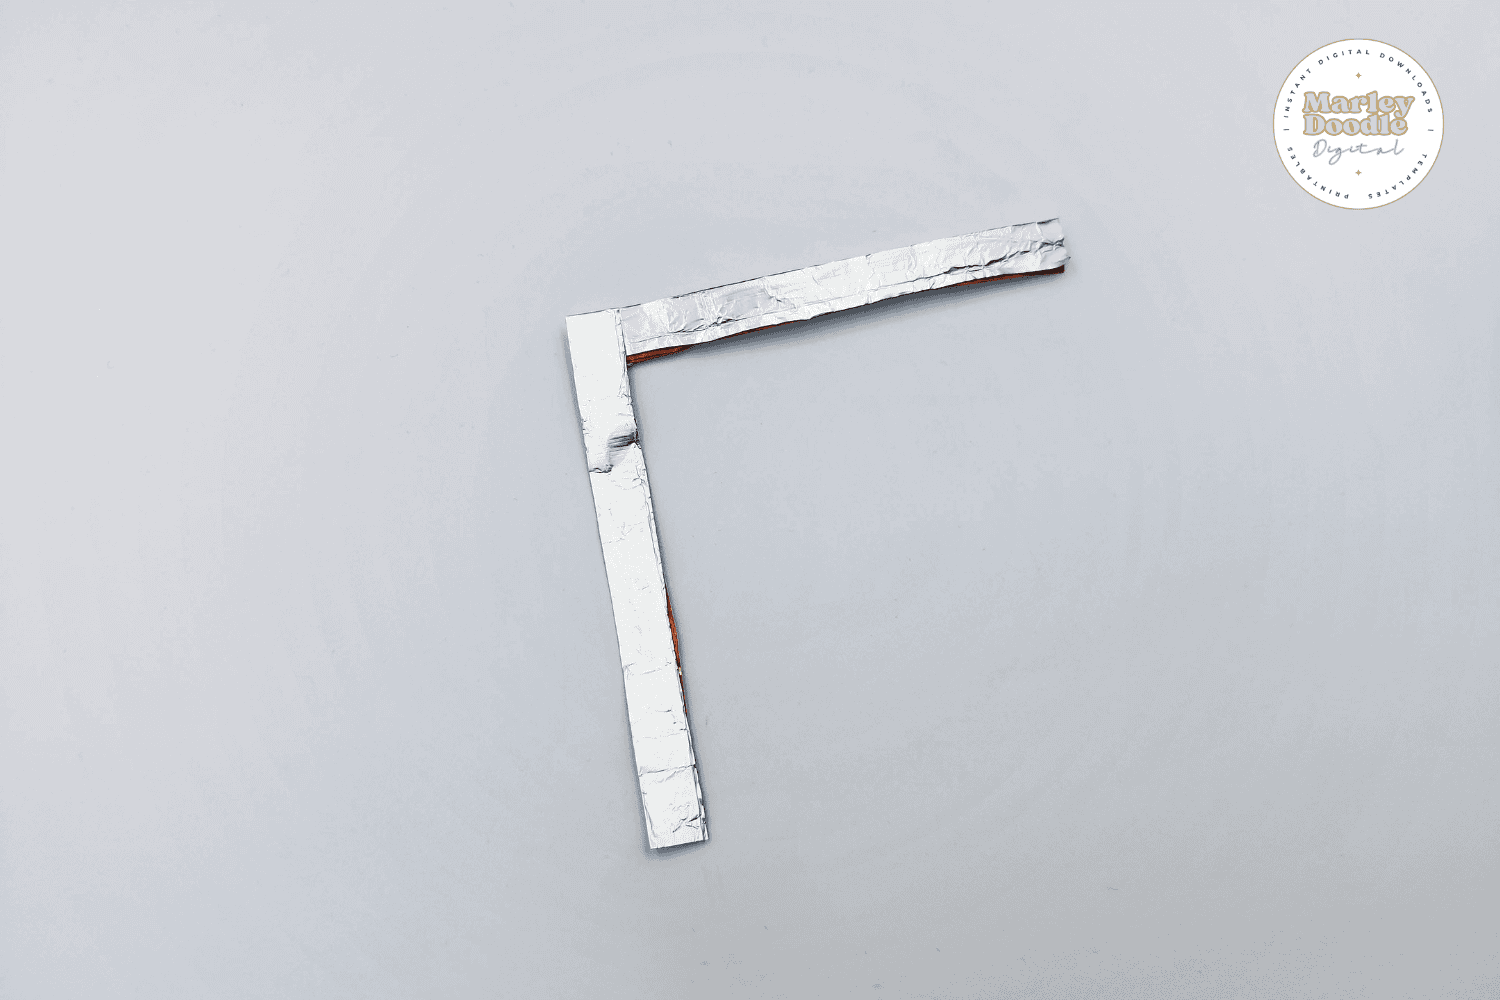
STEP 10: After you reach the end, use double-sided tape to secure the folds.
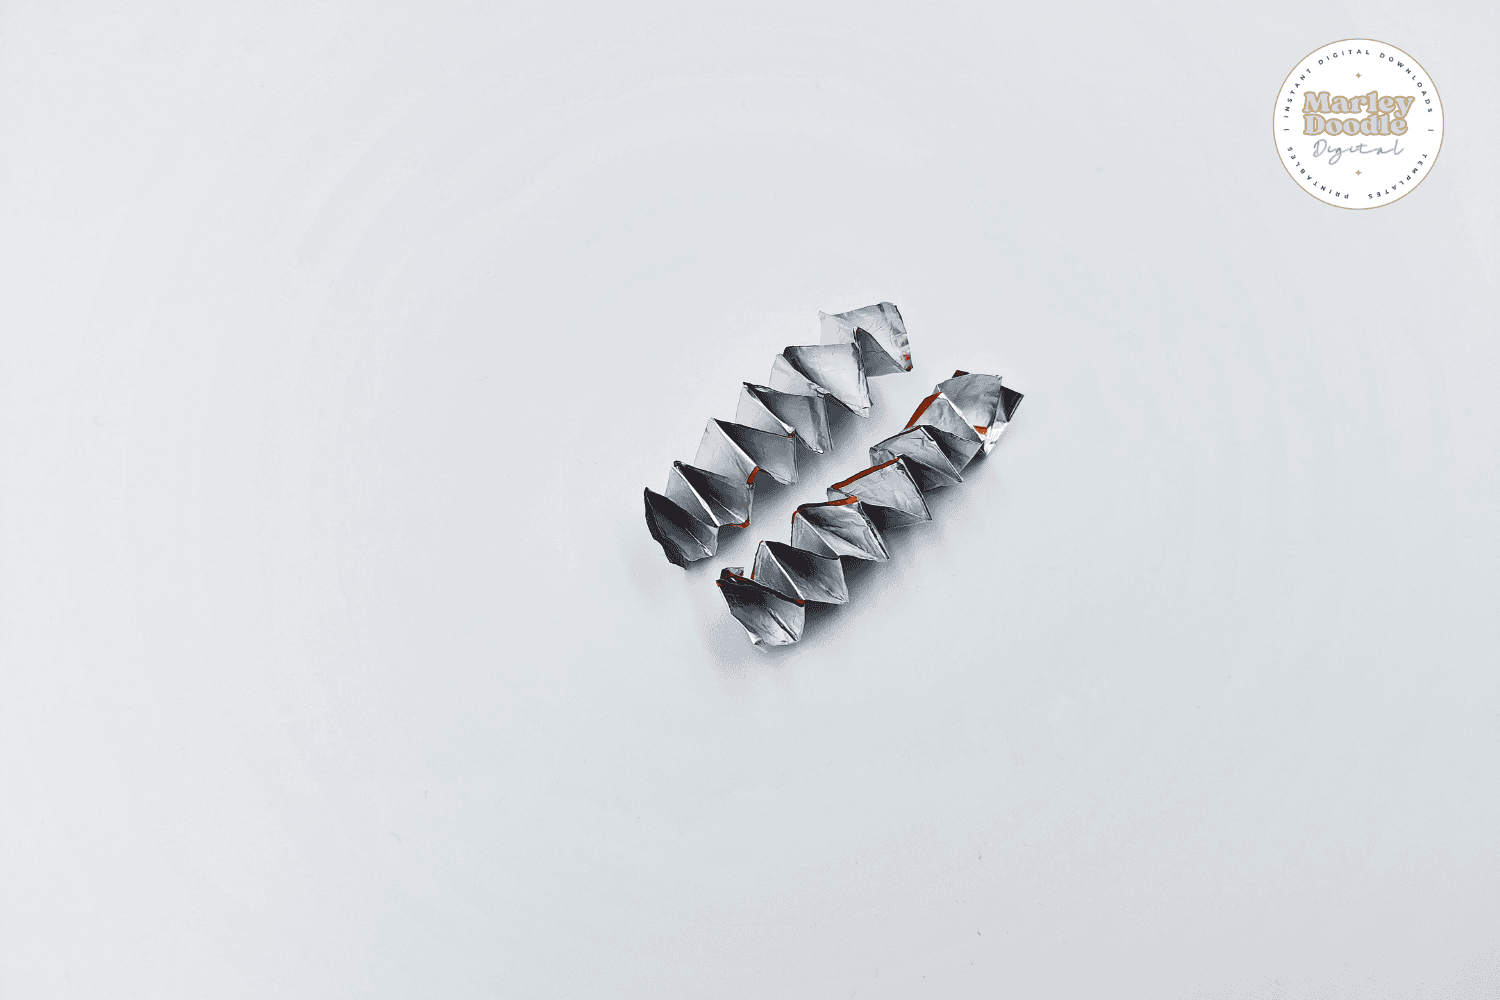
STEP 11: Then lightly stretch them out to make slinky-like arms.
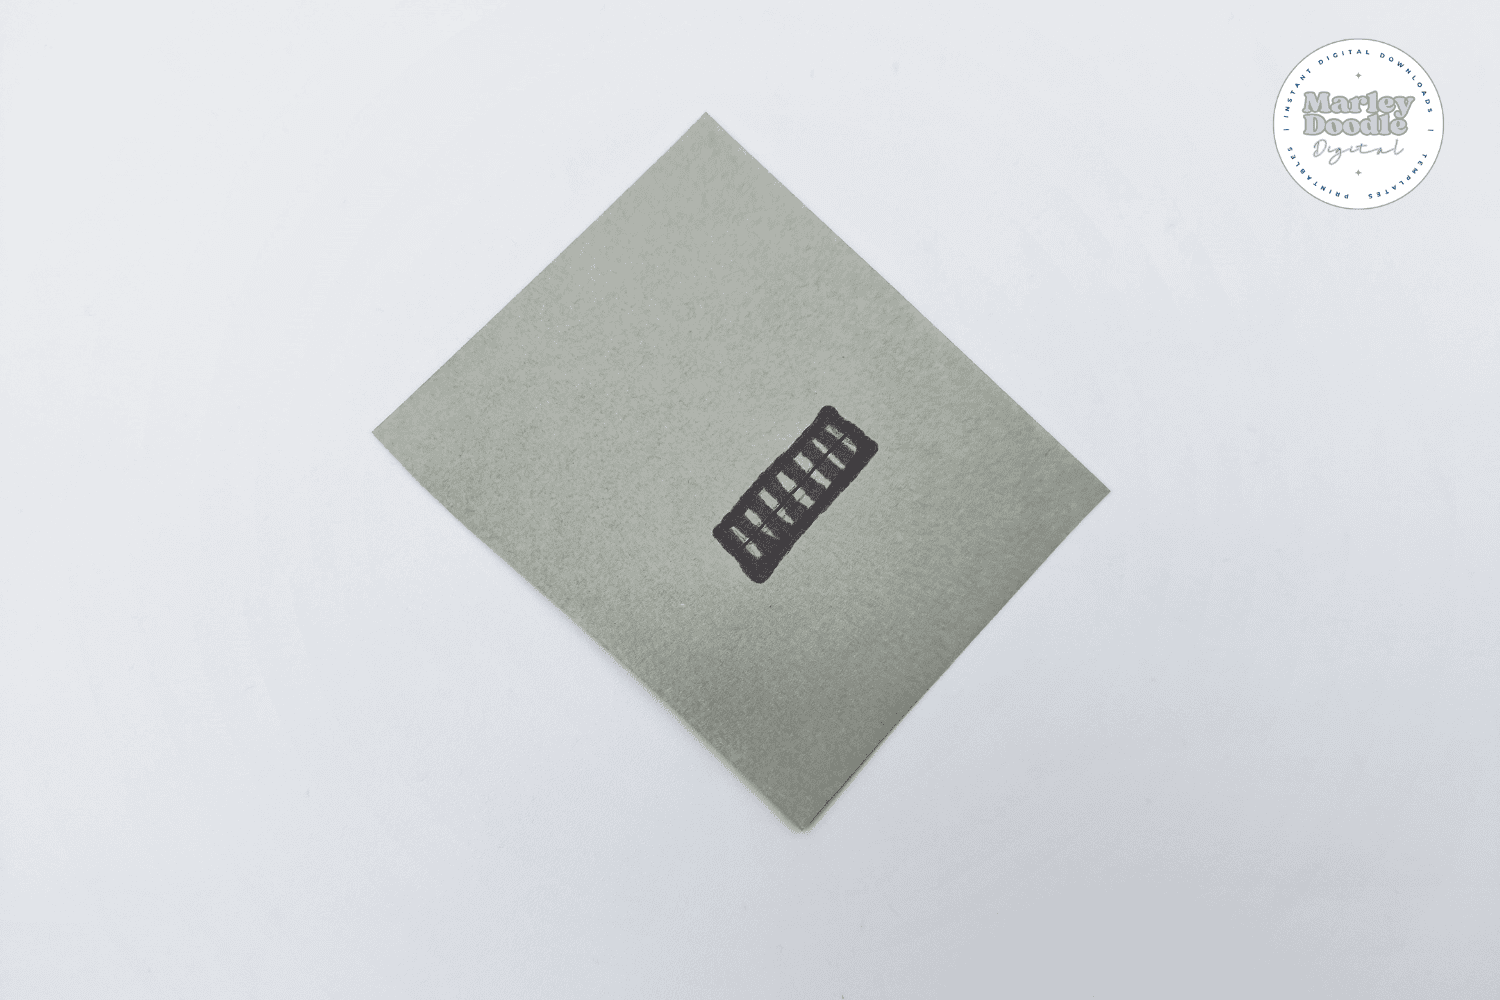
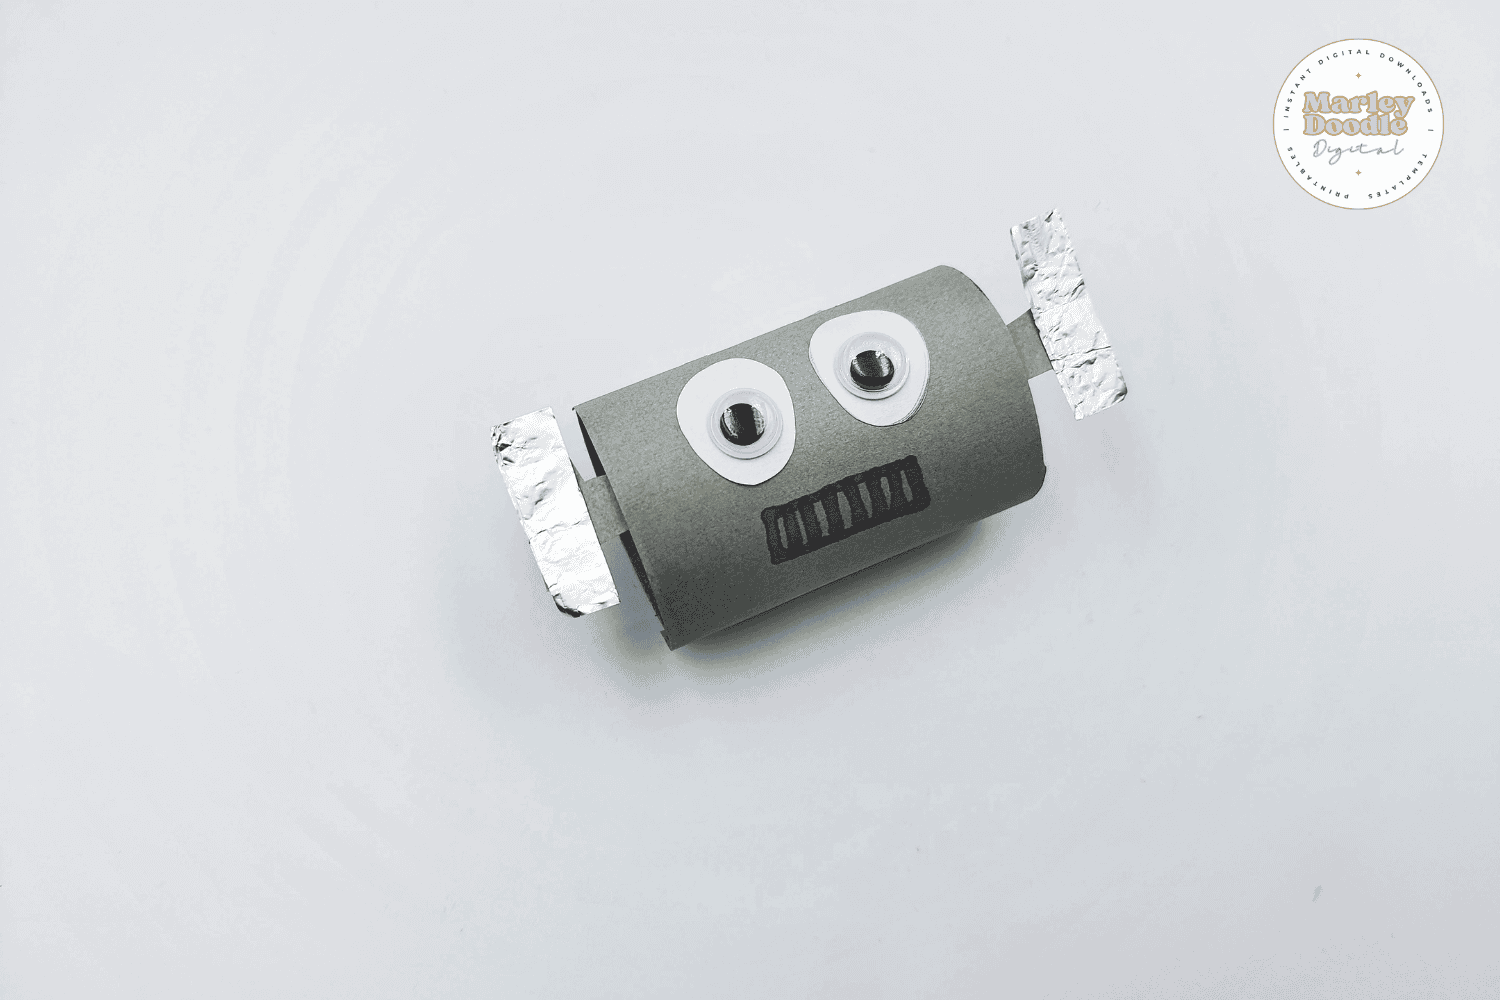
STEP 12: Decorate the (5) robot’s face by drawing a mouth on the smaller gray piece.
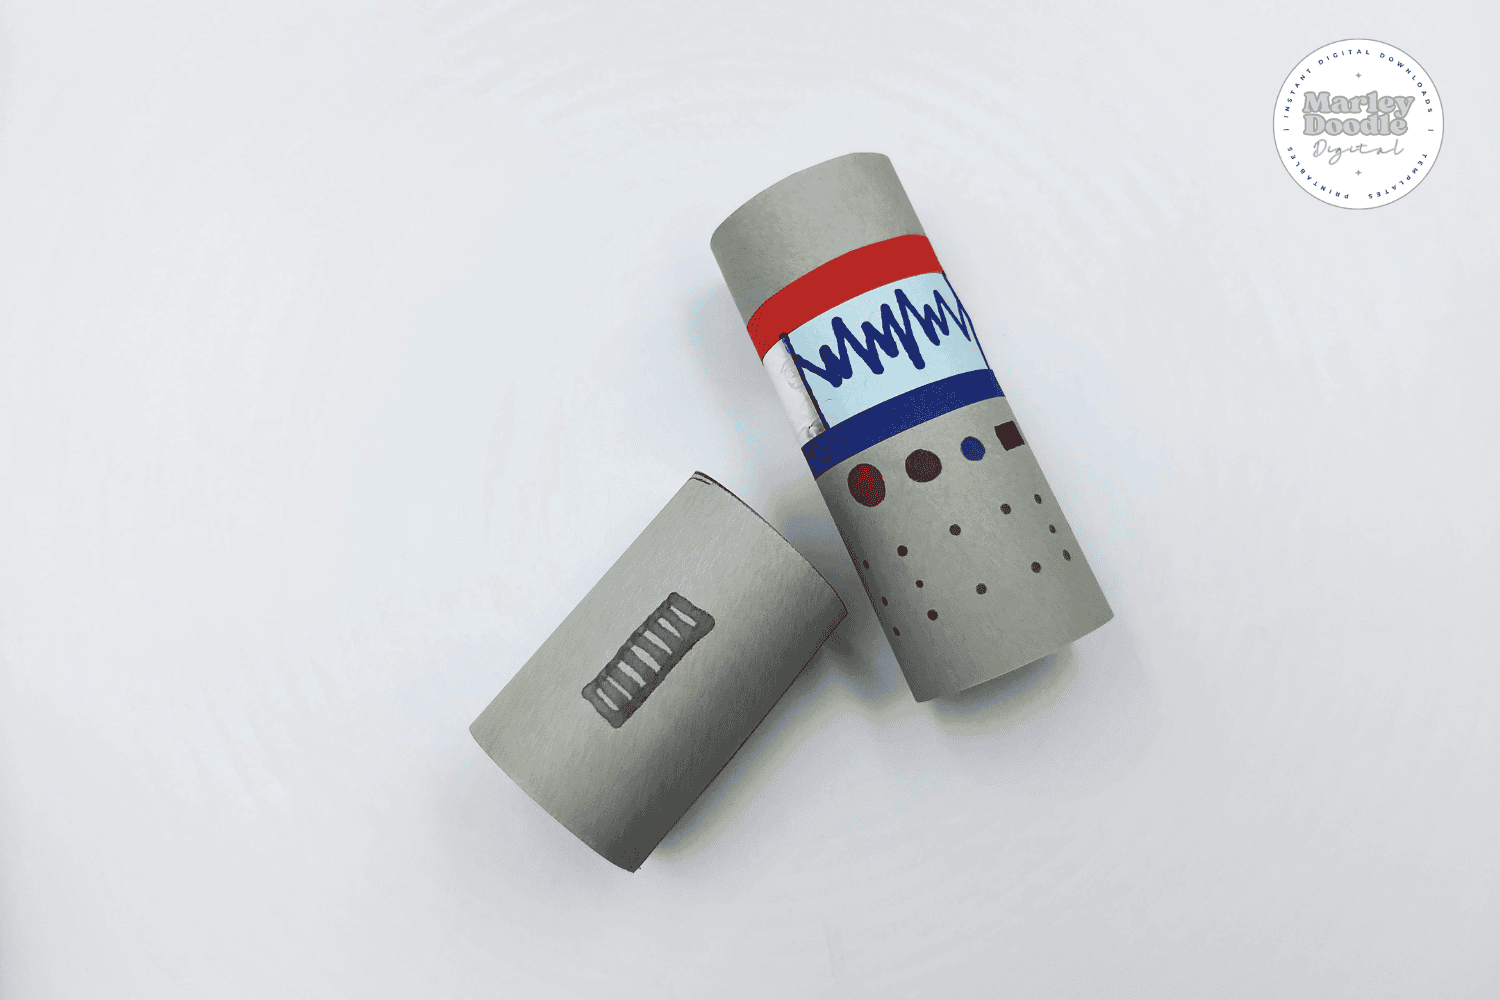
STEP 13: Glue both papers on toilet paper rolls. Cut a toilet paper roll in half for the robot’s head.
STEP 14: Glue on two googly eyes using the (6) oval cutouts.

STEP 15: Glue the (7) ears on two sides of the head.
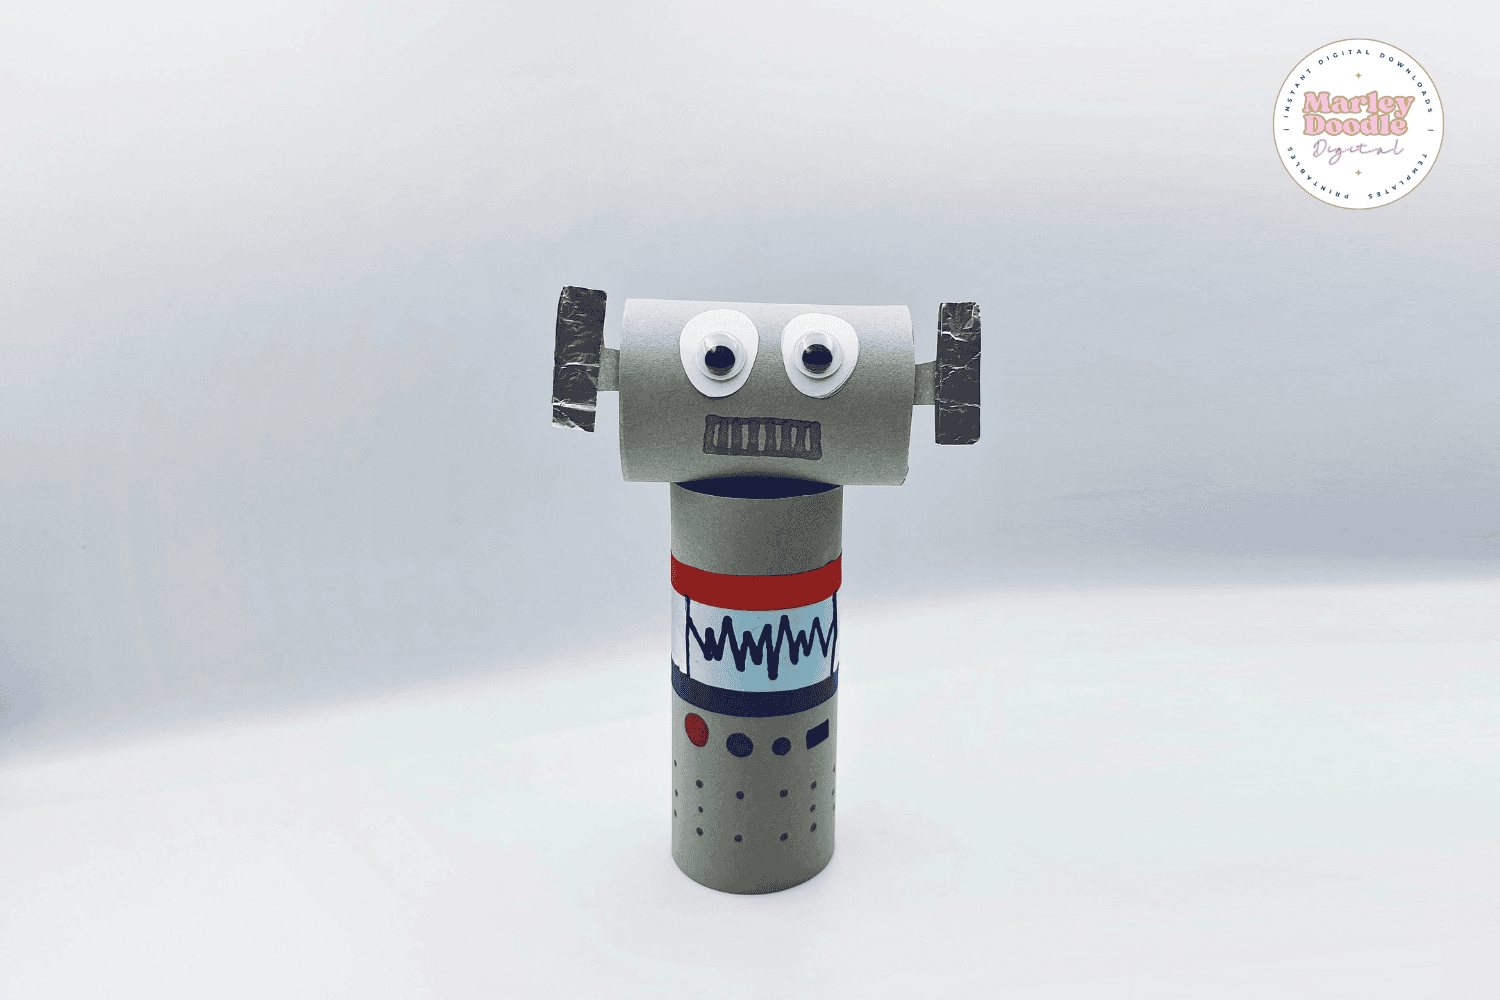
STEP 16: Glue the head on top of the full toilet paper roll body.
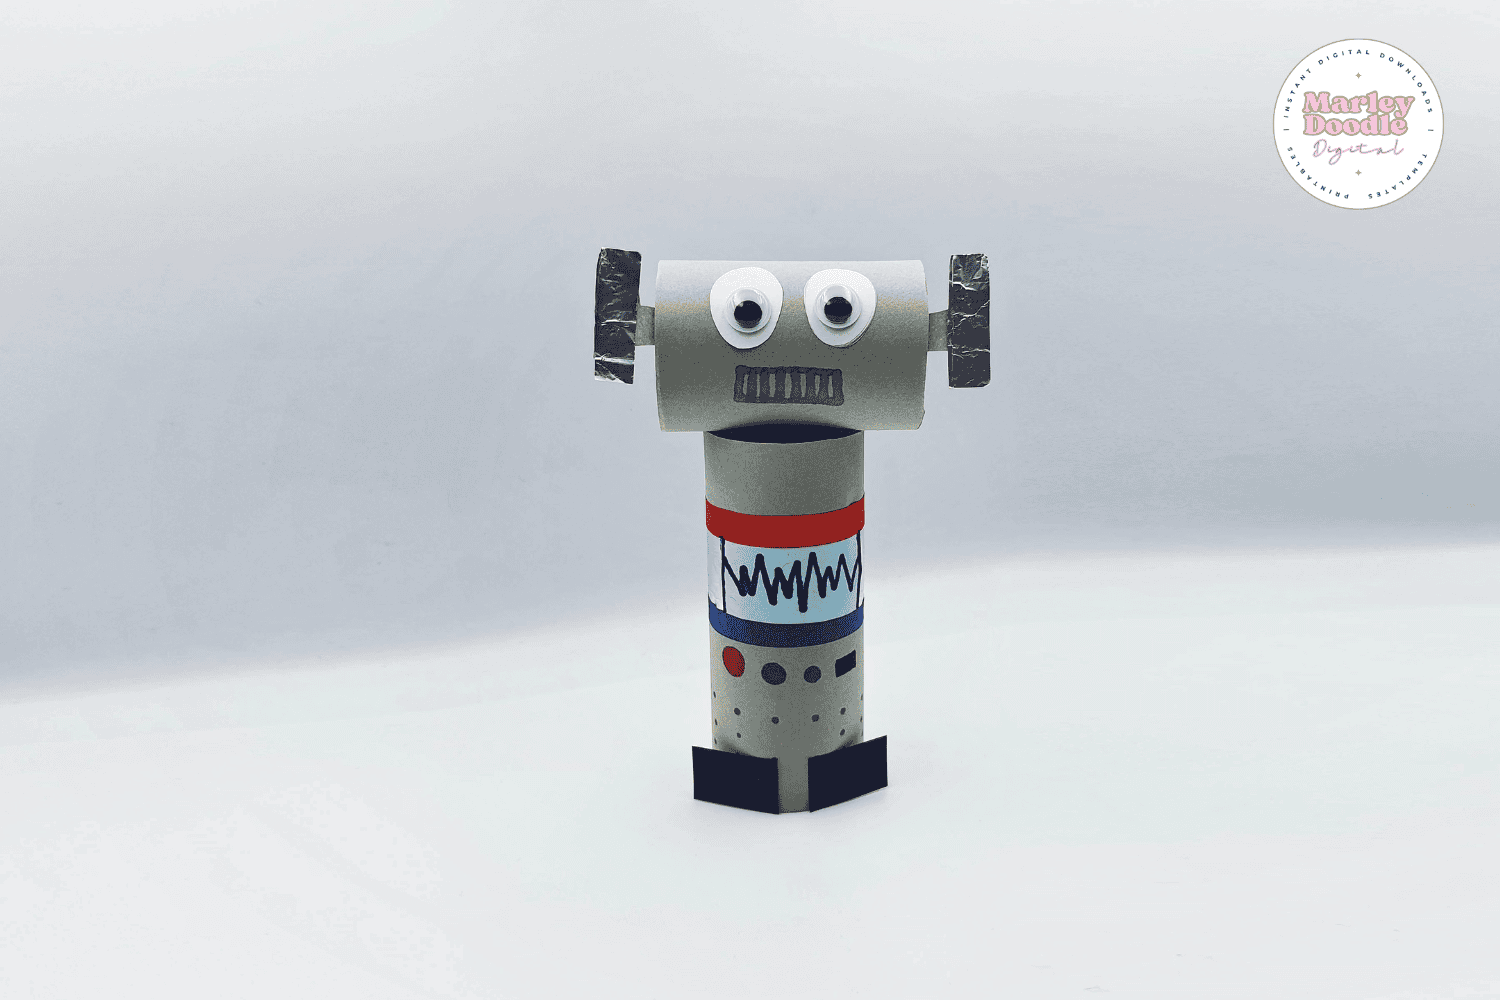
STEP 17: Add the (8) feet to the bottom.
STEP 18: Attach the foil arms to both sides.
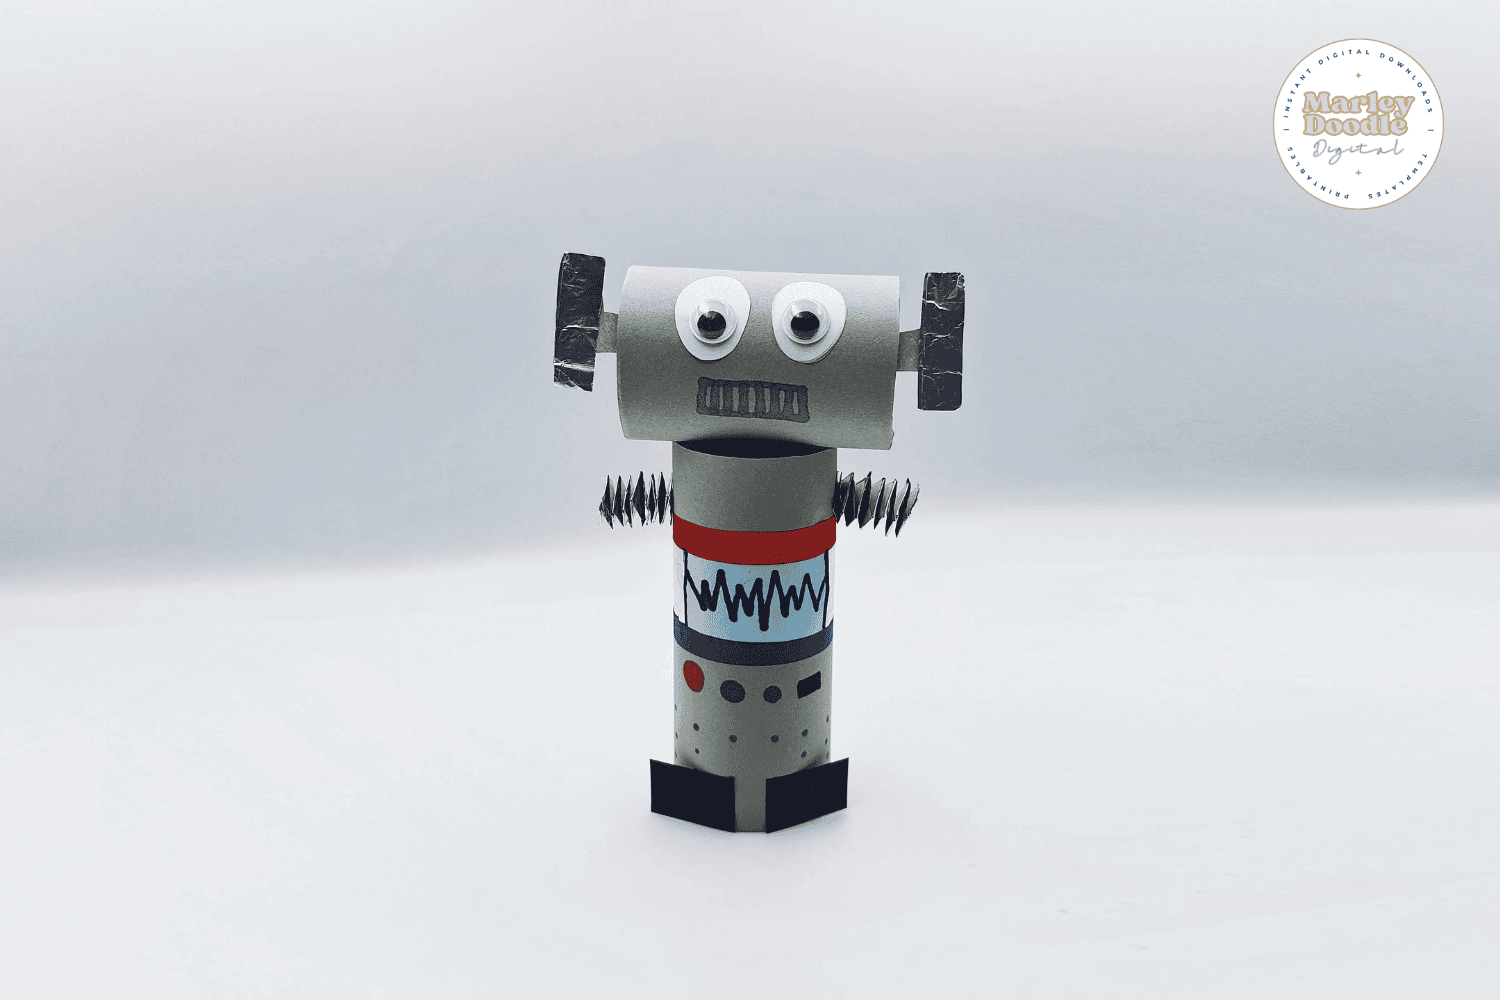
STEP 19: And finish it off by gluing the (9) two hands on the slinkies.
💡Helpful Tips
- Pre-cut for younger kids: If working with preschoolers, cut out the template pieces ahead of time to make assembly easier.
- Let kids personalize it: Encourage them to draw extra buttons, lights, or a name tag for their robot to boost engagement.
- Create a robot crew: Print extra templates and make a set of colorful robots for dramatic play or classroom displays.
✅Get the Free Printable Robot Craft Templates
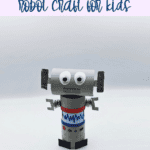
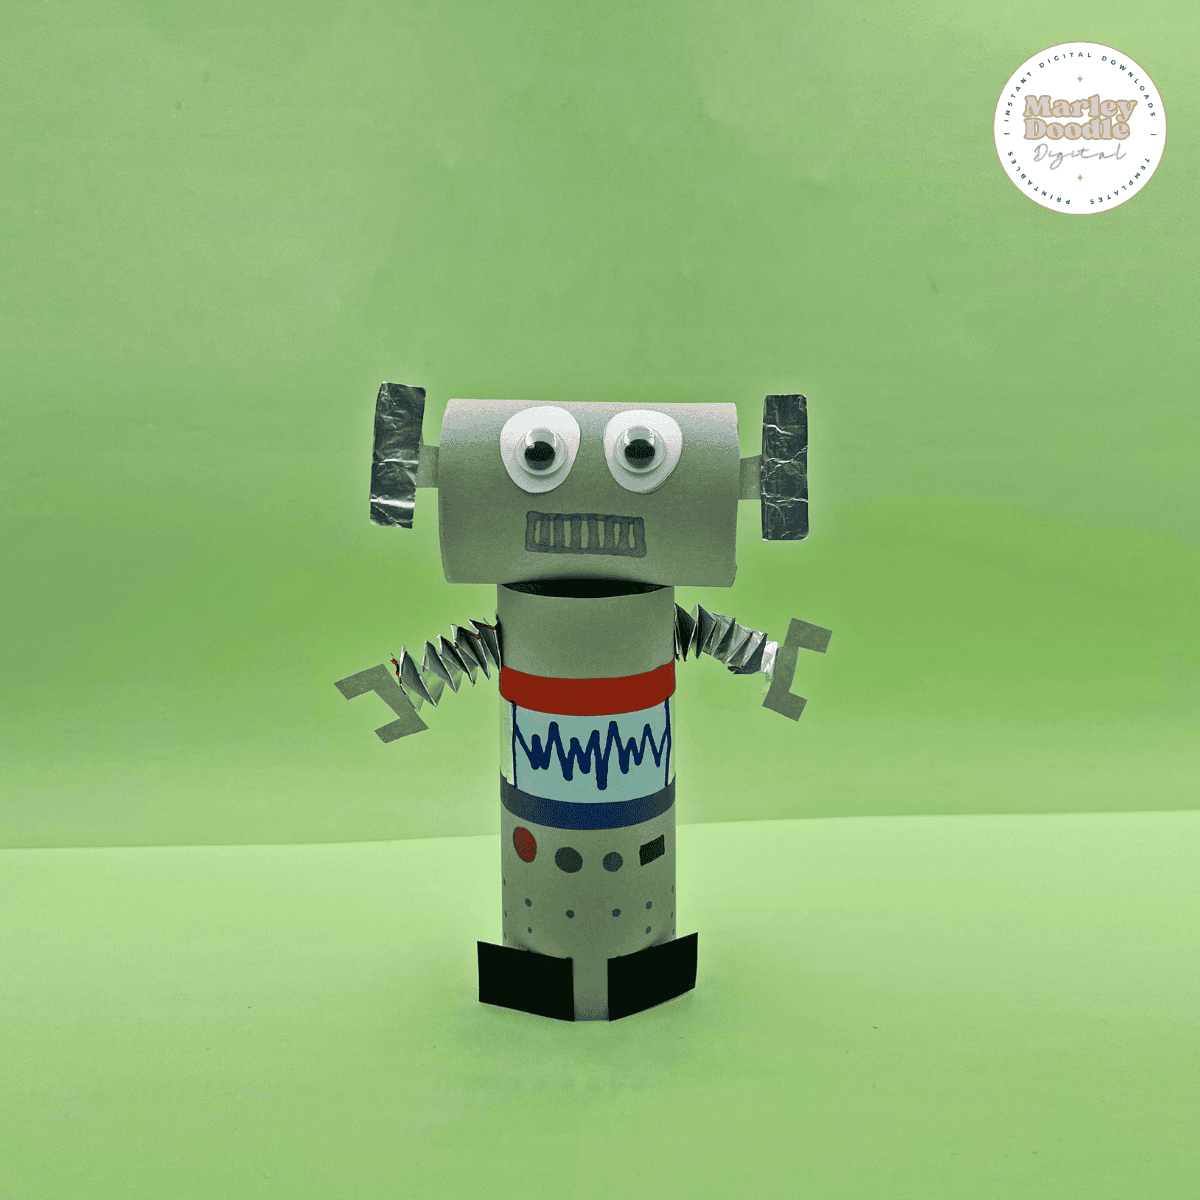
Now you have your very own adorable little robot buddy, made with love (and maybe a little glue on the table). This fun robot craft is such a great way to build creativity, fine motor skills, and maybe even a little interest in STEM—all while spending quality time together.
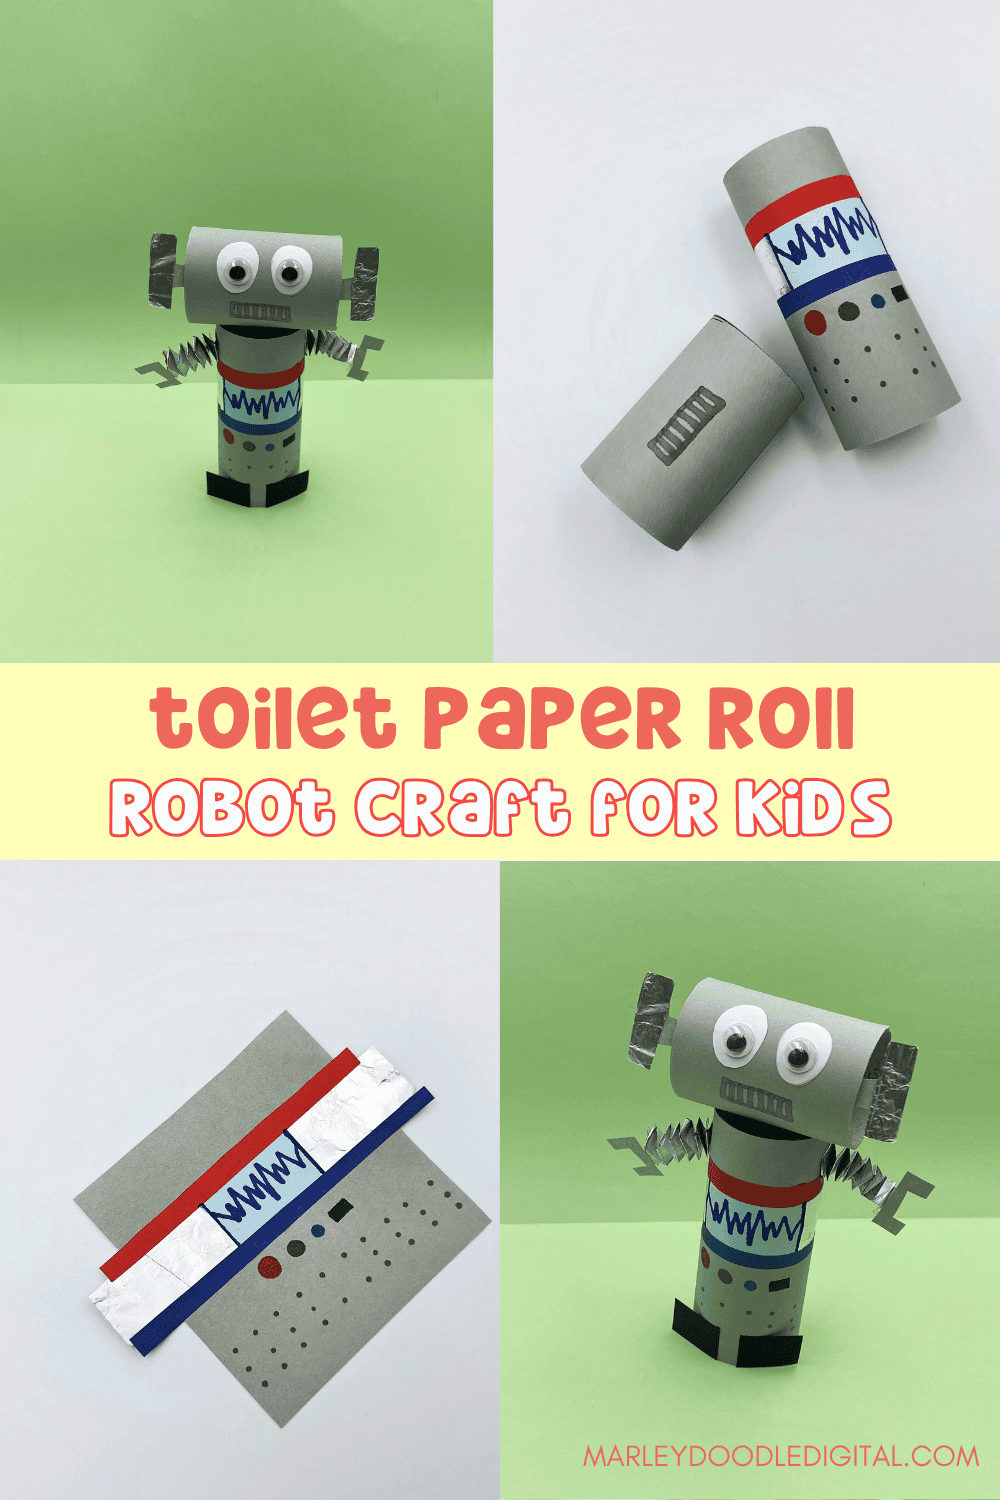
Toilet Paper Roll Robot Craft

Supplies & Materials
- 2 toilet paper rolls
- Foil paper or aluminum foil
- Construction paper or colored card stock
- Scissors
- Markers, crayons, or pencil
- Googly eyes
- Free printable robot template reference numbers 1–9
- Glue and/or double sided tape
- Ruler
Instructions
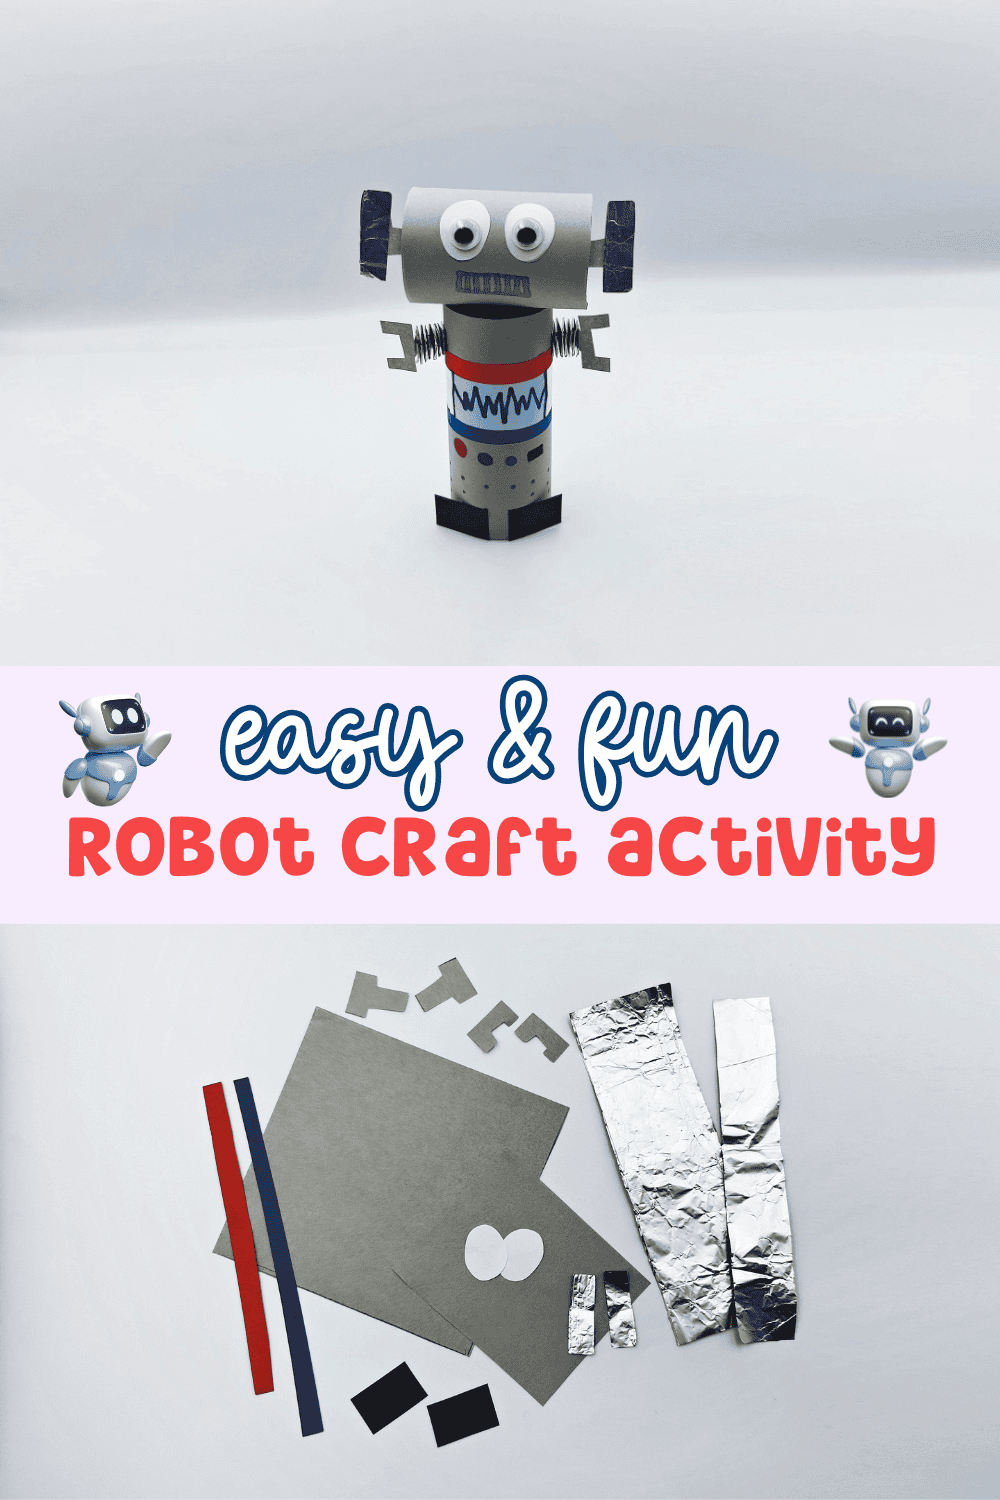
- Cut your pieces: Print the robot template and cut out the shapes labeled 1–9 using colored construction paper and foil paper. You’ll need each numbered piece to build your robot.
Decorate the body (1–4):
- Start with the large square piece (1) as your robot’s body base.
- Glue the long foil strip (2) vertically in the center.
- Attach the two side strips (3) horizontally—one on each side of the foil.
- Place the smaller blue rectangle (4) in the center and draw a zigzag with a marker to create a robot control panel.
- Add detail: Use markers to decorate the body with fun buttons, bolts, or wires to make your robot unique.
Make the arms (foil strips):
- Cut two foil strips about 5 inches long and 2 inches wide (not numbered—use your own foil paper).
- Fold them accordion-style to create bendable, springy arms.
- Use tape or glue to secure the folds and gently pull the ends to stretch them into shape.
Build the face (5–7):
- Take the smaller rectangle (5) for the robot’s face and draw on a mouth.
- Glue googly eyes onto the oval eye pieces (6), then attach them above the mouth.
- Glue the small ear shapes (7) to each side of the face.
Assemble the head: Cut a toilet paper roll in half to make the head shorter. Wrap the face and ears around the roll and glue in place. Then attach this head to the top of a full toilet paper roll (your robot’s body).
Finish the robot (8–9):
- Glue the two feet pieces (8) to the bottom of the body.
- Attach the foil arms to the sides of the body.
- Finally, glue the hands (9) to the ends of the foil arms.
- Let dry and display: Give everything time to dry completely. Then your robot is ready to play or display!