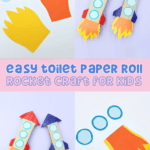
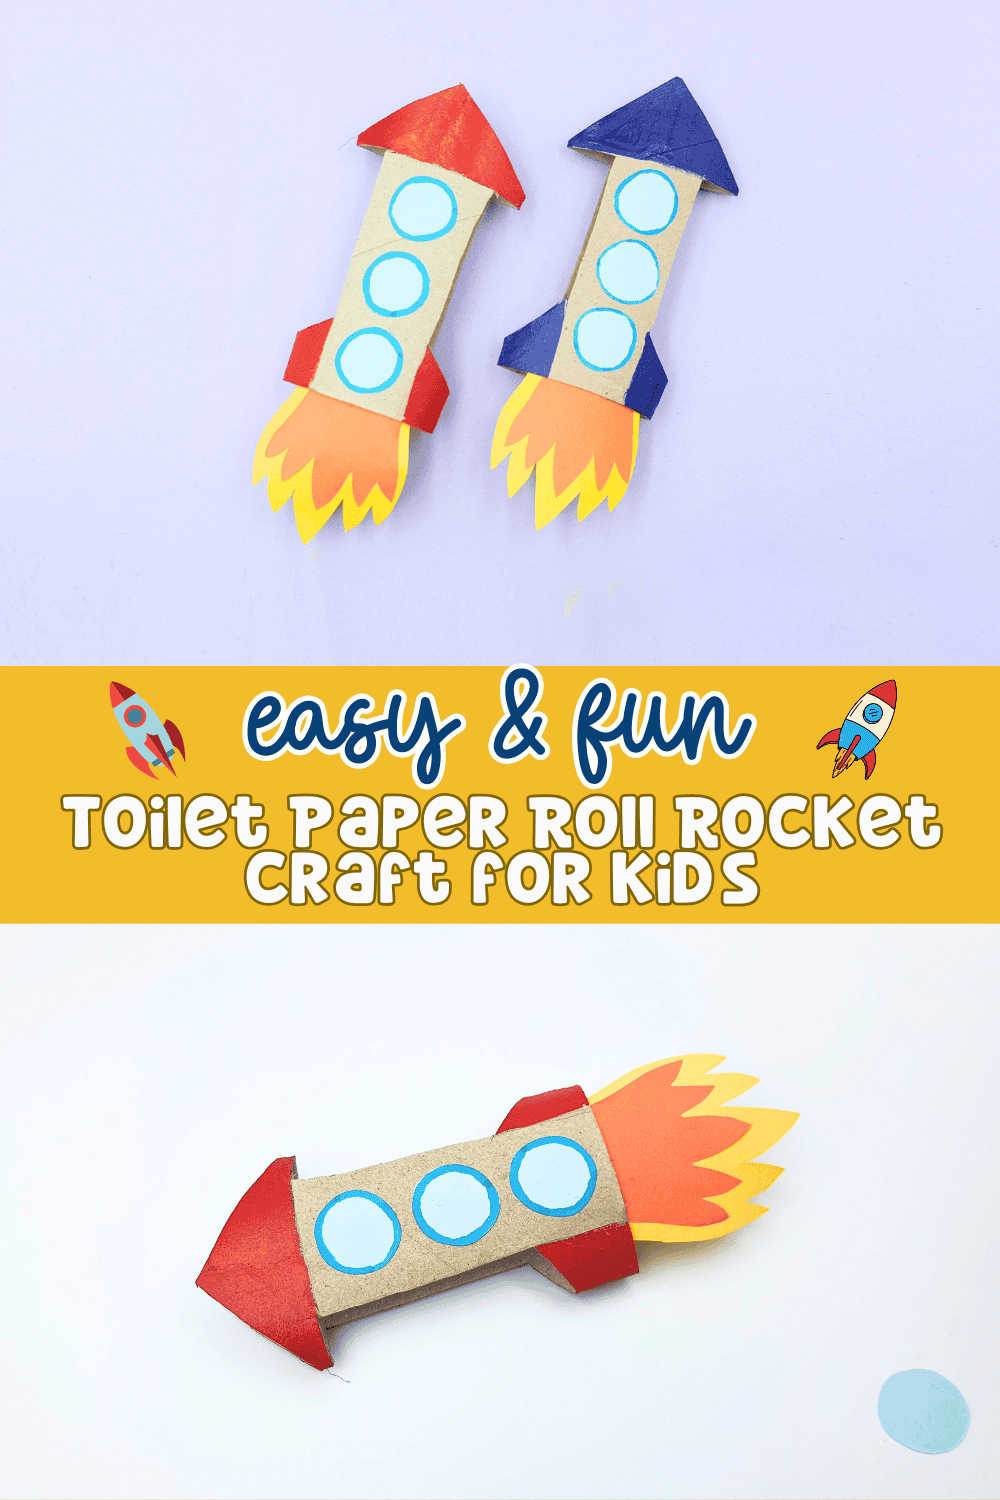
Easy DIY Toilet Paper Roll Rocket Craft for Kids


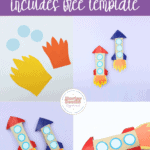

Looking for a fun and super easy craft to do with your little ones? This DIY Toilet Paper Roll Rocket Craft is the perfect way to get their imagination going, and you probably already have all the supplies at home! Also great if they are learning about space and the solar system.

There are affiliate links in this post – please read my full disclosure policy. As an Amazon Associate, I earn from qualifying purchases.
Whether you’re entertaining toddlers, preschoolers, or just want a simple afternoon project, this craft is sure to bring big smiles. Follow along for step-by-step instructions that make launching into fun totally stress-free!

🌟Don’t Leave Before You Check Out These Fun Ideas!🌟
📌What You’ll Need
- Toilet Paper Roll
- Construction Papers
- Pencil
- Scissors
- Glue
- Ruler
✨How to Make a Toilet Paper Roll Rocket Craft
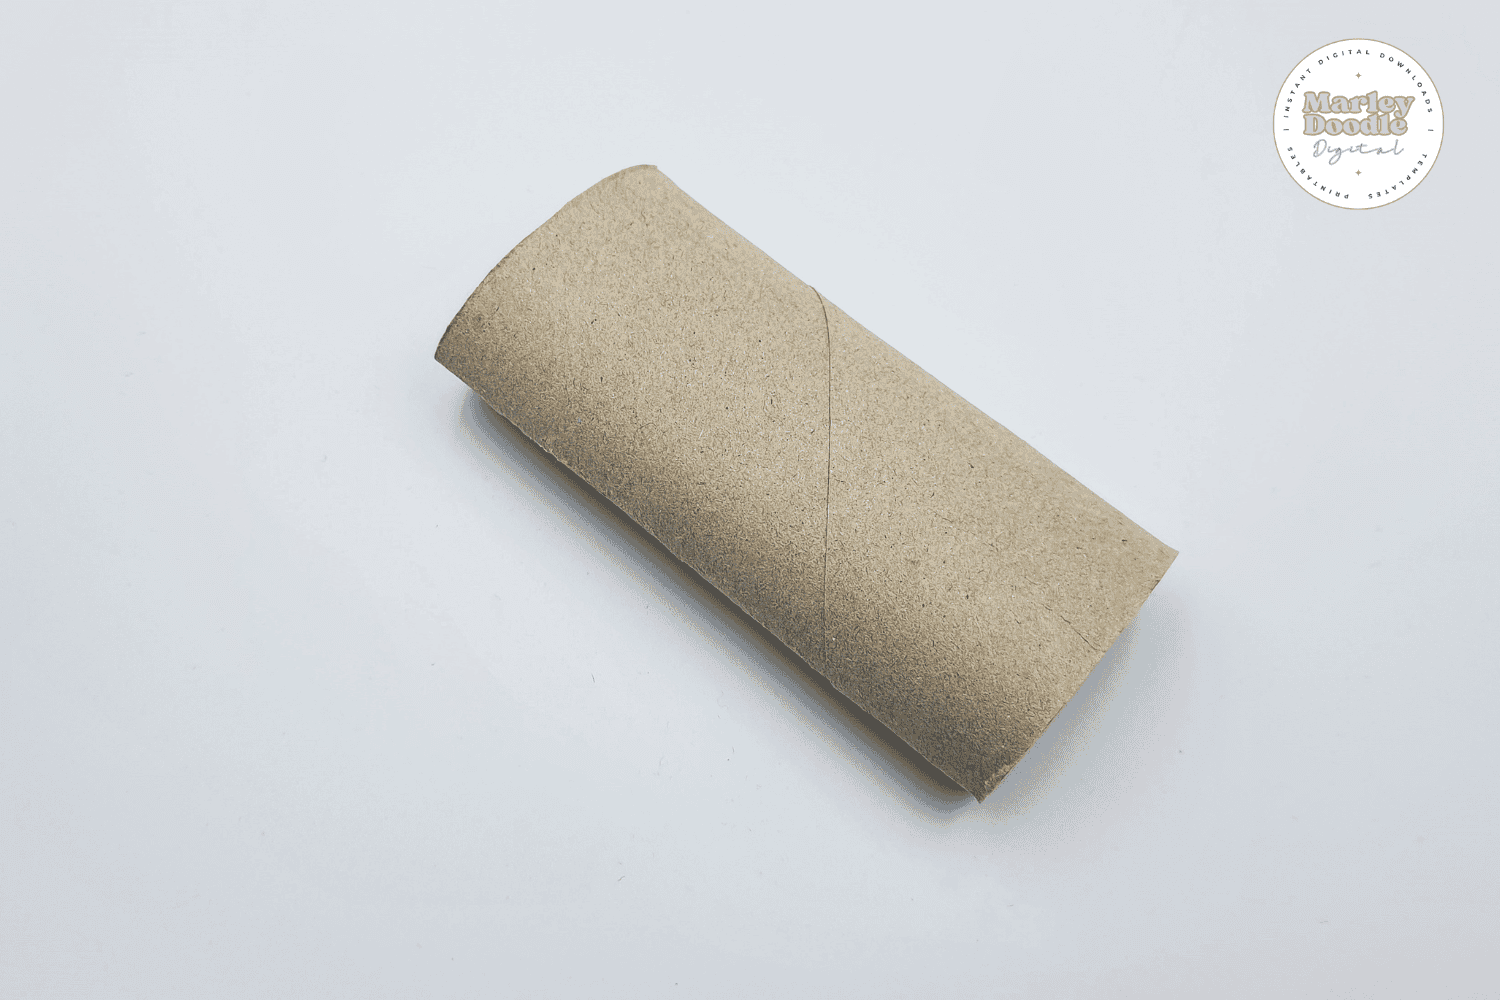
Step 1: Select a toilet paper roll you want to use for your toilet paper roll rocket craft. If you want to make a larger rocket you can use a kitchen roll as well.

Step 2: Slightly press down the toilet paper roll to make it semi flat.
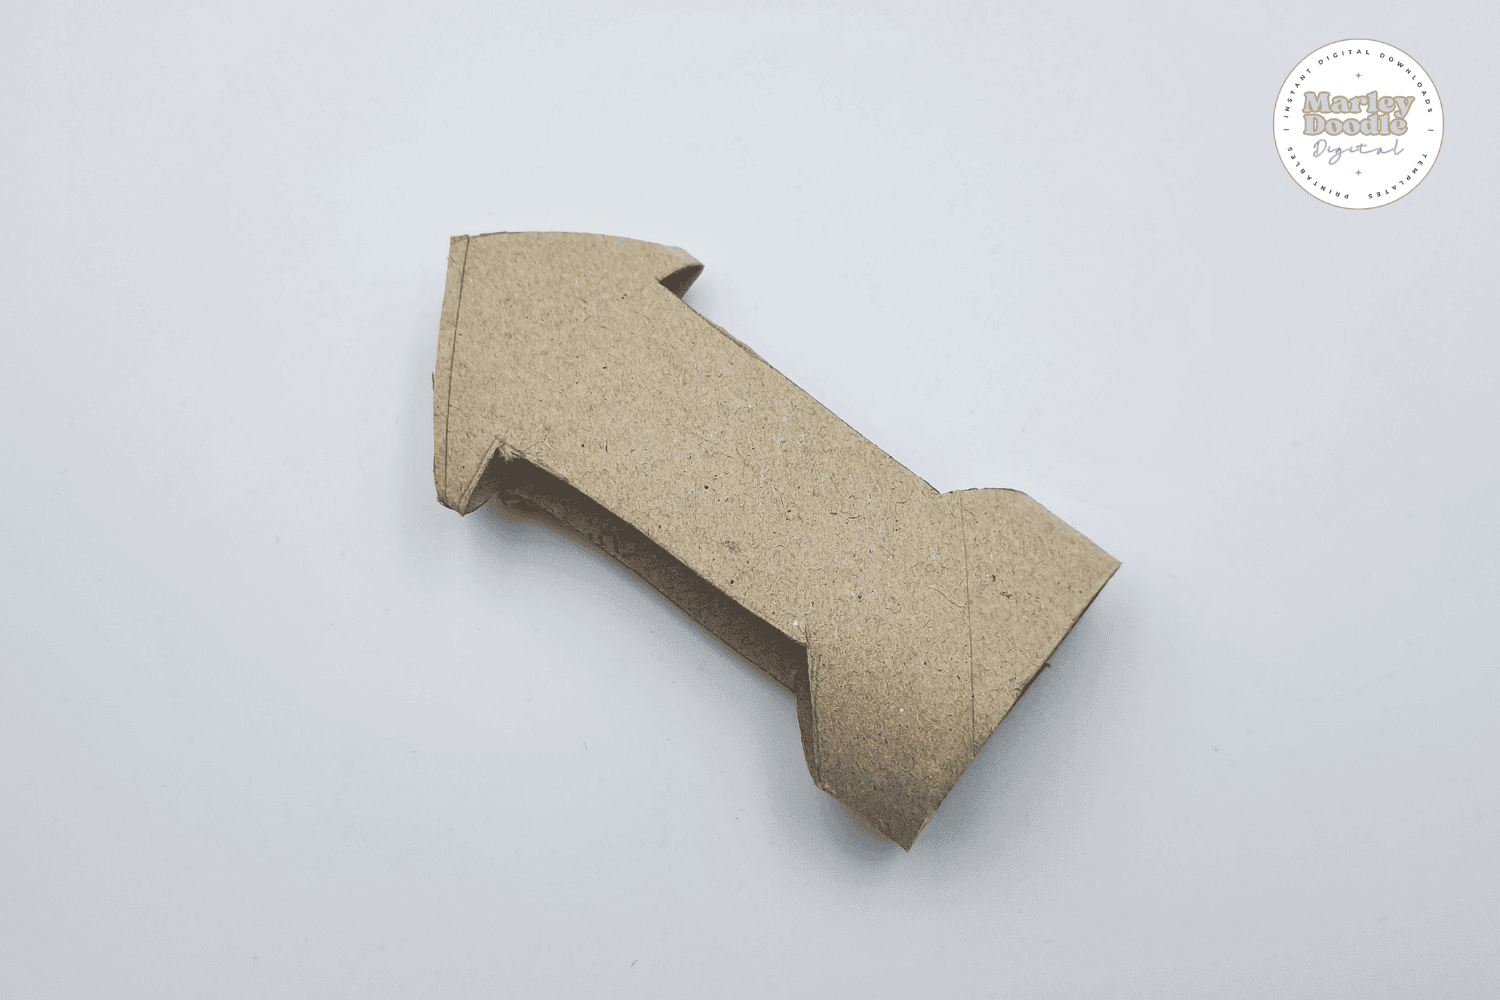
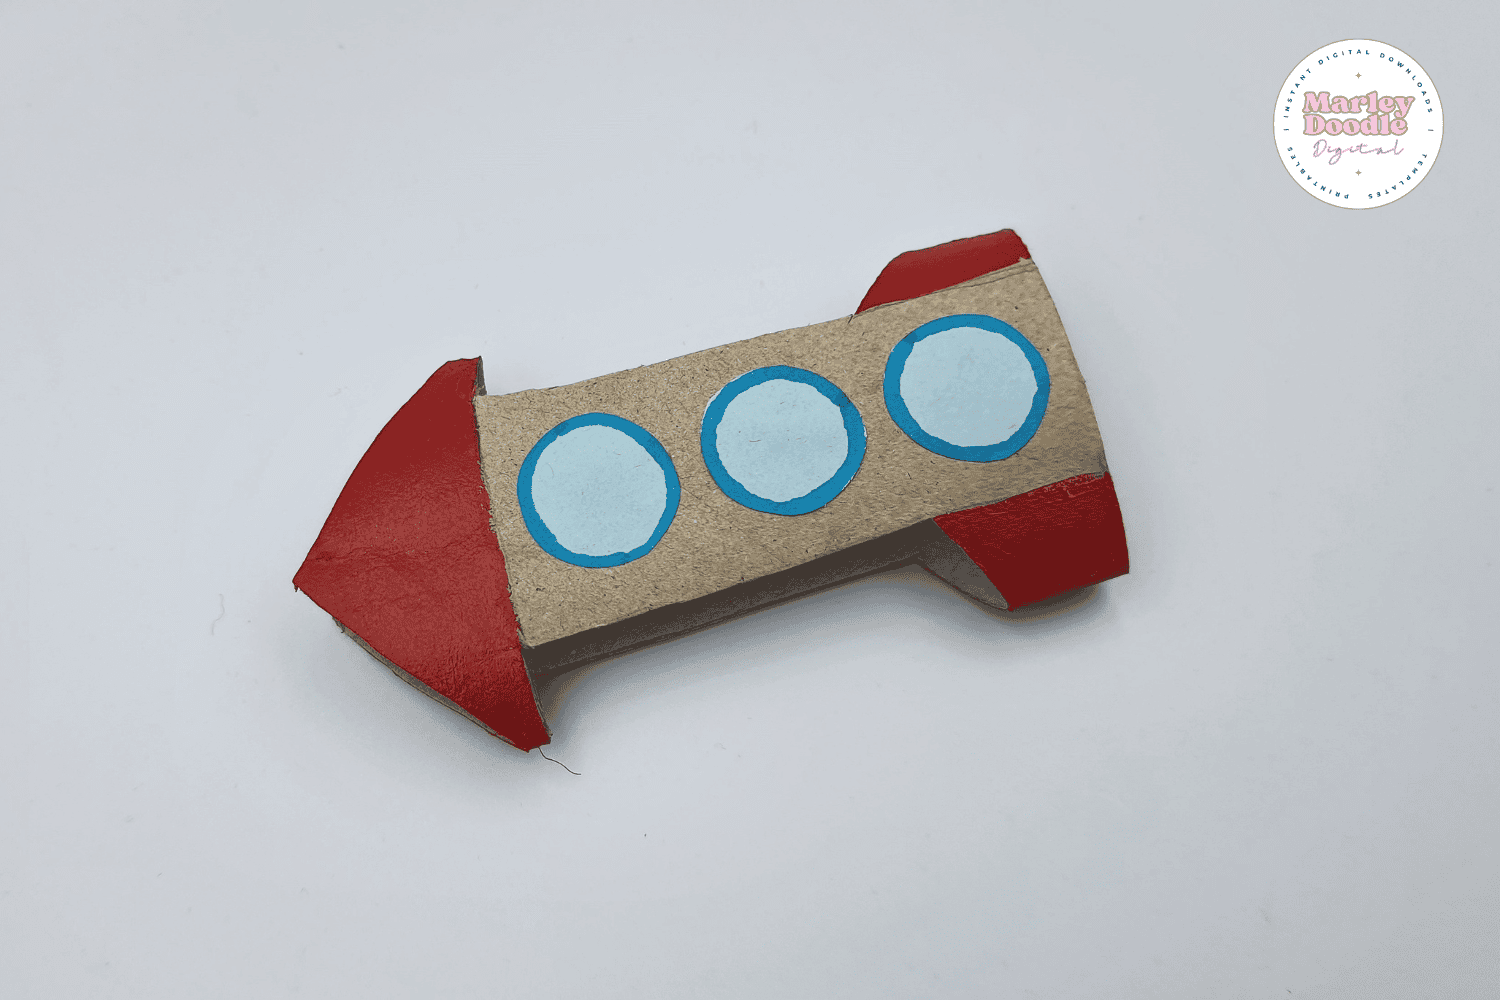
Step 3: Use the PDF template to trace and draw the rocket shape on the toilet paper roll using a pencil.

Step 4: Cut out the rocket shape from the toilet paper roll according to the lines using a pair of scissors.
Step 5: Again, use the PDF templates to cut out the flames and windows for the rocket.

Step 6: Glue the orange and yellow pieces of the flames together. Then, use a blue pen to draw outlines on the windows.

Step 7: Use watercolor, poster color or acrylic paint to paint the nose and fin of the rocket.

Step 8: Then, glue the windows on the middle part of the toilet paper roll. Make sure to keep equal distance to make it look neat.
Final step: Then, glue the flames at the bottom of the rocket to finish your toilet paper roll rocket craft.

💡Helpful Tips
- Check ink levels before printing. No printer? Local print shops can help, and they are usually reasonably priced or you can check an online print shop.
- While you could use construction paper, some of the colors may not show up as well depending on color.
- If you need another size other than US Letter, check your printer settings.
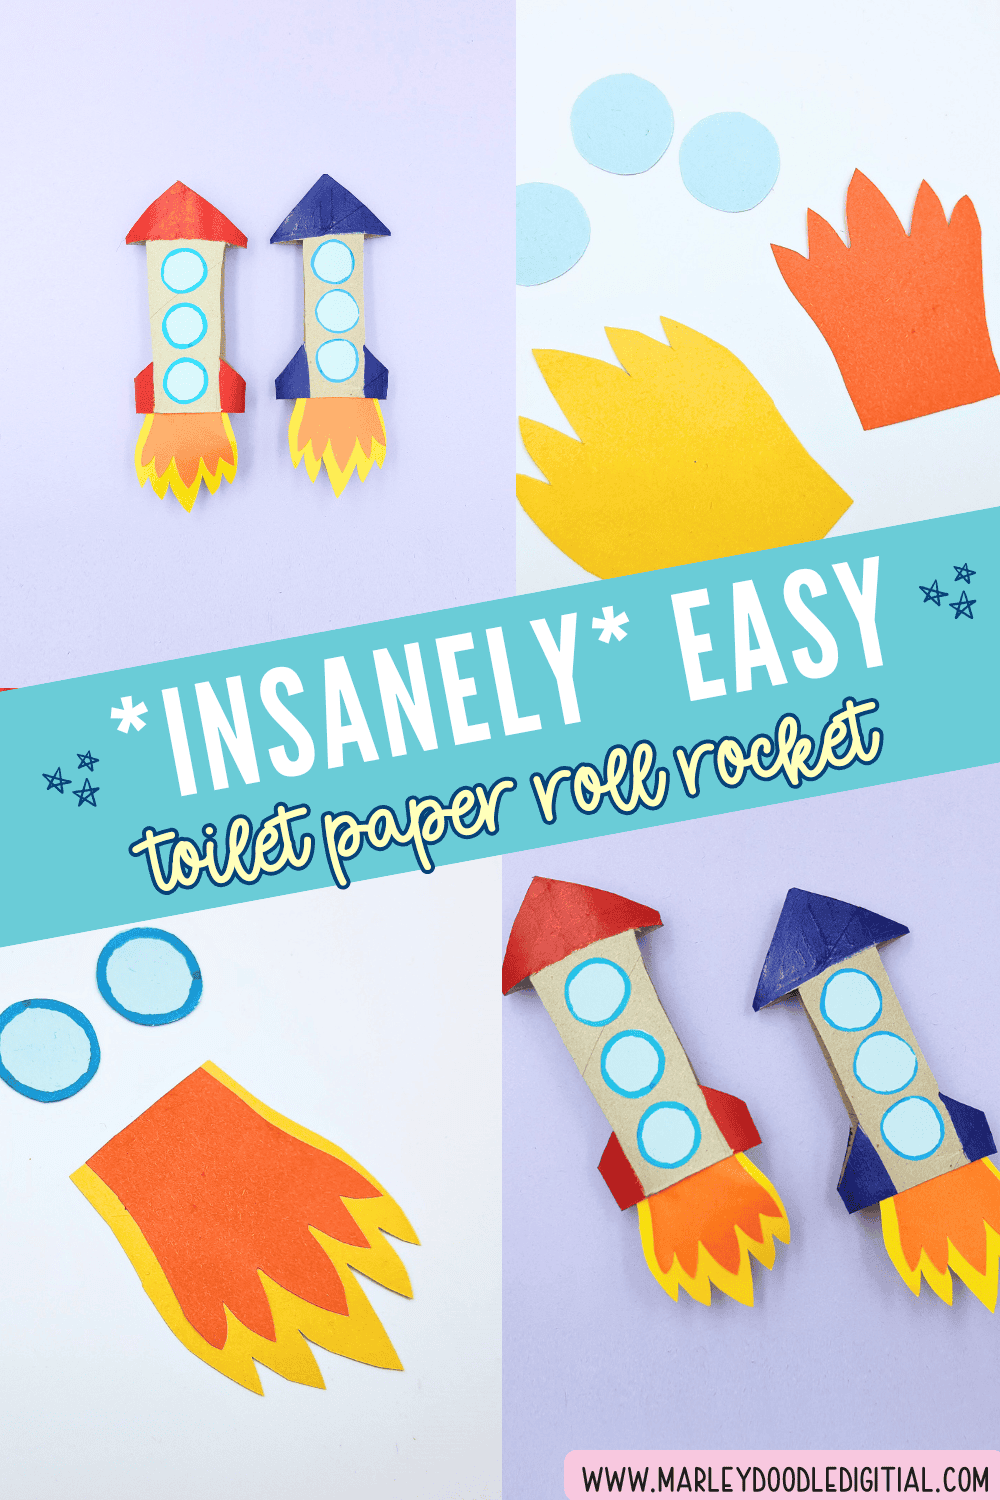
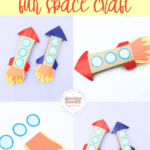
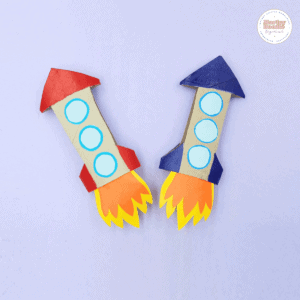
And there you have it, your very own toilet paper roll rocket, ready for blastoff! Whether your little ones are dreaming of space or just love getting crafty, this simple project is a fun way to kickstart their imagination, while upcycling old toilet paper rolls.
✅Get the Free Rocket Template Printable
Toliet Paper Roll Rocket Craft
Supplies & Materials
- Toilet Paper Roll
- Construction Papers
- Pencil
- Scissors
- Glue
- Ruler
- Printable Rocket Template Click the link in the notes, or scroll back up to download
Instructions
- Pick out a toilet paper roll to use as the base of your rocket. For a bigger version, a kitchen paper roll works great too.
- Gently flatten the roll a bit to make it easier to draw on.
- Grab the printable template and trace the rocket outline onto the roll with a pencil.
- Cut along the pencil lines to shape your rocket using scissors.
- Using the same template, cut out the flame shapes and round windows for your rocket.
- Glue the flame pieces together—orange behind yellow. Outline your windows with a blue marker or pen for extra detail.
- Paint the rocket’s nose and fins using your favorite paint—watercolor, poster paint, or acrylic all work well.
- Stick the windows onto the center of the rocket, spacing them out evenly for a clean look.
- Finish it off by attaching the flame piece to the bottom of your rocket—blast off complete!