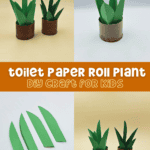
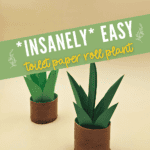
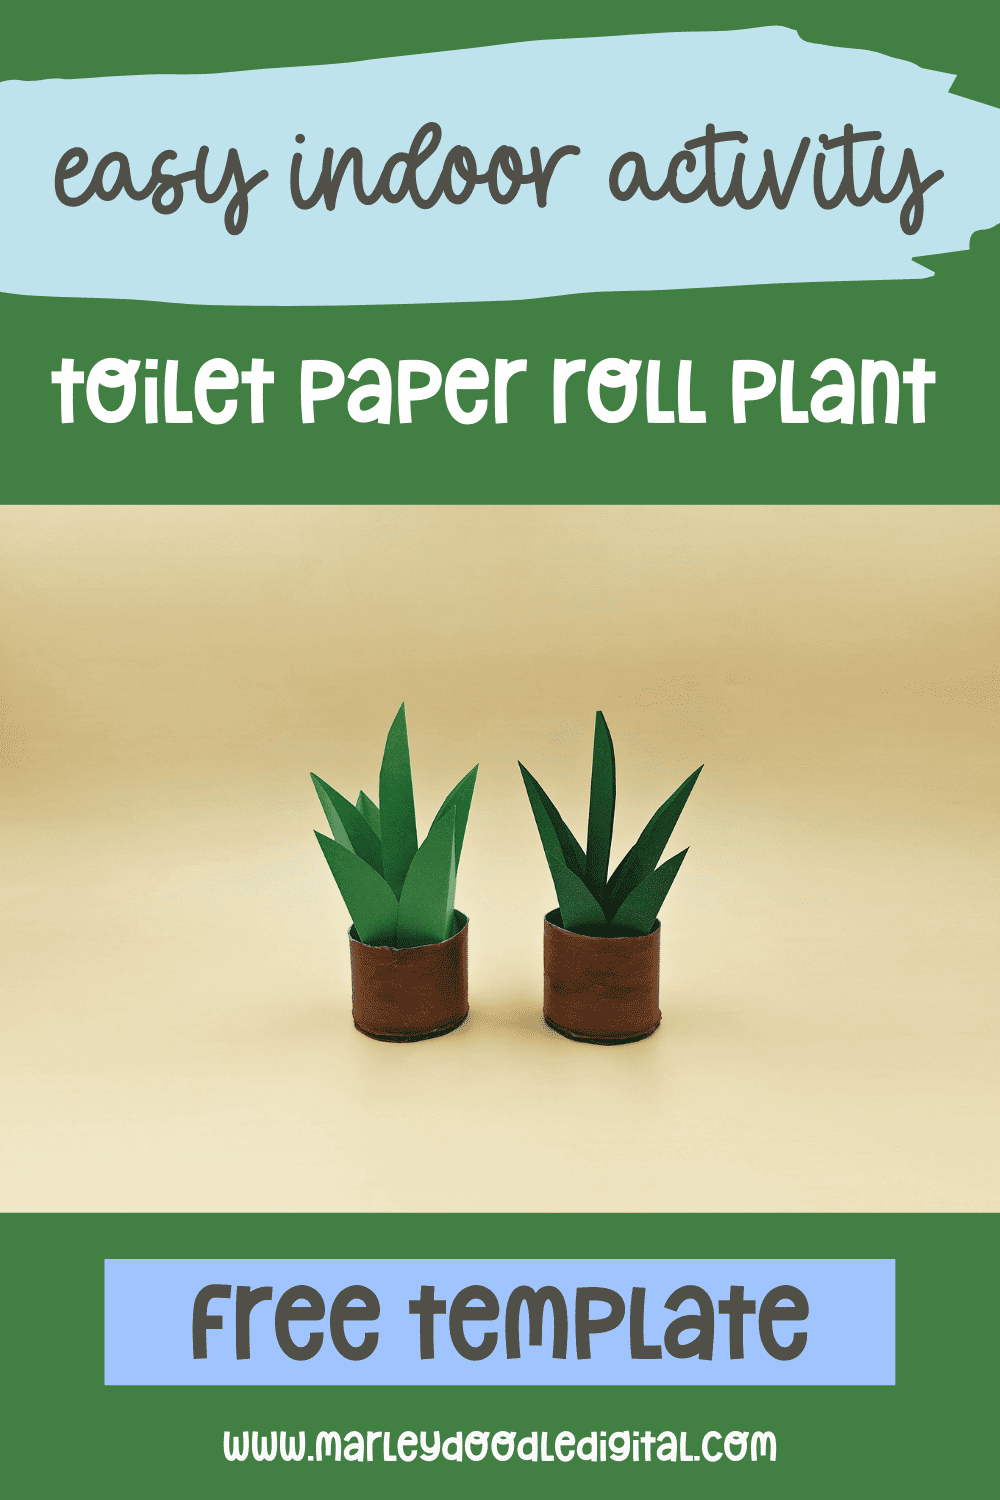
Easy DIY Toilet Paper Roll Plant Craft for Kids


Looking for a simple and fun craft to do with your little ones? This Easy Toilet Paper Roll Plant Craft is the perfect way to get creative, use recycled materials, and add a touch of nature to your home, no green thumb required!
Love Marley Doodle Digital?
Make us your preferred source on Google so our posts, printables, and guides show up first when you search. One tap and you’re set — it’s free and it helps us so much.
There are affiliate links in this post – please read my full disclosure policy. As an Amazon Associate, I earn from qualifying purchases.
With just a few supplies and a dash of imagination, your preschoolers can create their very own DIY plants. It’s an easy, hands-on project that’s full of fun and perfect for rainy days, classroom activities, or just some good old-fashioned crafting at home!
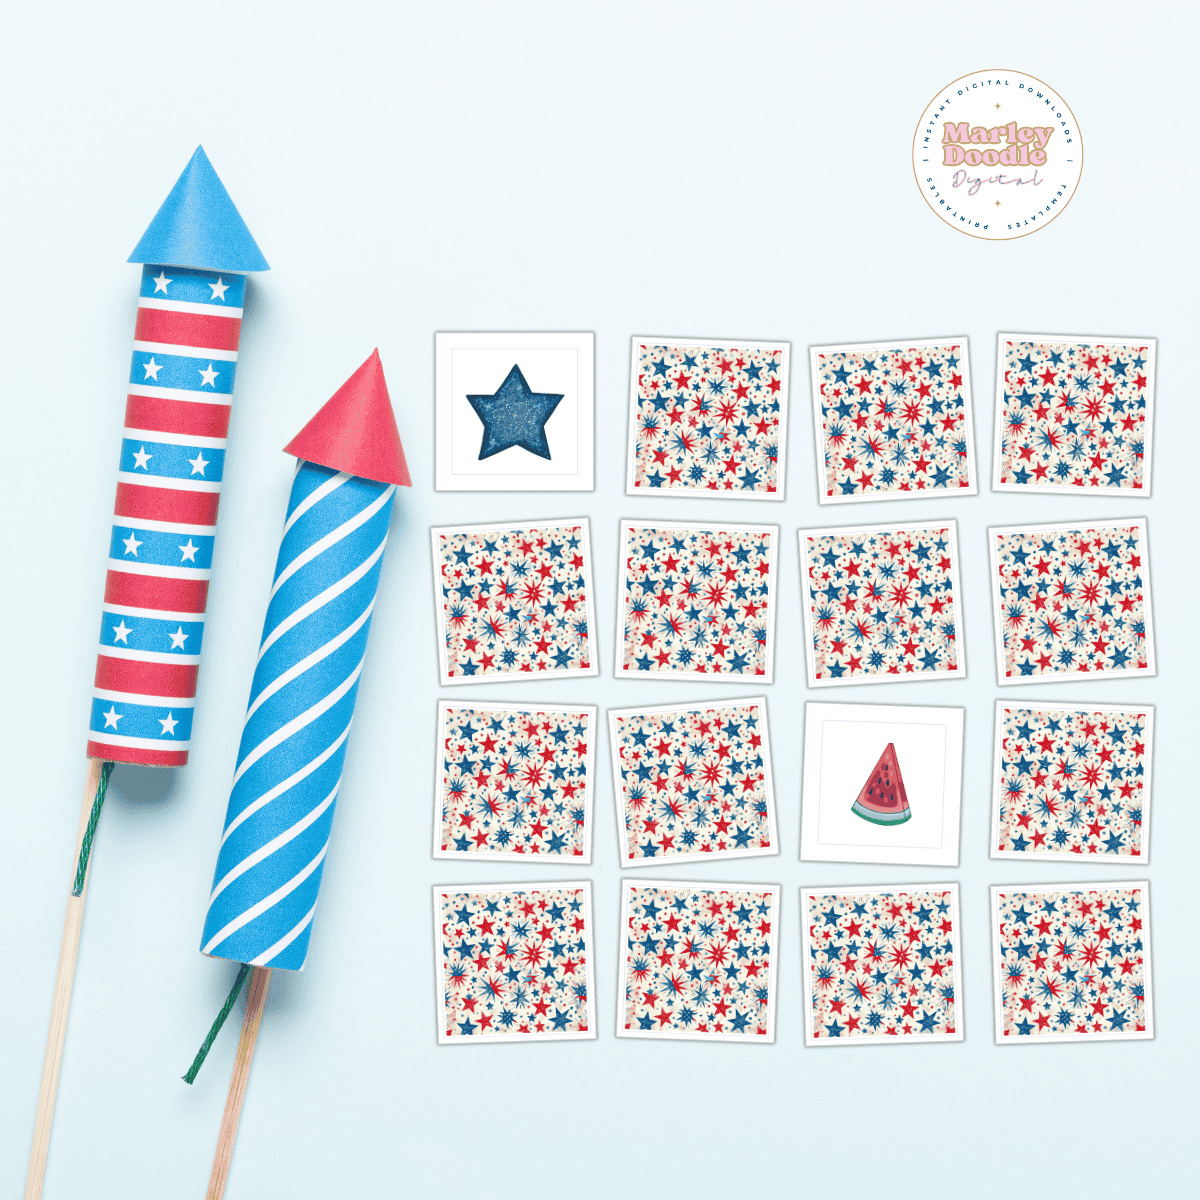
Be sure to also see this Easy DIY Toilet Paper Roll Rocket Craft for Kid and our toilet paper roll robot! Both include free templates to use!
🌟Don’t Leave Before You Check Out These Fun Ideas!🌟
📌What You’ll Need
- Toilet Paper Roll – could also use paper towel rolls and cut in shorter pieces.
- Green construction paper
- Pencil – to trace the pattern.
- Scissors
- Glue
- Ruler
- Free plant template

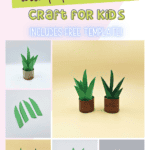
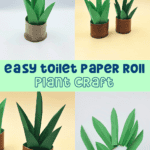
✨How to Make a Toilet Paper Roll Plant
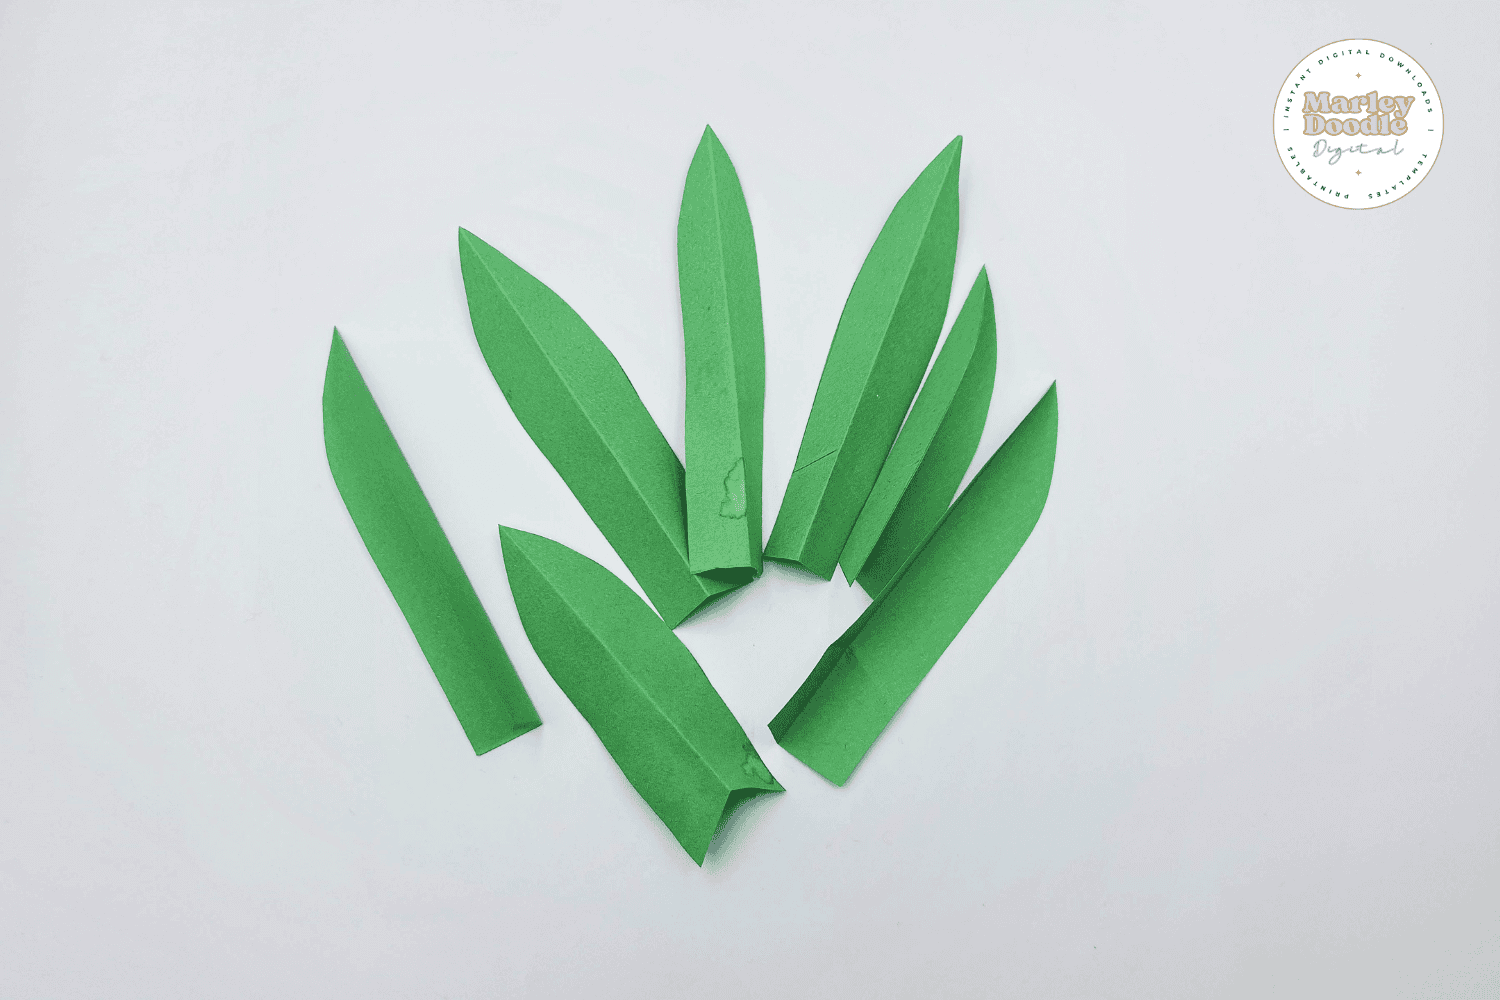
Step 1: Prepare the Leaves
Start by downloading and printing the free plant template. Trace the leaf shapes onto green craft paper and cut them out. You’ll need both short and long leaves for this craft.
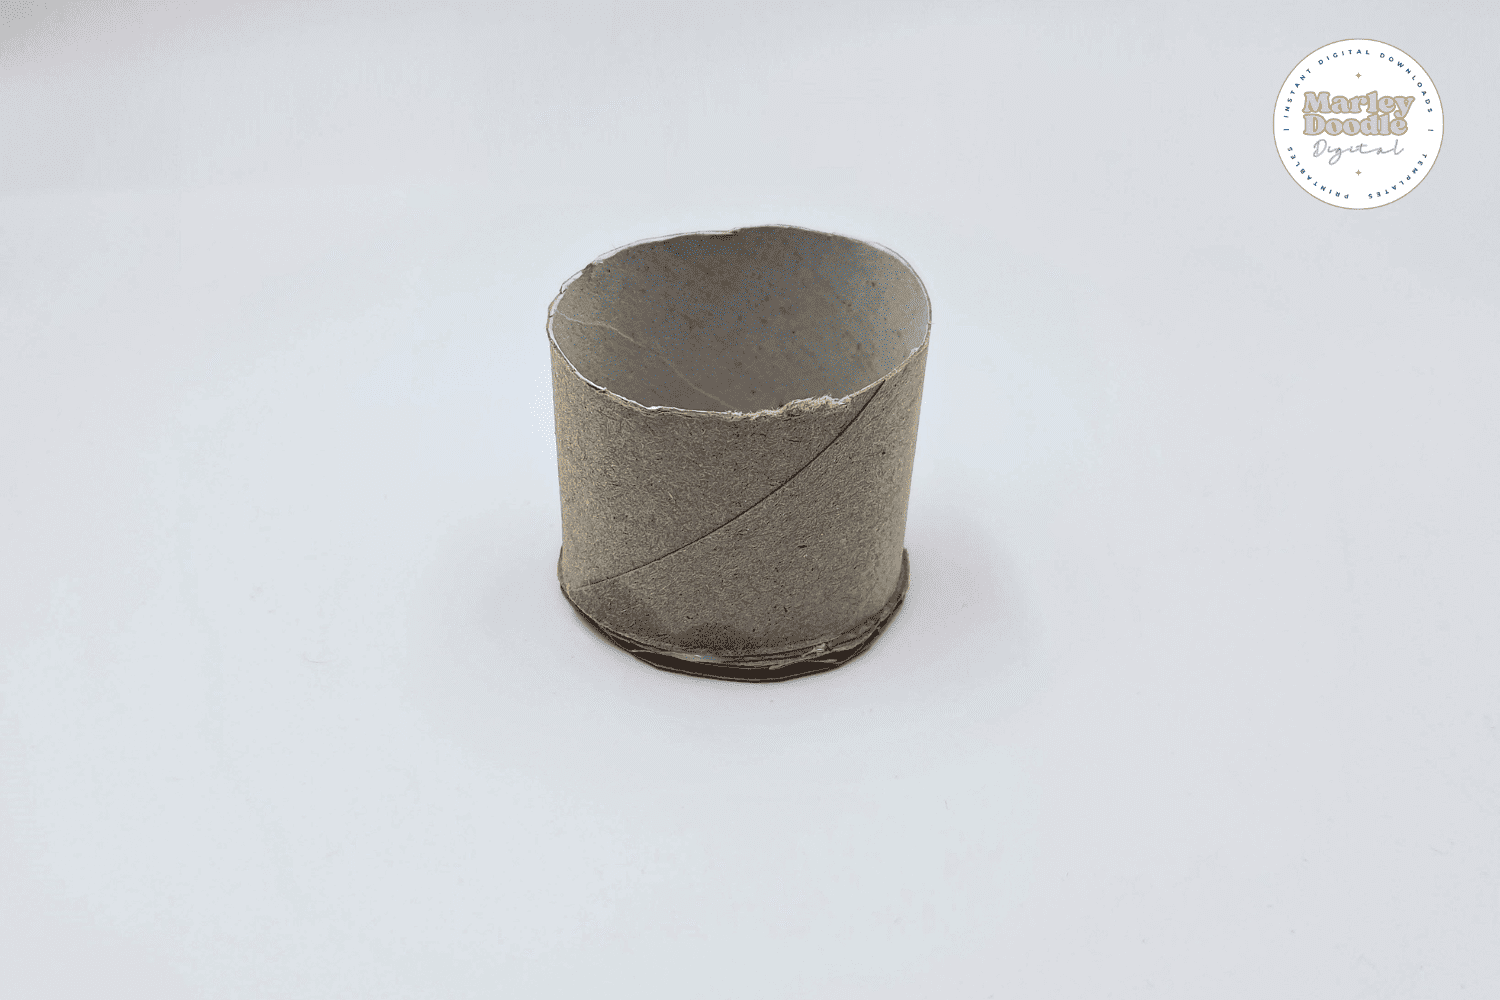
Step 2: Make the Plant Pot
Cut a toilet paper roll in half (or smaller, depending on how short you want the pot). Then trace and cut a circle out of cardboard that’s just slightly wider than the roll’s opening.
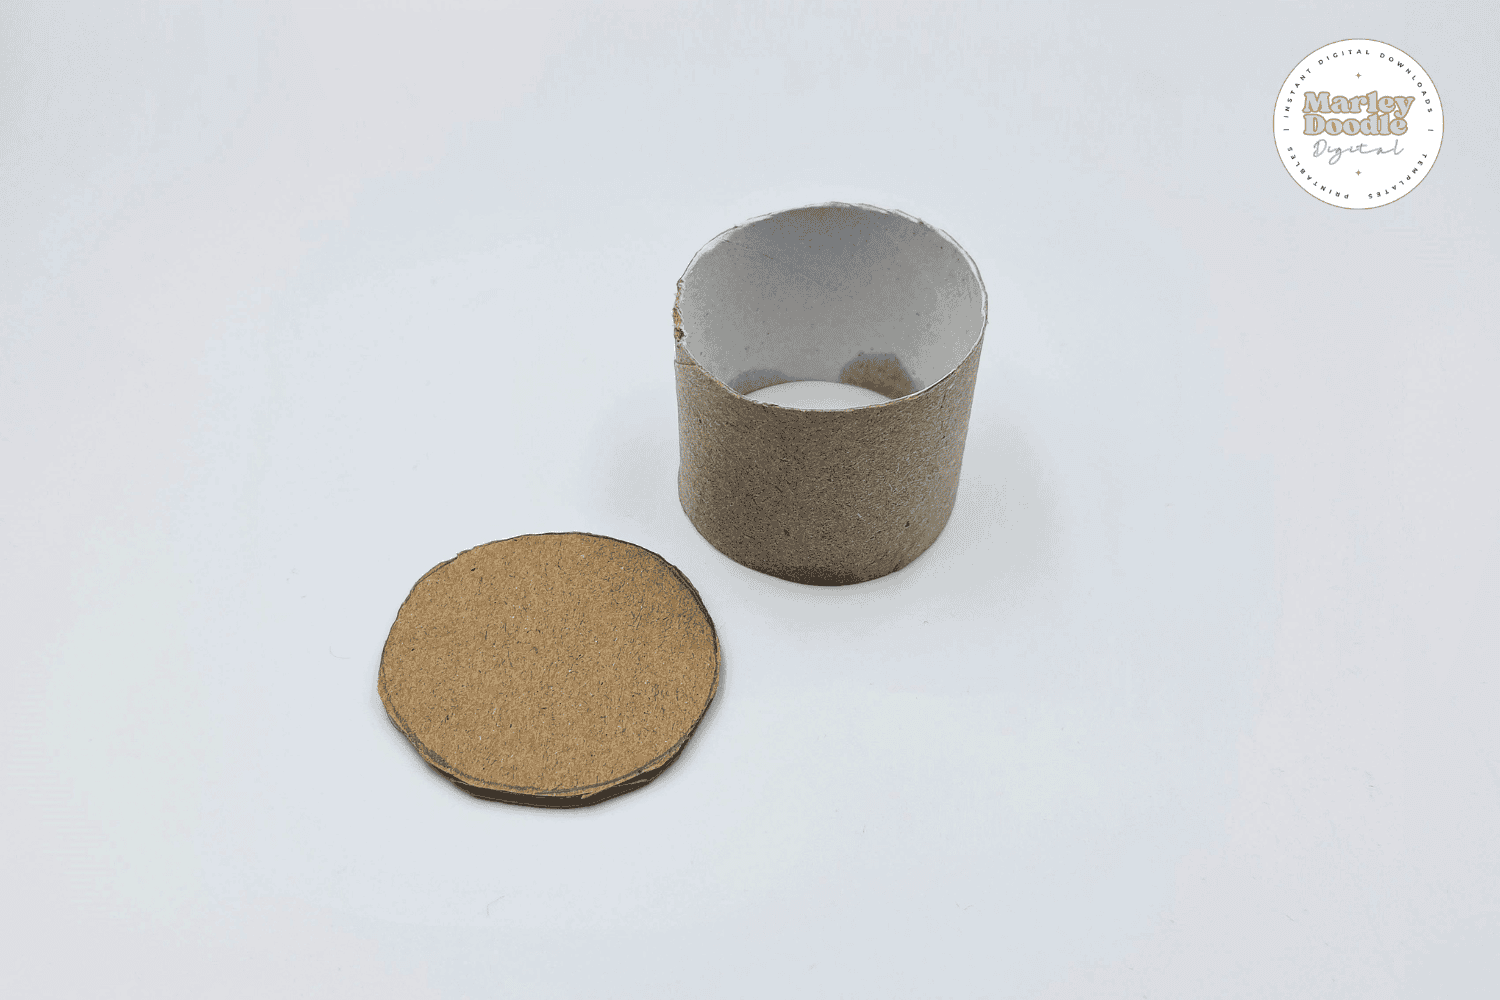
Step 3: Assemble the Base
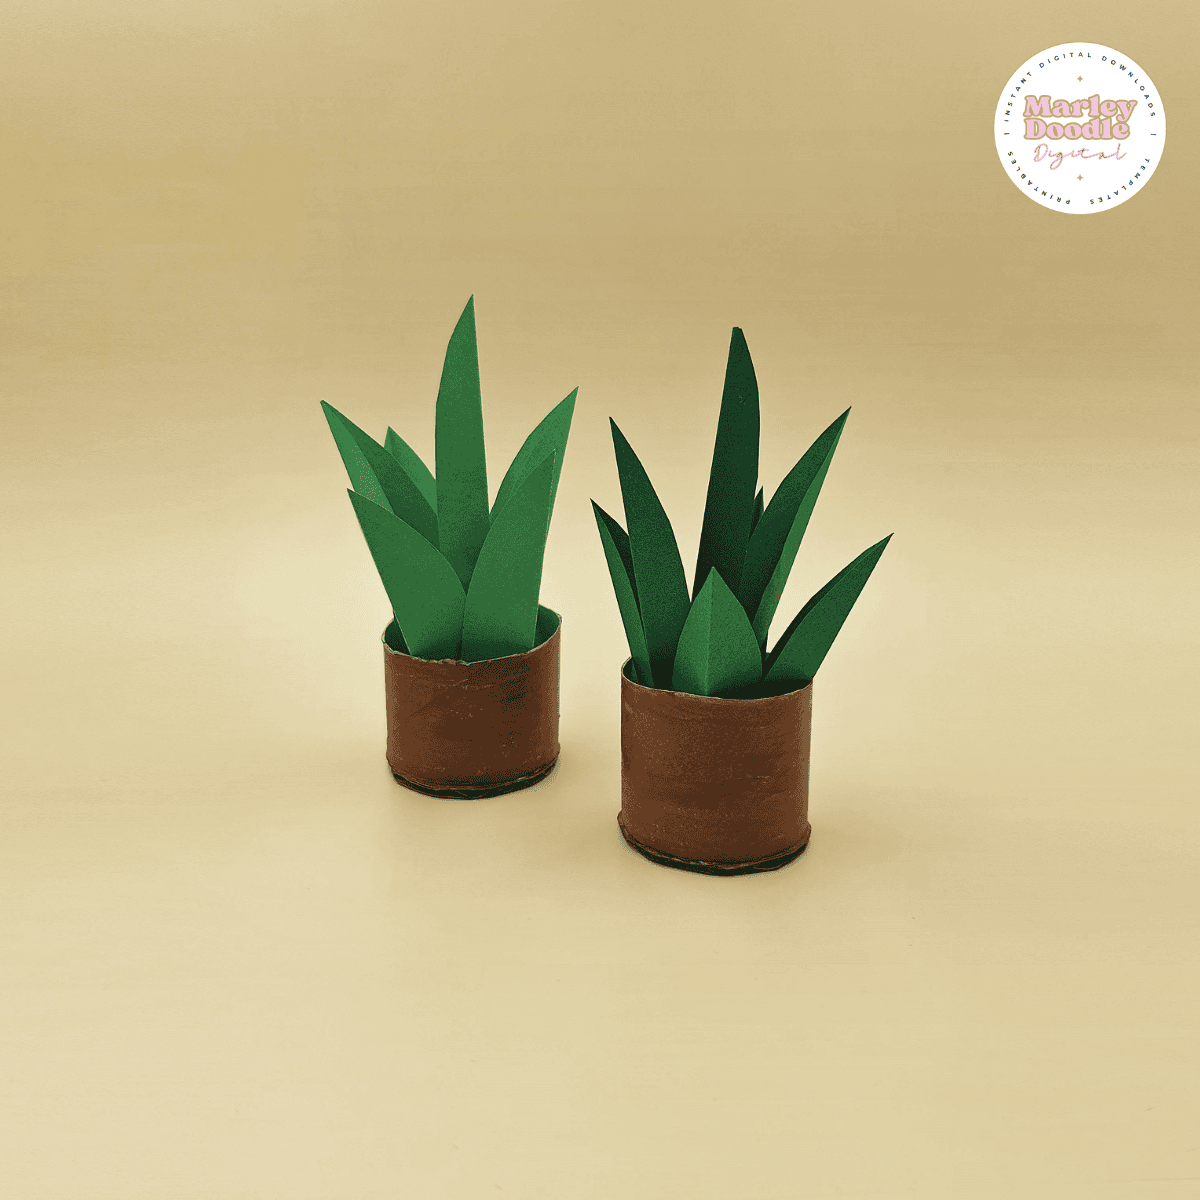
Glue the cardboard circle to the bottom of the toilet paper roll to form your plant pot. You can paint or decorate the roll if you’d like, or leave it plain for a simple look.
Step 4: Shape the Leaves
Fold all of the shorter leaves in half vertically to give them a more natural, 3D shape.

Step 5: Begin Gluing the Leaves
Glue two of the short leaves to opposite sides of the top of the pot. Once those are set, glue two more short leaves on the remaining sides so the top of the pot has leaves going in four directions.
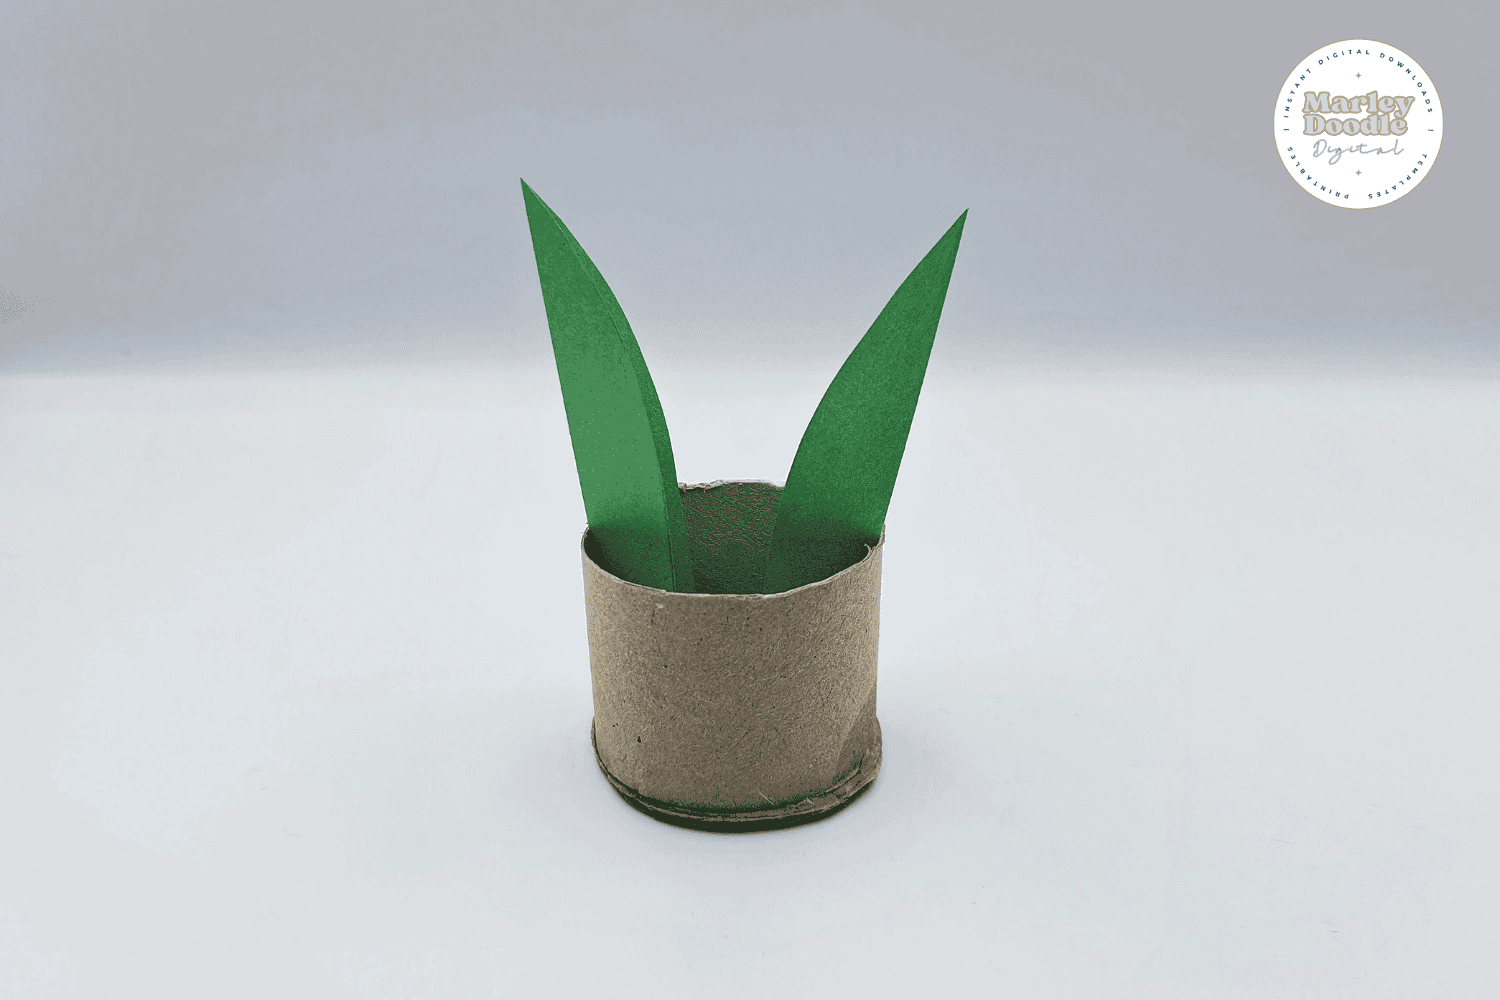
Step 6: Add the Longer Leaves
Now fold the longer leaves in half vertically as well. Once the shorter leaves are secured and dry, glue the long leaves into the center of the shorter ones so they stick up and add height to your plant.

Step 7: Take the longer leaves and fold them vertically in half.
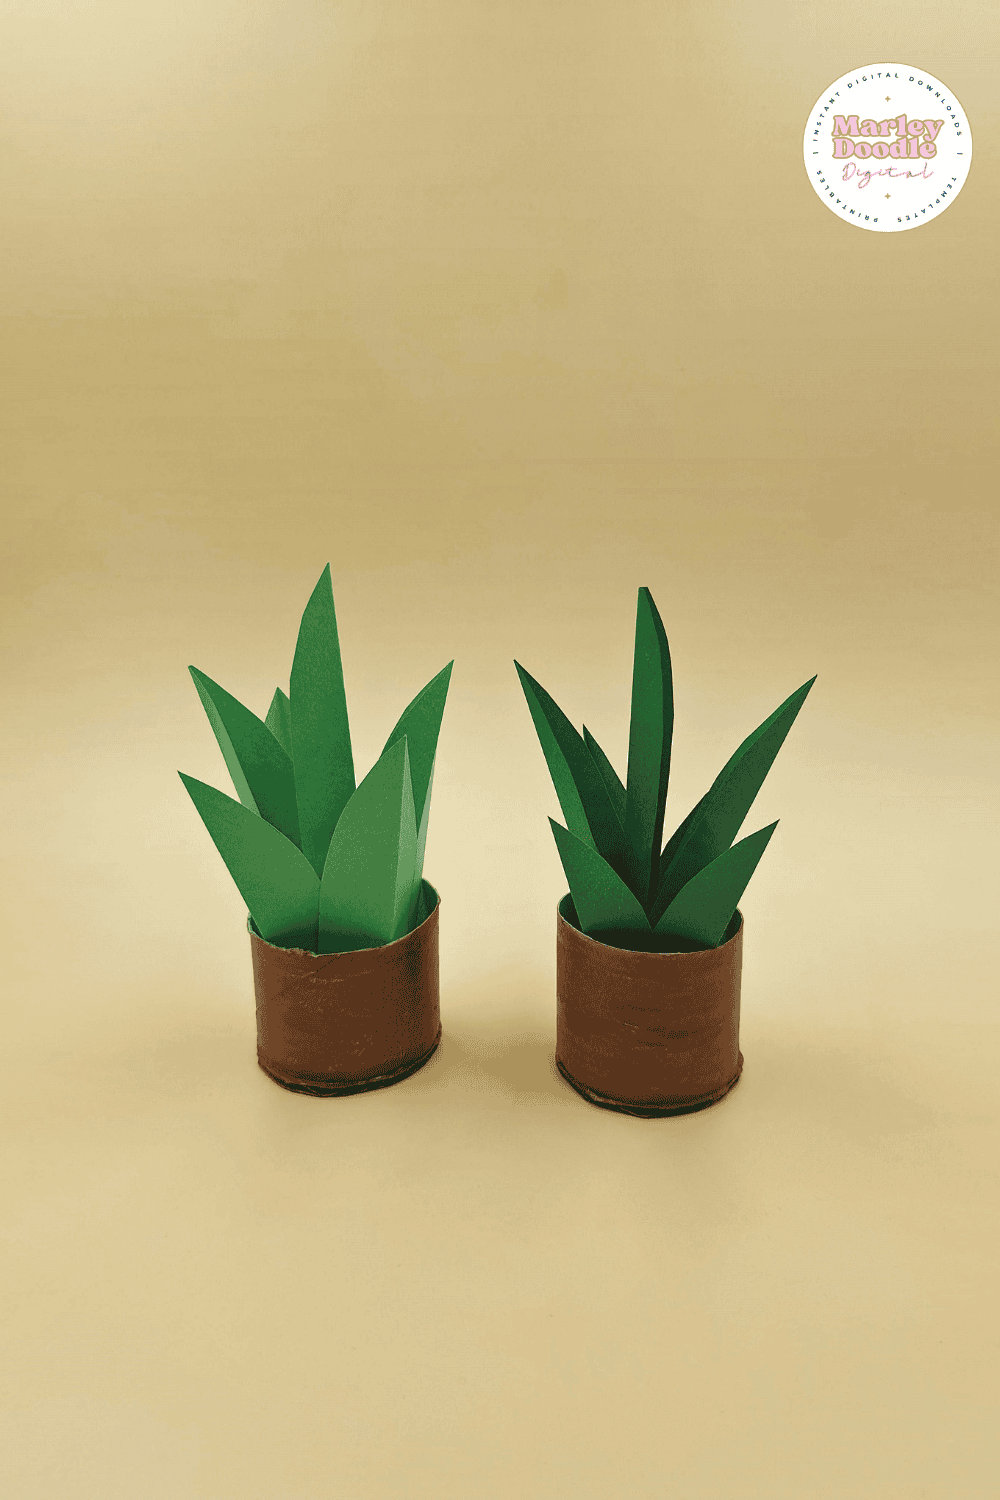
Step 8: Final Touches
Trim off any extra cardboard that may be sticking out from the base.

Your toilet paper roll plant is now complete and ready to be displayed!
💡Helpful Tips
- Use thicker paper for the leaves (like cardstock) if you want them to stand up more firmly.
- Pre-cut cardboard bases for younger kids to speed up the setup.
- Color the pot before gluing the base if you plan to paint or decorate it—this helps avoid glue messes.
- Layer the leaves slightly for a fuller, more realistic look.
- Let everything dry flat before standing the craft upright to keep the leaves from shifting.
✅Get the Free Printable Robot Craft Templates

And there you have it, a super easy, super fun toilet paper roll plant craft your little ones will love! A great way to upcycle old toilet paper rolls and to learn about plants!
Toilet Paper Roll Plant Craft

Supplies & Materials
- Toilet paper roll
- Green craft or construction paper
- Free plant template
- Cardboard
- Scissors
- Glue
- Pencil
- Optional: Paint or markers to decorate the pot
Instructions
- Download the template and cut out the leaf shapes using green craft paper.
- Cut a toilet paper roll in half. Then trace and cut a cardboard circle slightly larger than the bottom of the roll.
- Glue the cardboard piece to the base of the roll to form the pot. Decorate if desired.
- Fold each short leaf in half lengthwise to give it a curved shape.
- Glue two short leaves to opposite sides of the top of the roll. Then glue two more on the remaining sides.
- Fold the long leaves in half and glue them upright in the center of the pot, between the short leaves.
- Trim any cardboard edges showing at the base and let everything dry.