Free Dinosaur Birthday Party Printables


Get ready to throw a dino-mite celebration with this free printable dinosaur party pack! From decorations to party favors, this set makes it easy to pull off a prehistoric party your little one will never forget.
There are affiliate links in this post – please read my full disclosure policy. As an Amazon Associate, I earn from qualifying purchases.
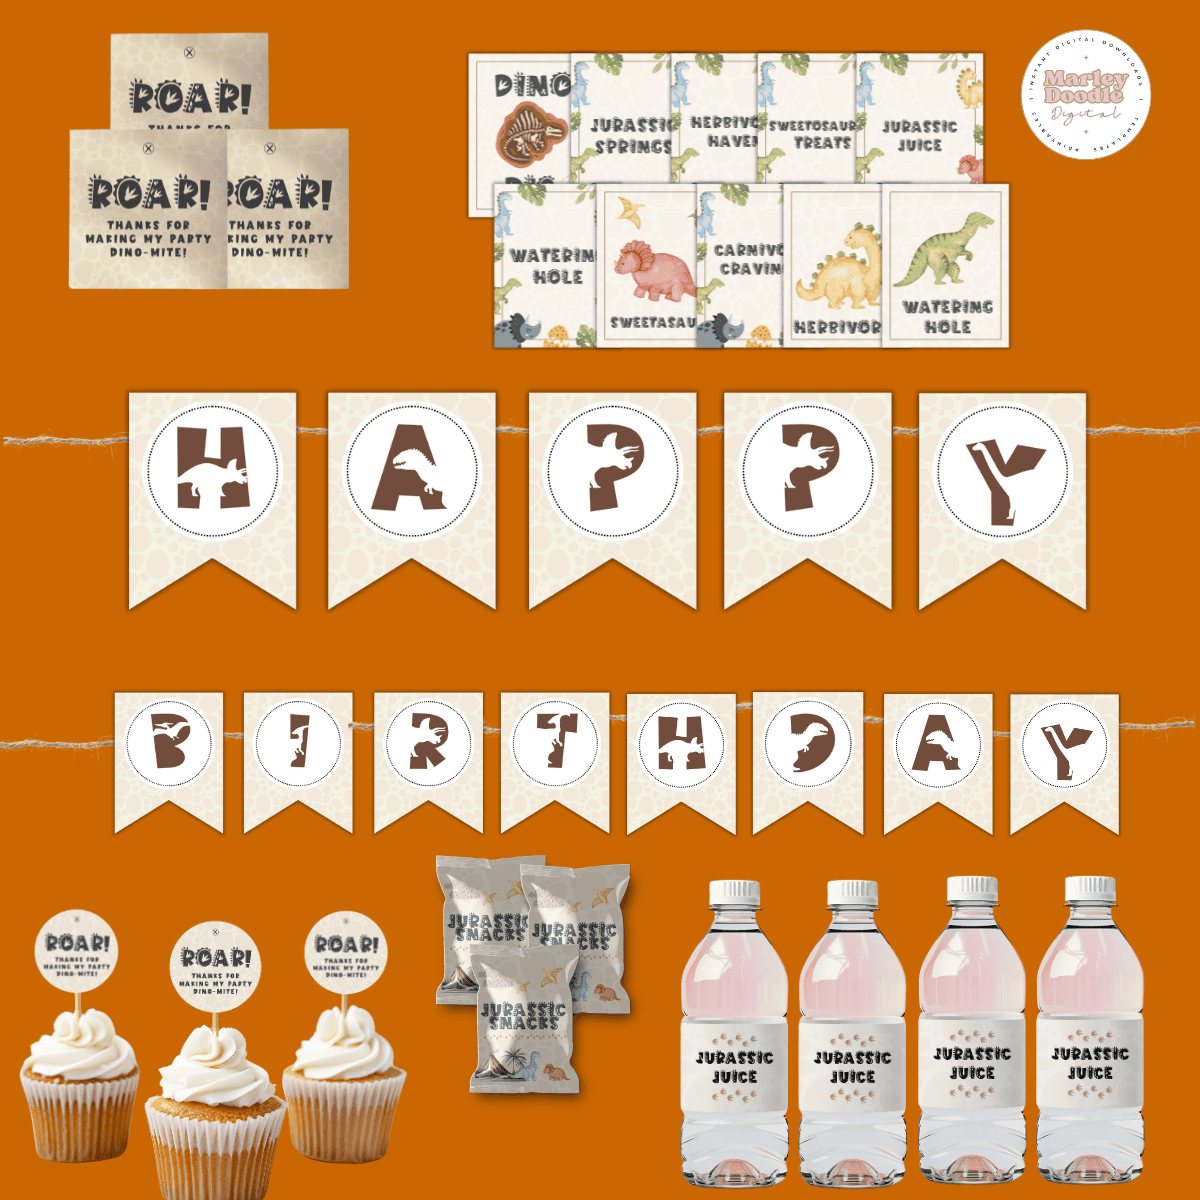
Planning a dinosaur-themed birthday party? This free printable dinosaur party pack has everything you need to make your event roar—from playful signs and water bottle labels to cupcake toppers, chip bags, thank you tags, and a matching banner. Whether you’re hosting a Jurassic bash for a birthday, classroom celebration, or just because, these printables are designed to help you create a fun and cohesive look without the stress. Simply download, print, and get ready for a party that’s truly tricera-TOPS!
Be sure to see our Dinosaur Play Dough Mats & Info Cards for Kids (Free Printables) and this Easy Dinosaur Sensory Bin that is perfect for toddlers and preschool!

❤️Don’t Leave Before You Check Out These Fun Ideas!❤️
This digital file is an instant download that you will receive via download link after subscribing. Our printables are for personal use only. No physical product will be shipped.
🌟What’s Included
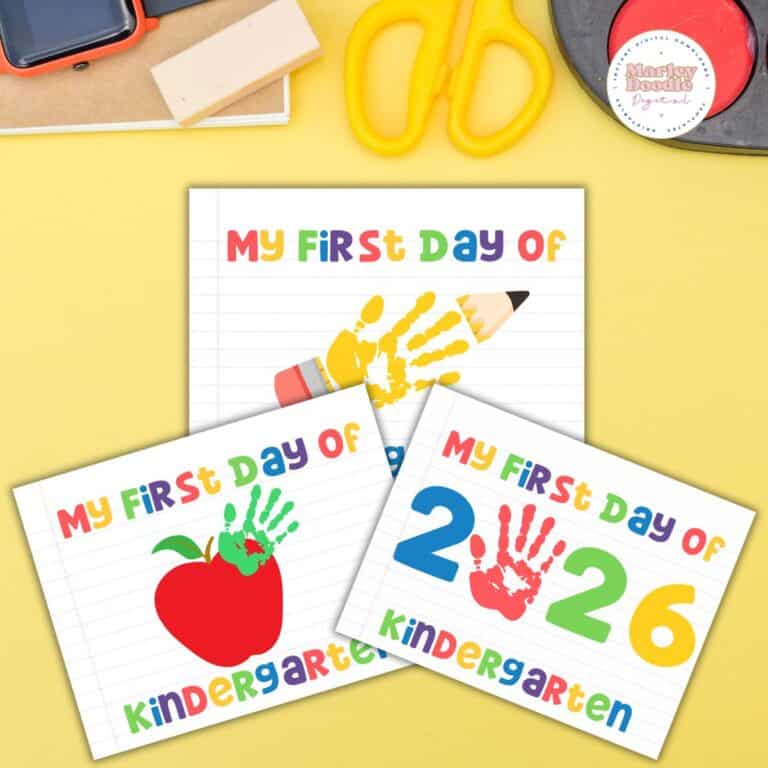
10 Printable Signs – these are perfect to set up around the food and drink table.

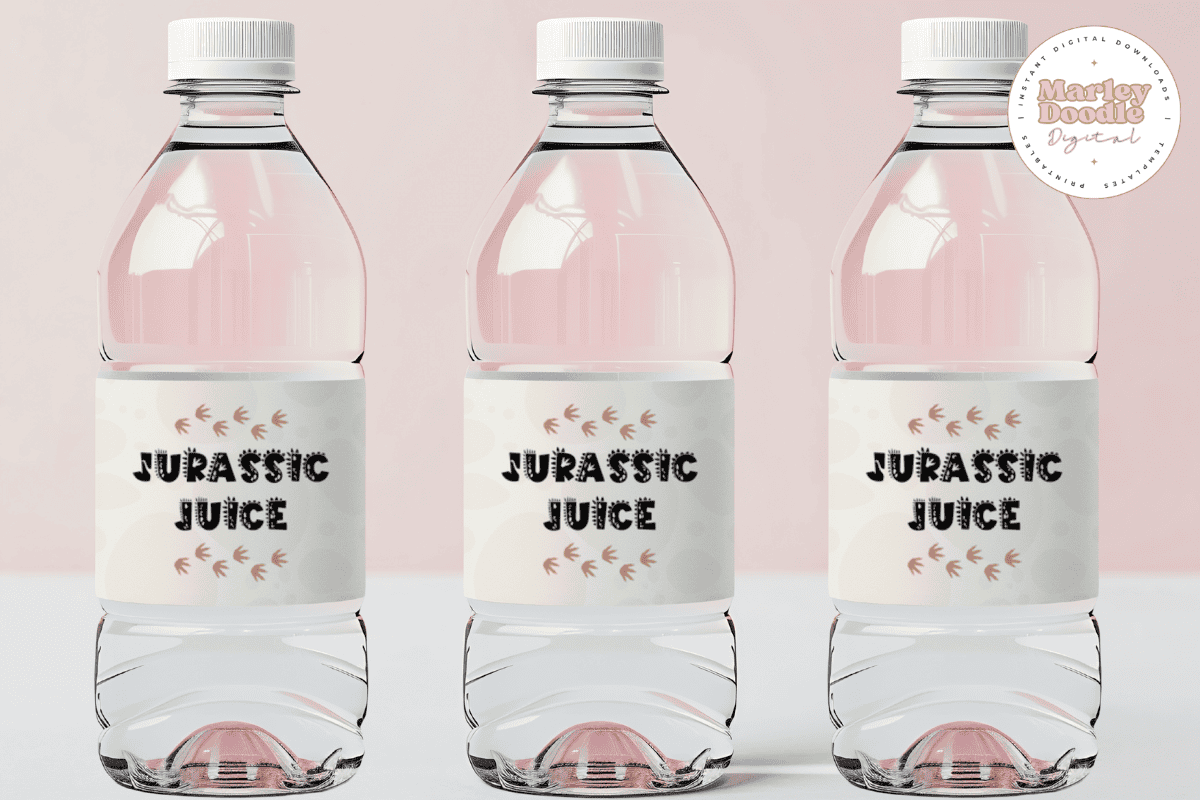
2 Sets of Water Bottle Labels – add a festive touch to the water with either the Jurassic Springs or Jurassic juice labels.
Cupcake Toppers – cut around the circles and glue to toothpicks to add to the cupcakes.

Square Thank You Tags – Attach these to the party favors that kids will get to take home.

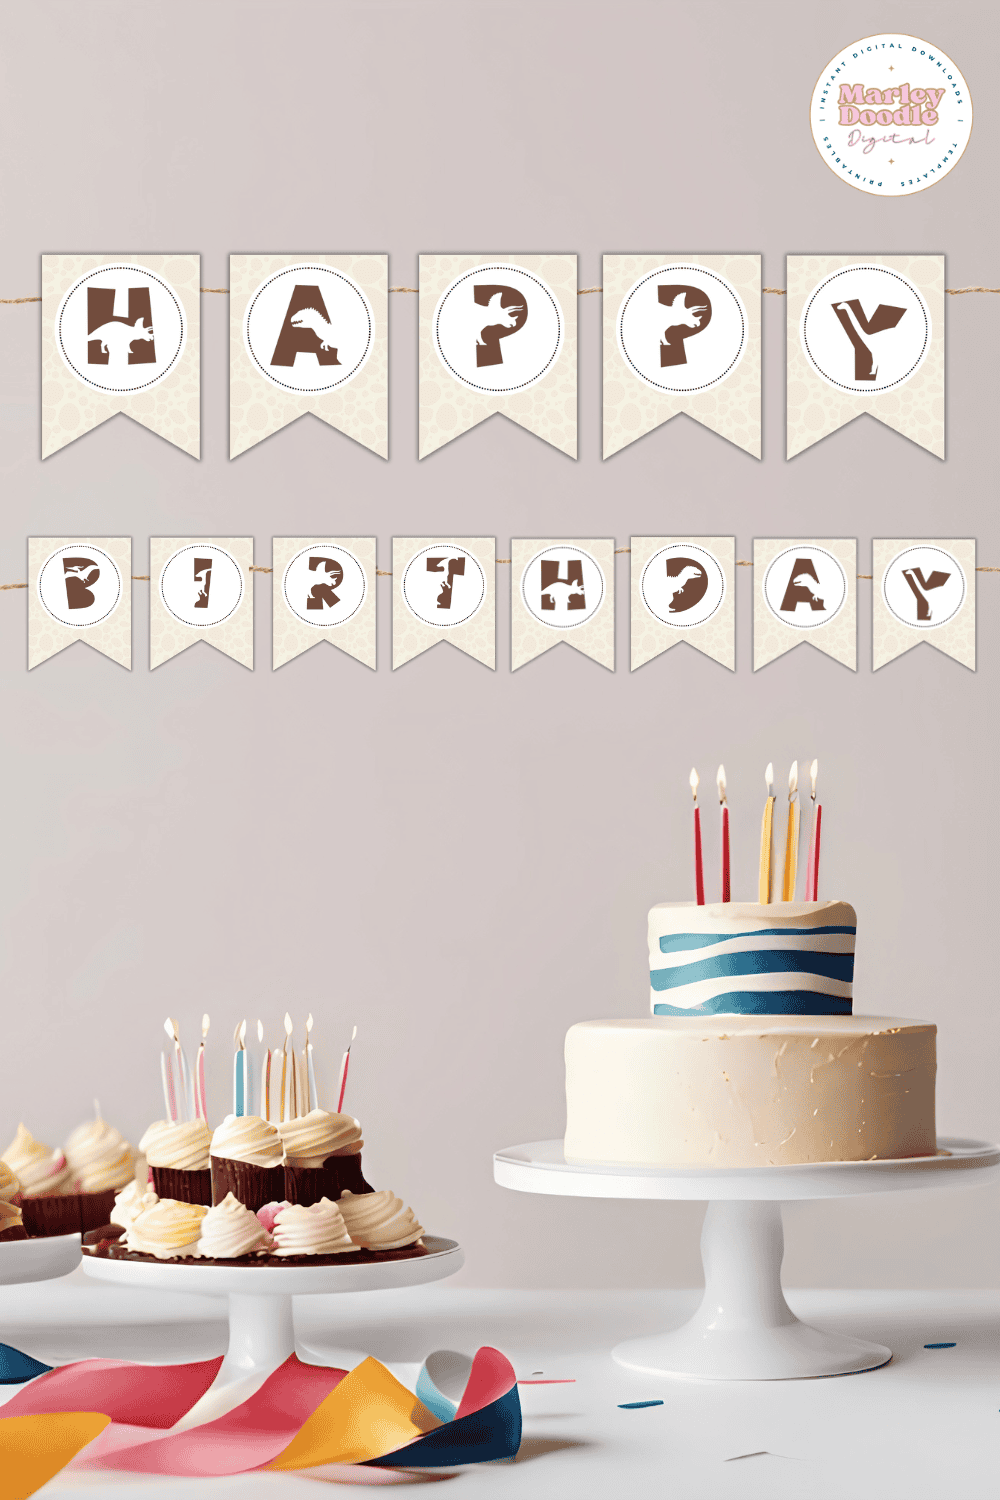
Dinosaur Banner – This banner includes all letters of the alphabet so you can make it say whatever you would like.
Printable Chip Bags – Make the chips and snacks extra fun with these custom chip bag wrappers.

📌What You’ll Need
Cardstock or heavy paper – for the printable signs, cupcake toppers, and thanks you tags.
Thin Brochure Paper – for the chip bags.
Paper Crimper – this is optional, but it will give the ends of the chip bags a more realistic look.
Tape Runner – to seal the chip bags. It works best because it’s double sided tape.
Sticker Paper – to print the water bottle labels on.
Scissors or paper trimmer

✨Printing and Downloading
For the tags, cupcake toppers, banner, and signs you can print as normal. Use sticker paper and print as you normally would for the water bottle labels.
🖨️How to Print Chip Bags
Step 1: Choose the Right Paper
For vibrant, high-quality chip bags, use glossy brochure paper around 32–48 lb weight. Regular printer paper is too thin and won’t give that shiny, professional feel. Glossy paper also makes the colors pop and holds up better when wrapped around snacks.
Step 2: Printer Settings
Make sure your printer settings are optimized:
- Paper Type: Glossy or Presentation Paper
- Print Quality: High or Best
- Scale: 100% (so the template prints at the correct size)
- Orientation: Landscape (if your template requires it)
Test print one page first to check color accuracy and alignment before printing multiple copies.
Step 3: Print
Print out your designs and let them dry completely if you’re using an inkjet printer. This helps prevent smudging, especially on glossy paper.
✂️How to Assemble Chip Bags
Once printed, assembly is quick and easy! Here’s how to put them together:
Step 1: Trim the Edges
Use a paper trimmer or scissors to cut your printed design down to the edges, removing any white borders.
Step 2: Wrap the Snack
Place your individual snack bag in the center of the printed wrapper, with the design face-down on the table. The backside of the chip bag will overlap slightly in the middle.
Step 3: Seal the Sides
Apply glue or double-sided tape along one side edge of the paper and overlap the other side to create a cylinder shape around your snack bag.
Step 4: Seal the Top and Bottom
Close the bottom of the bag first. Apply glue or tape to the inside of the bottom flap and press firmly to seal.
Slide your snack all the way down so it’s snug against the sealed bottom, then repeat on the top edge.

💡Helpful Tips
- Use full-page glossy paper for the chip bags. Photo paper can crack when folded, but brochure paper is flexible and durable.
- For the highest quality, use heavy duty white card stock paper. You can also use regular paper if need something quick.
- Check ink levels before printing. No printer? Local print shops can help, and they are usually reasonably priced or you can check an online print shop.
- If you need another size other than US Letter, check your printer settings.
🎯Favorite Printable Supplies
Here are some of our favorite materials and supplies we use so we get the best quality out of our printables!
With this free printable dinosaur party pack, you can easily bring your dino party dreams to life while saving time and money. Just add snacks, a cake, and a few excited party guests, and you’re all set for a celebration that’s guaranteed to be roar-some!