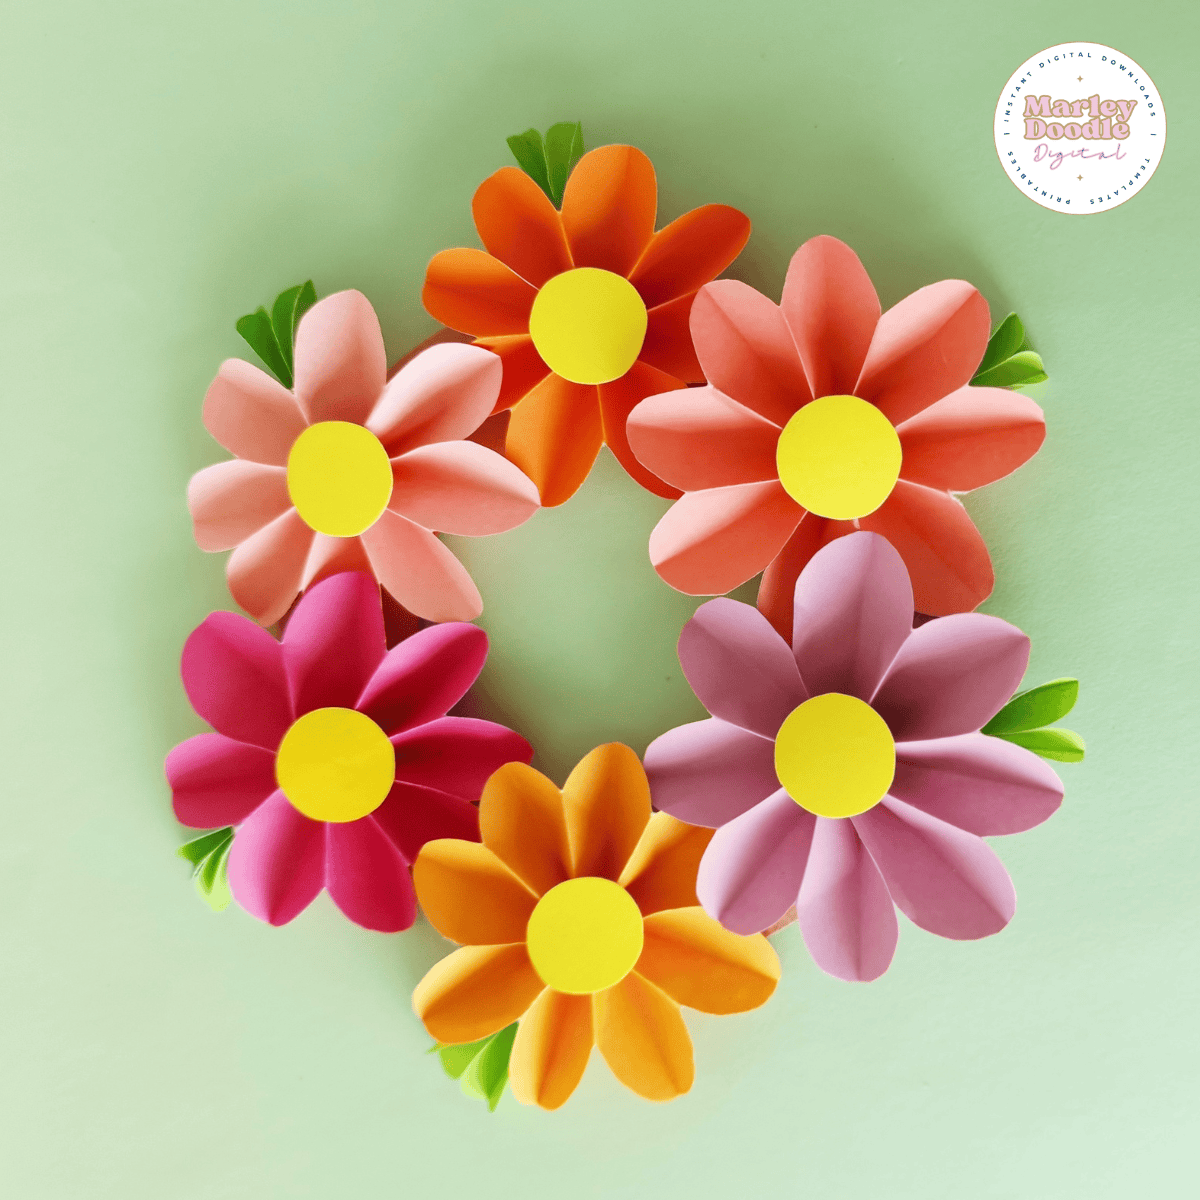
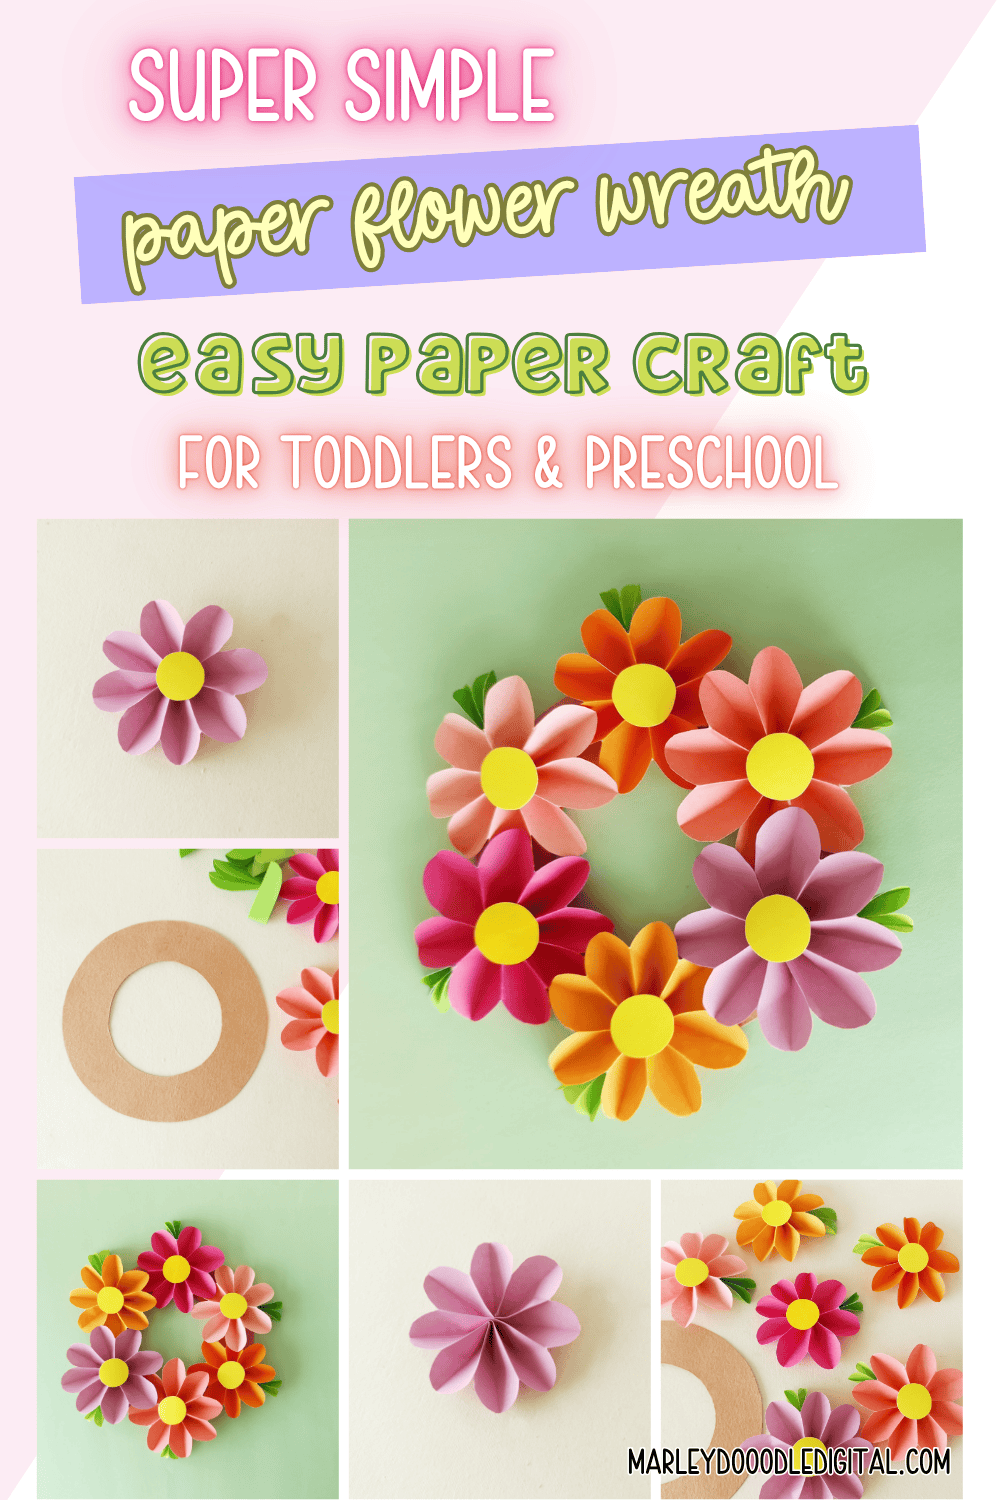
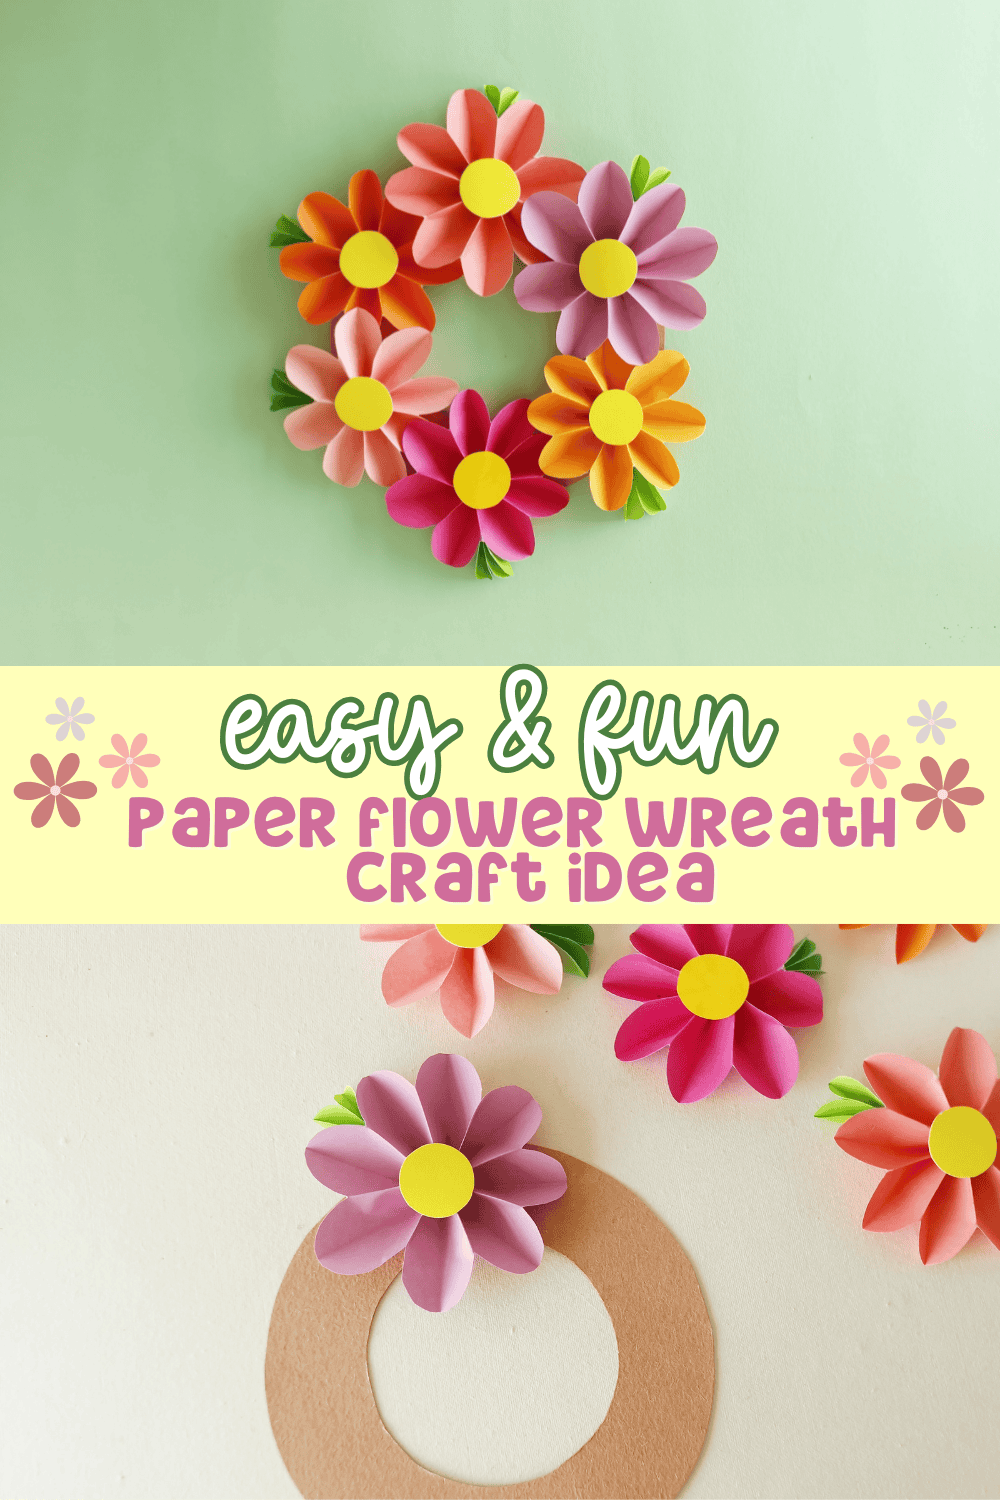
Easy Paper Flower Wreath Craft for Kids
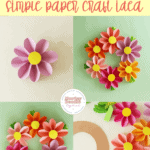
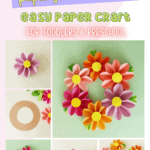
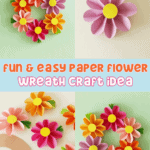
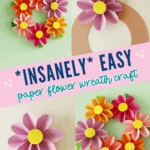
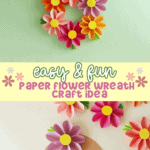
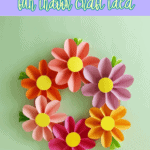
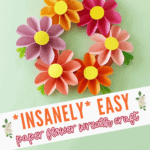
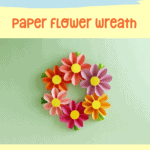
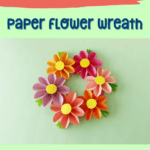
Looking for a fun and simple craft to brighten up your day? This easy paper flower wreath craft is perfect for kids, and just as fun for grown-ups too! It’s a great spring craft idea or you can even gift it to mom for Mother’s day!
Love Marley Doodle Digital?
Make us your preferred source on Google so our posts, printables, and guides show up first when you search. One tap and you’re set — it’s free and it helps us so much.
There are affiliate links in this post – please read my full disclosure policy. As an Amazon Associate, I earn from qualifying purchases.
Whether you’re filling a rainy afternoon or prepping for a spring-themed activity, this project is a sweet way to get creative together. It’s colorful, mess-free, and totally beginner-friendly, even little hands can join in on the fun.
Since spring time is in the air, be sure to check out these 19+ Easy Weather Crafts for Kids, Toddlers, and Preschool along with our 21+ Easy and Fun Butterfly Crafts for Kids.
🌟Don’t Leave Before You Check Out These Fun Ideas!🌟


📌What You’ll Need
- Colored craft papers
- Craft glue
- Pencil
- Sharpies
- Thick craft paper or cardstock paper
✨How to Make the Paper Flower Wreath Craft
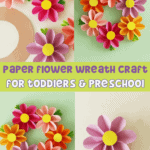
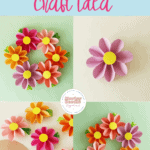
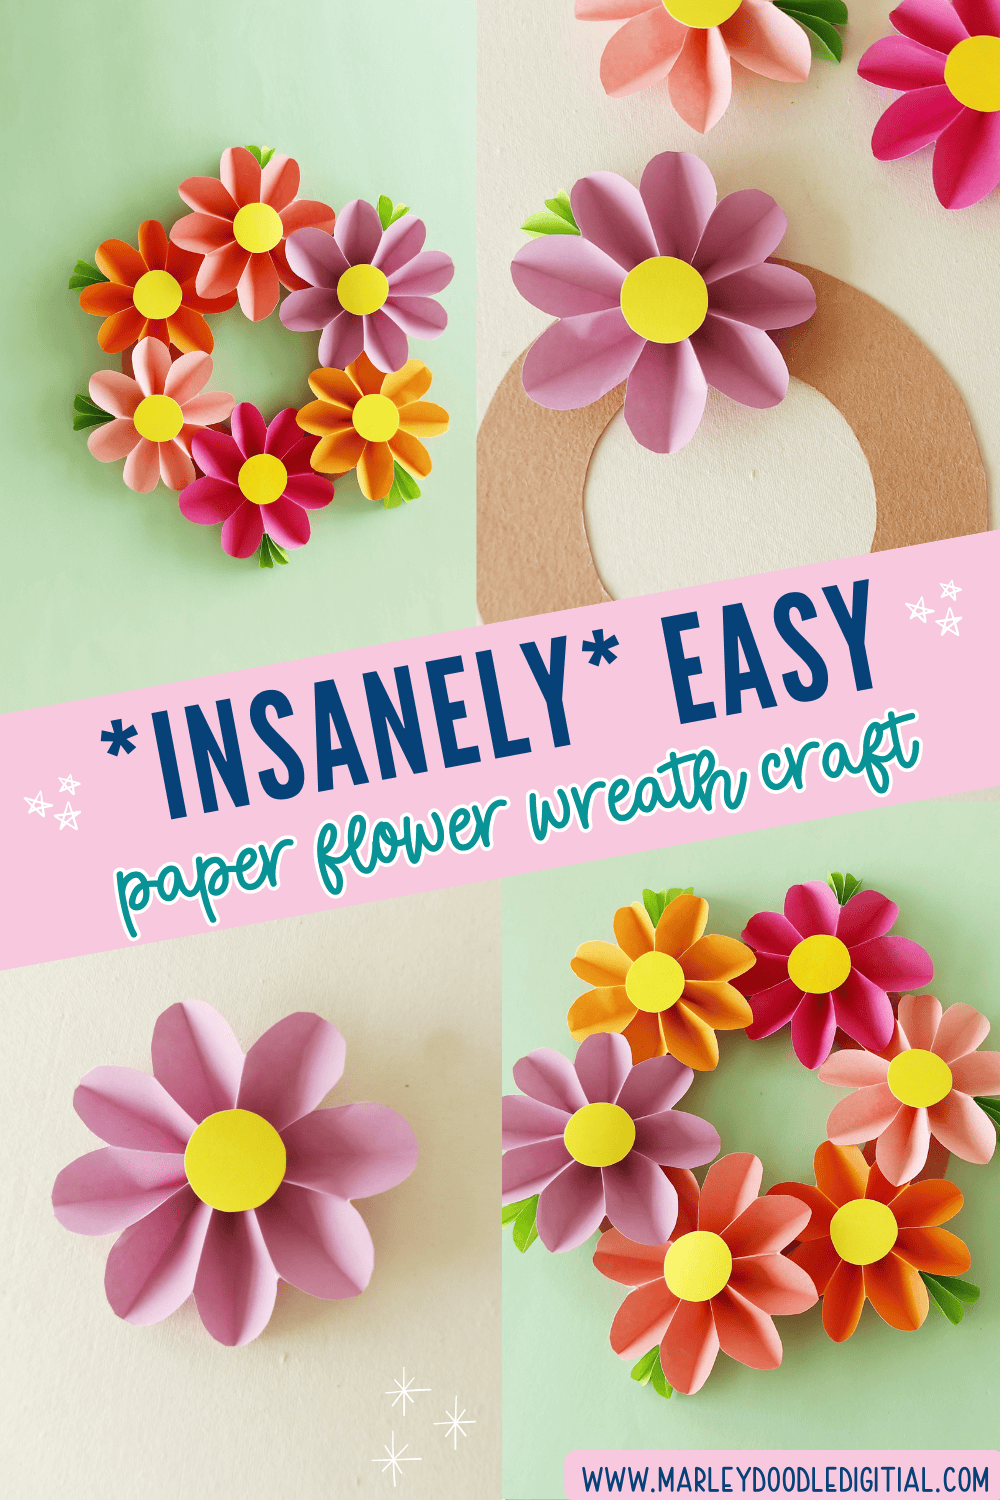
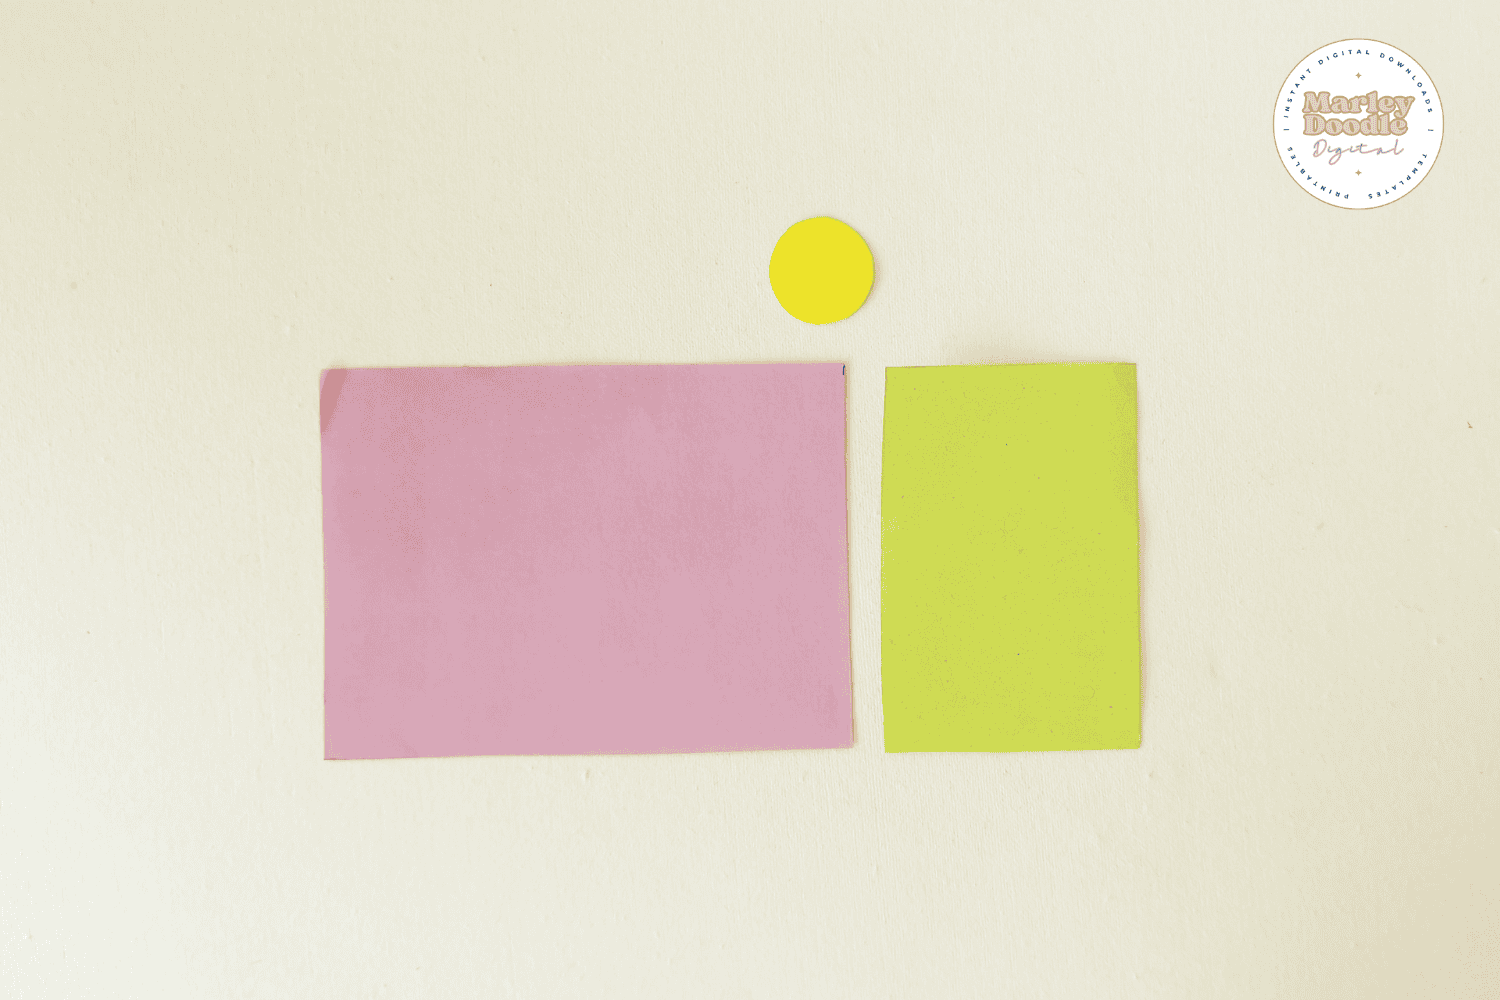
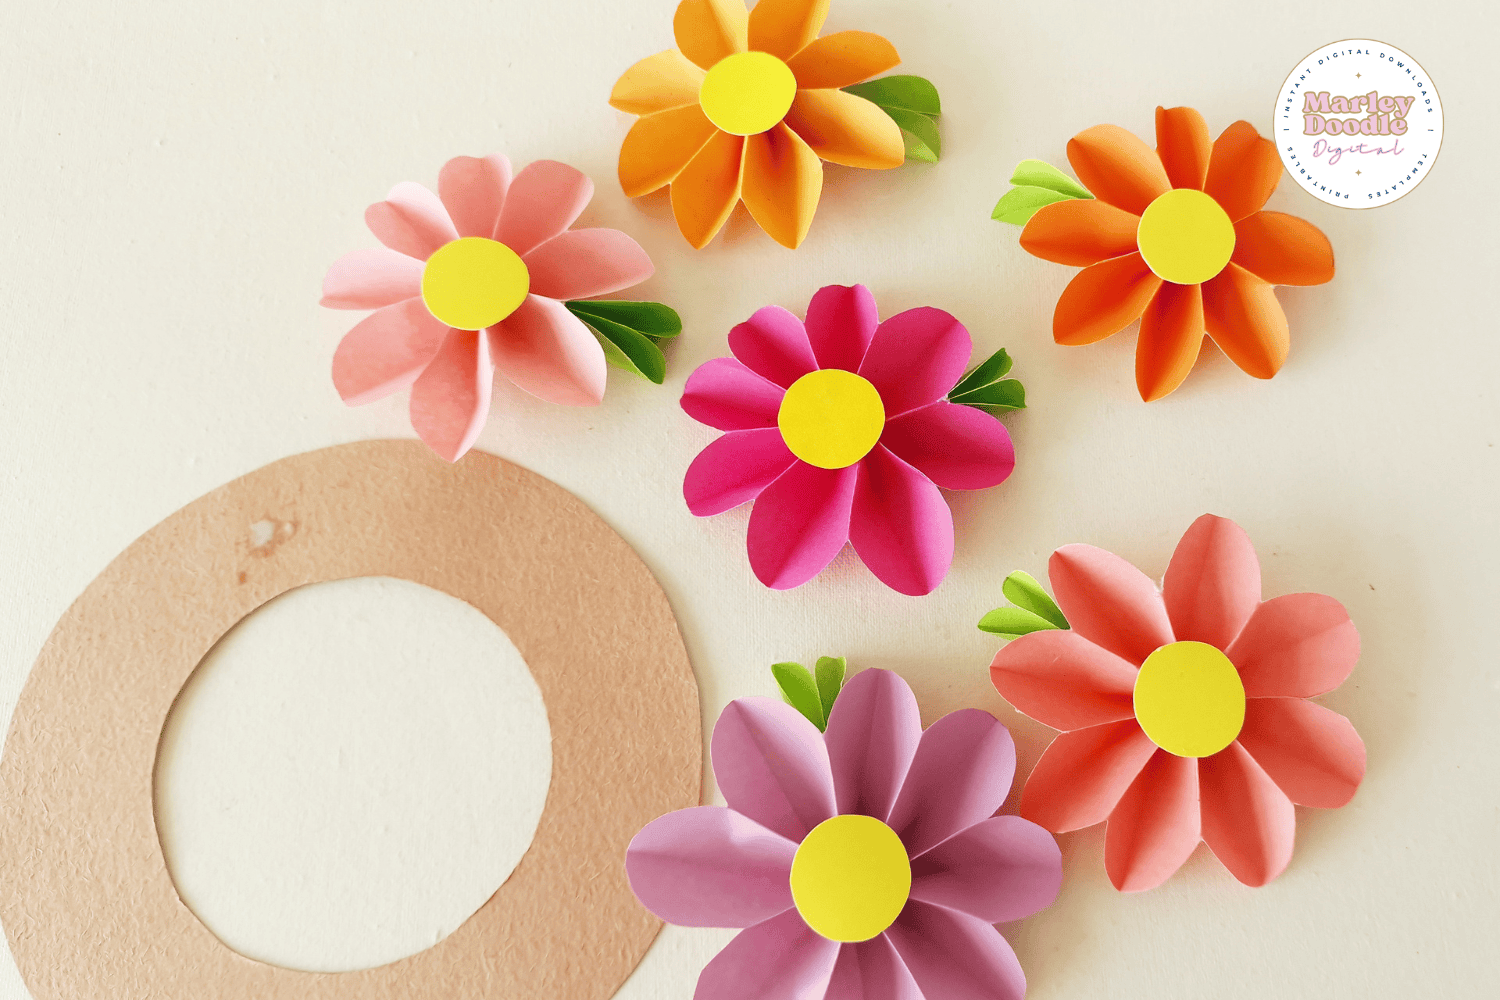
Choose your craft paper colors. From your flower color, trace and cut a rectangle measuring 4 x 3 inches. Cut a small circle about 2 cm wide for the flower center, and prepare a 2 x 3 inch piece of green paper for the leaves.
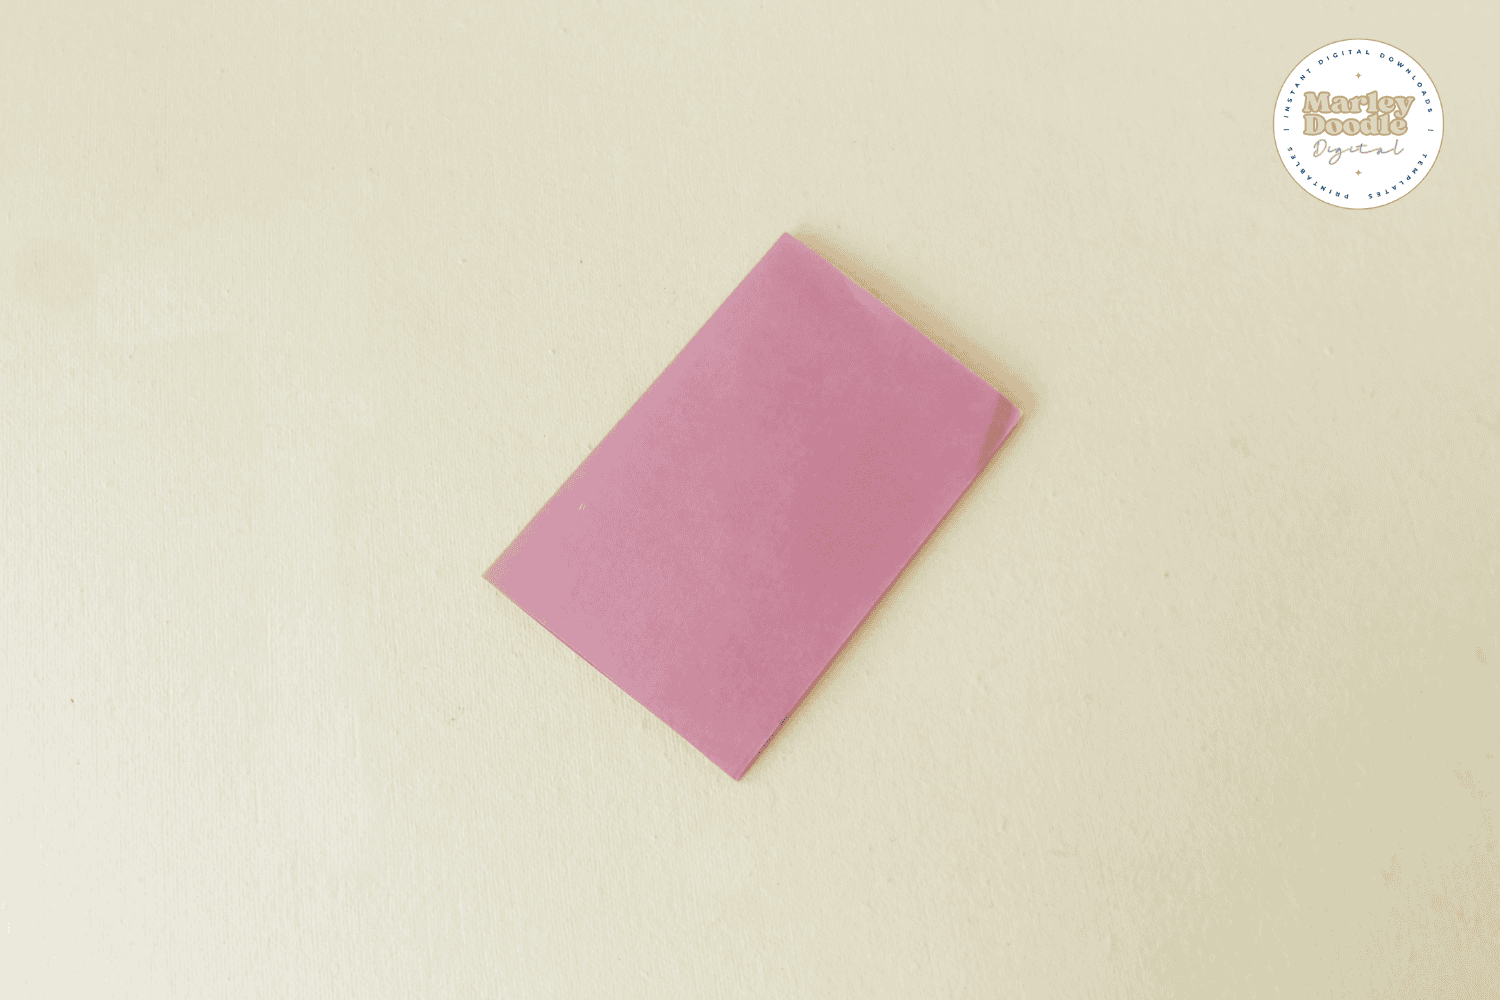
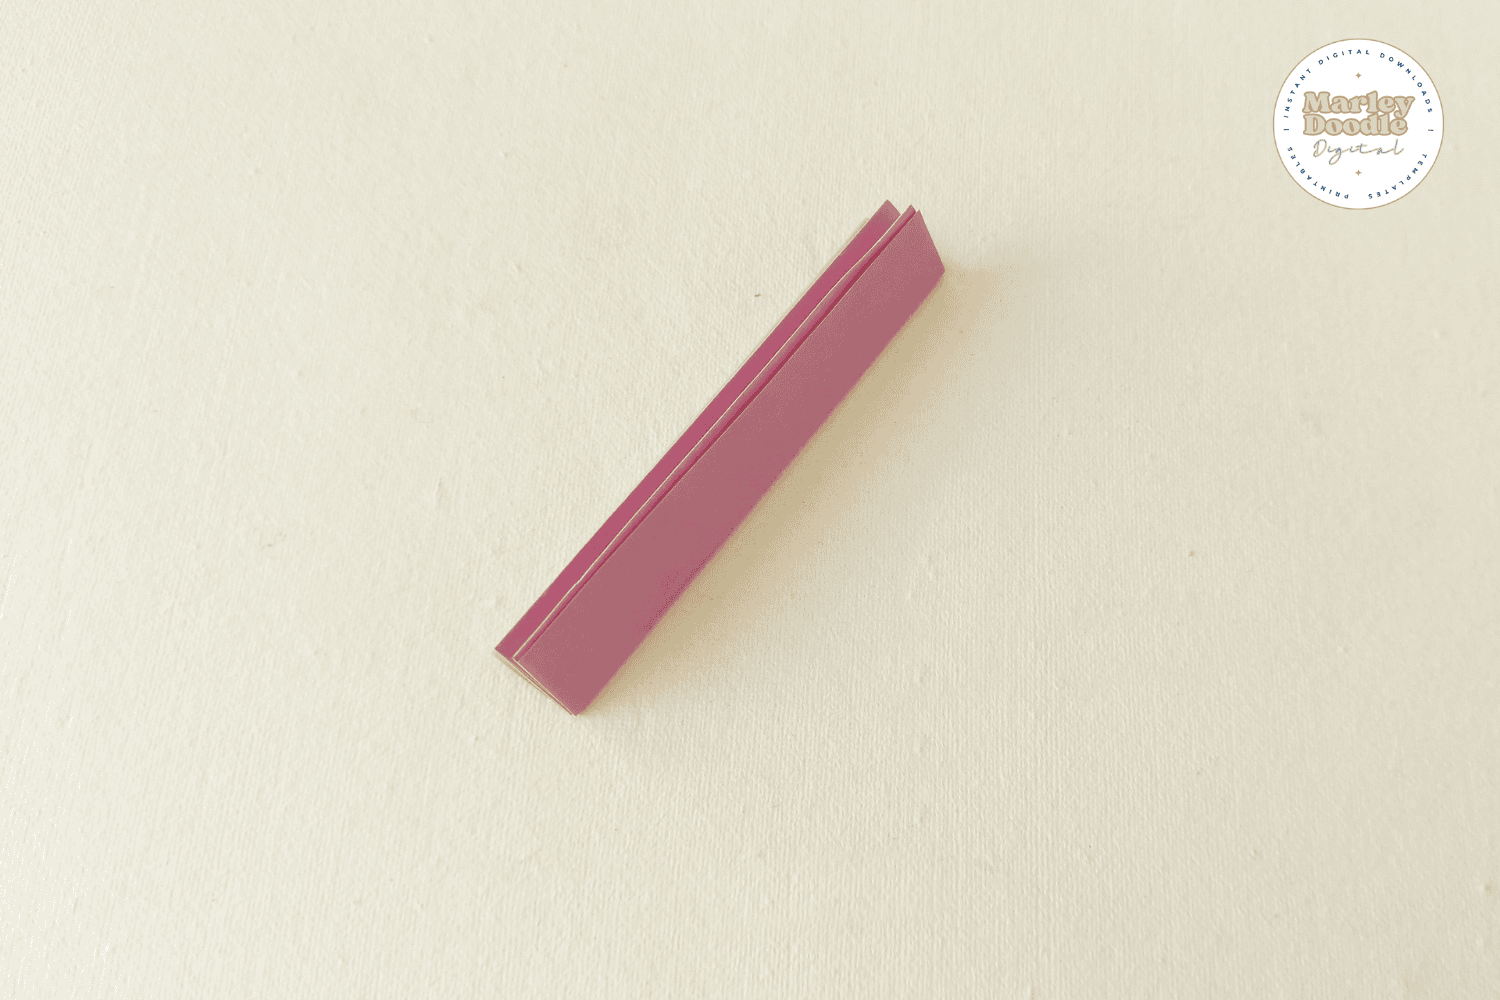
Step 2: Fold the rectangle piece in half lengthwise, that are you using for the flower.
Step 3: Fold the paper in half lengthwise again.
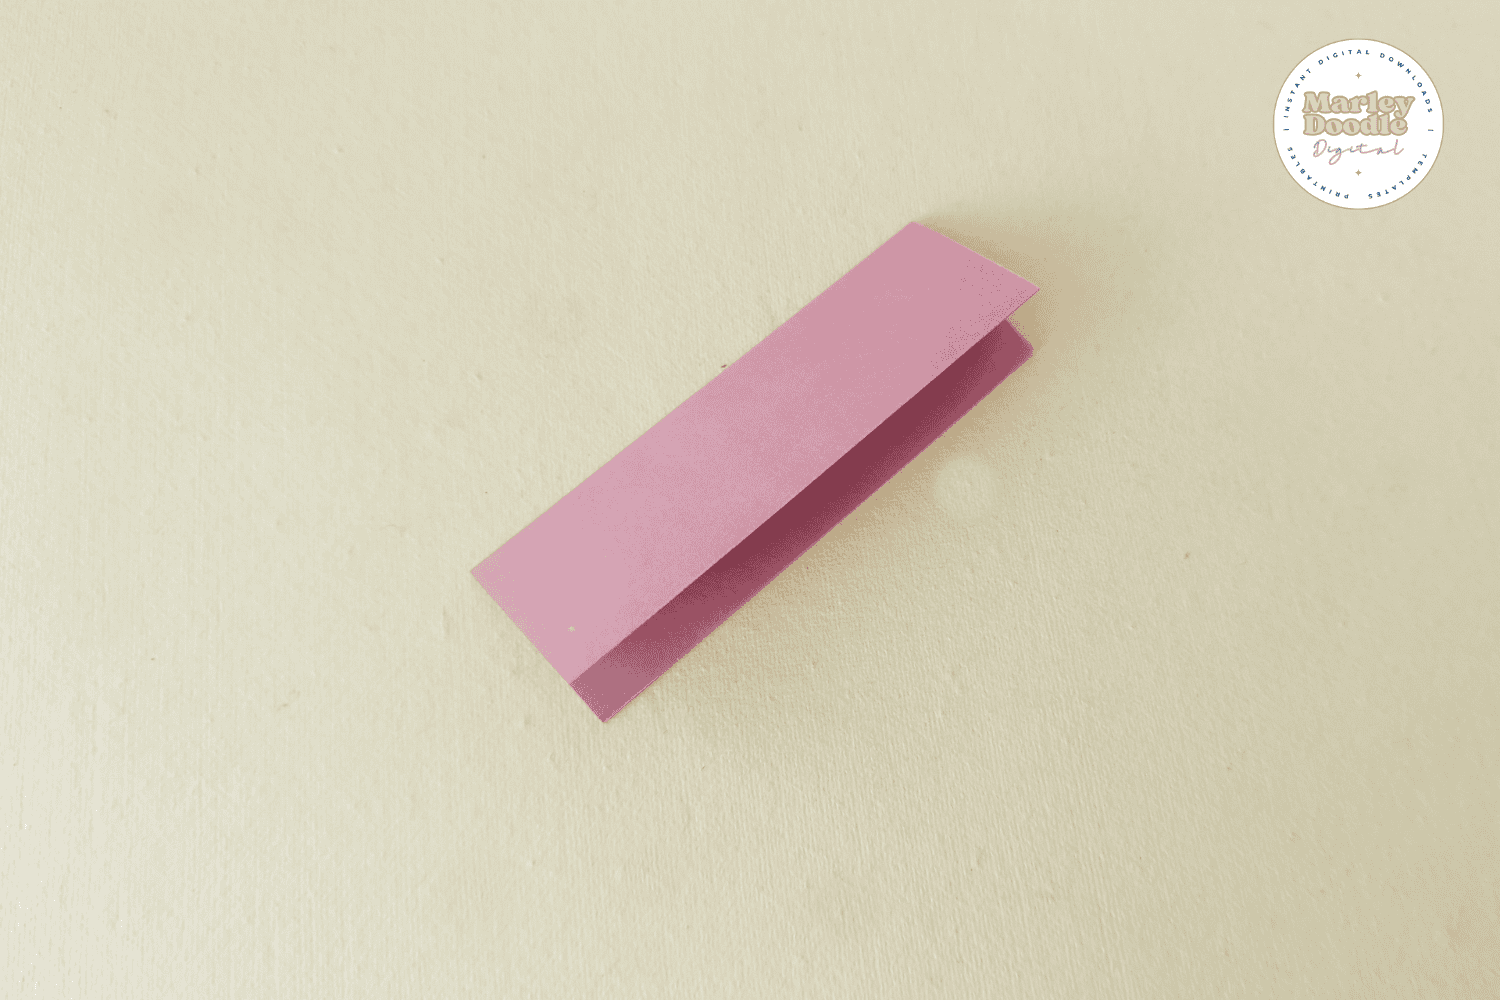
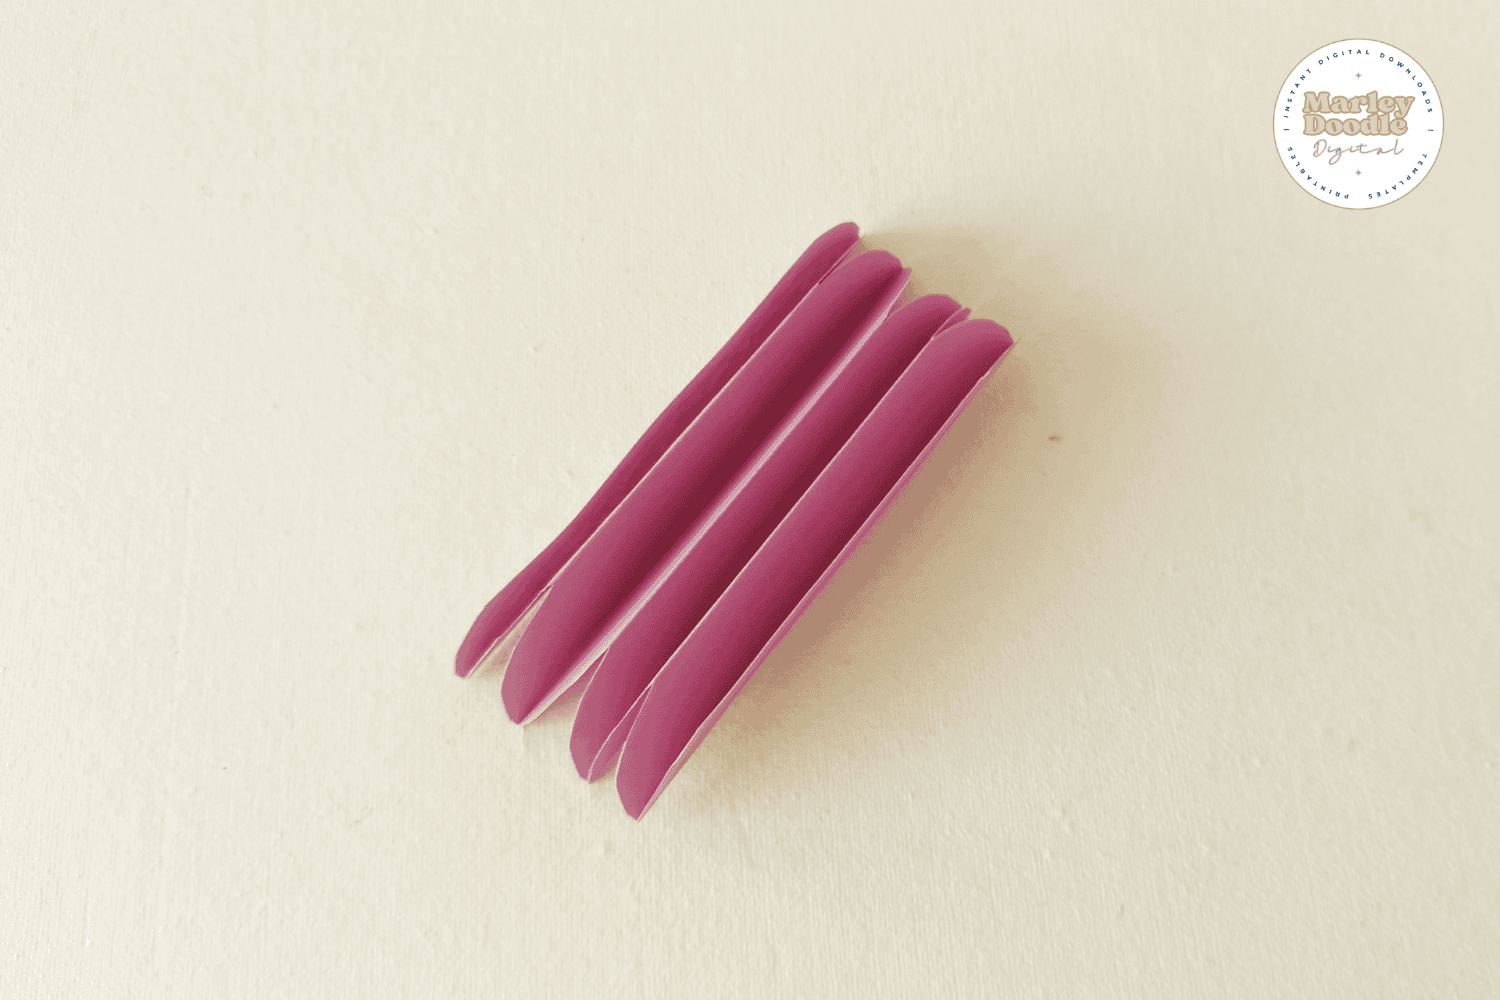
Step 4: Repeat the lengthwise fold one more time. Open the paper completely, then refold it along the crease lines to create neat accordion folds.
Step 5: On the open edge of the folded paper, draw a curved half-arch shape using a pencil. Carefully cut along the drawn line with scissors.
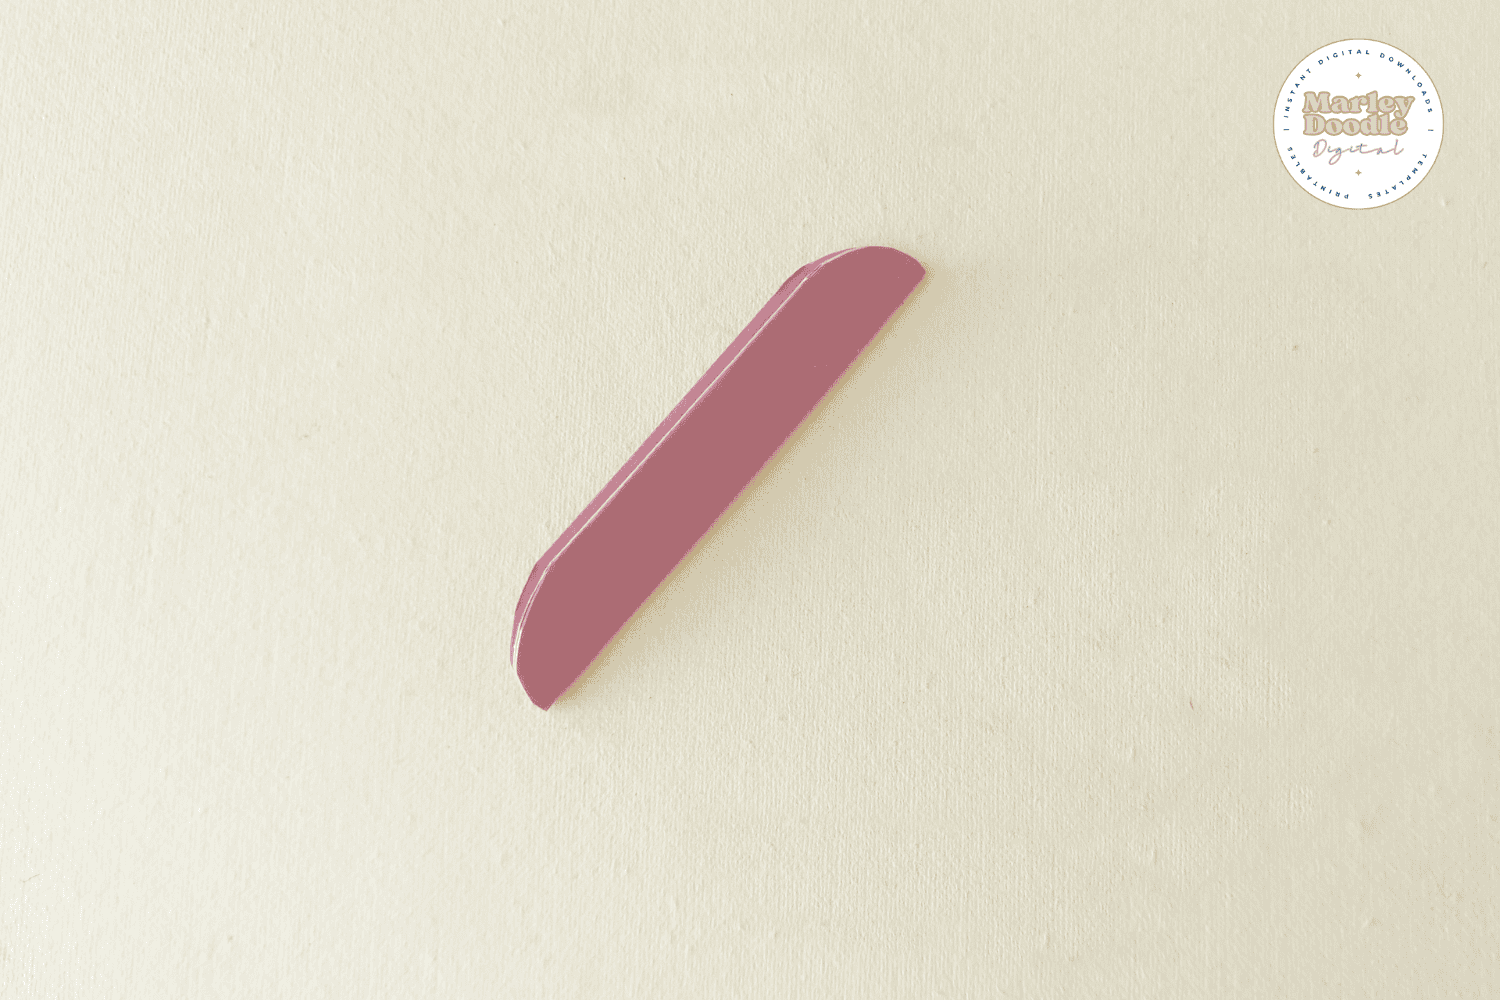
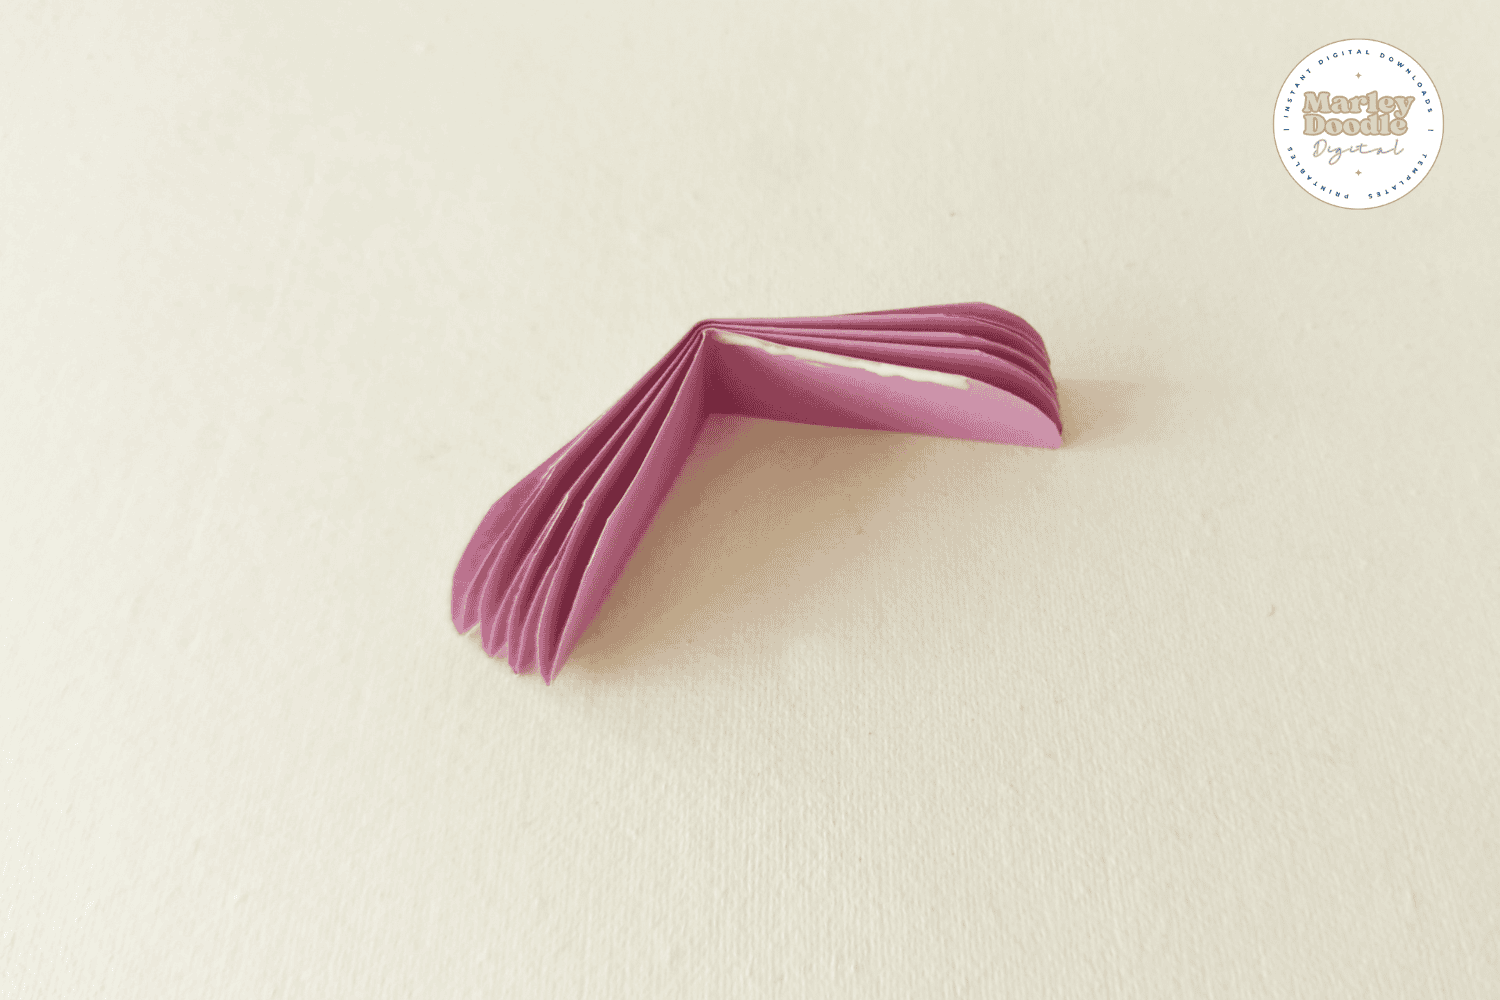
Step 6: Check that all accordion folds are clean, even, and well-defined.
Step 7: Fold the accordion piece in half vertically.
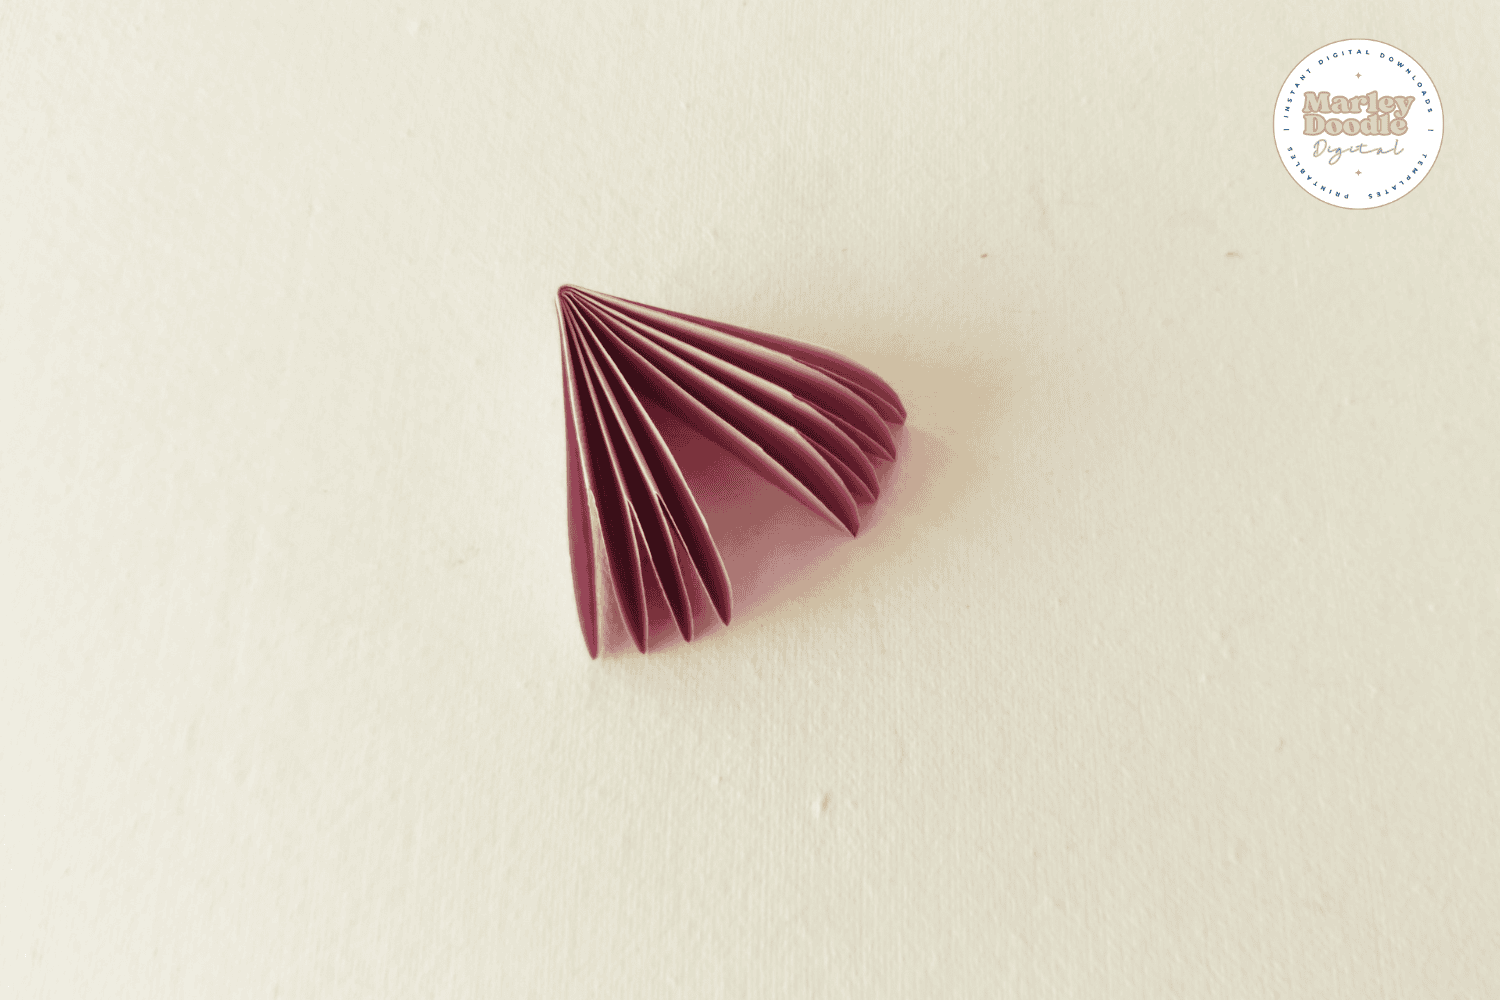
Step 8: Add glue to one side of the vertical fold.
Step 9: Press the glued side together with the opposite side to secure it.
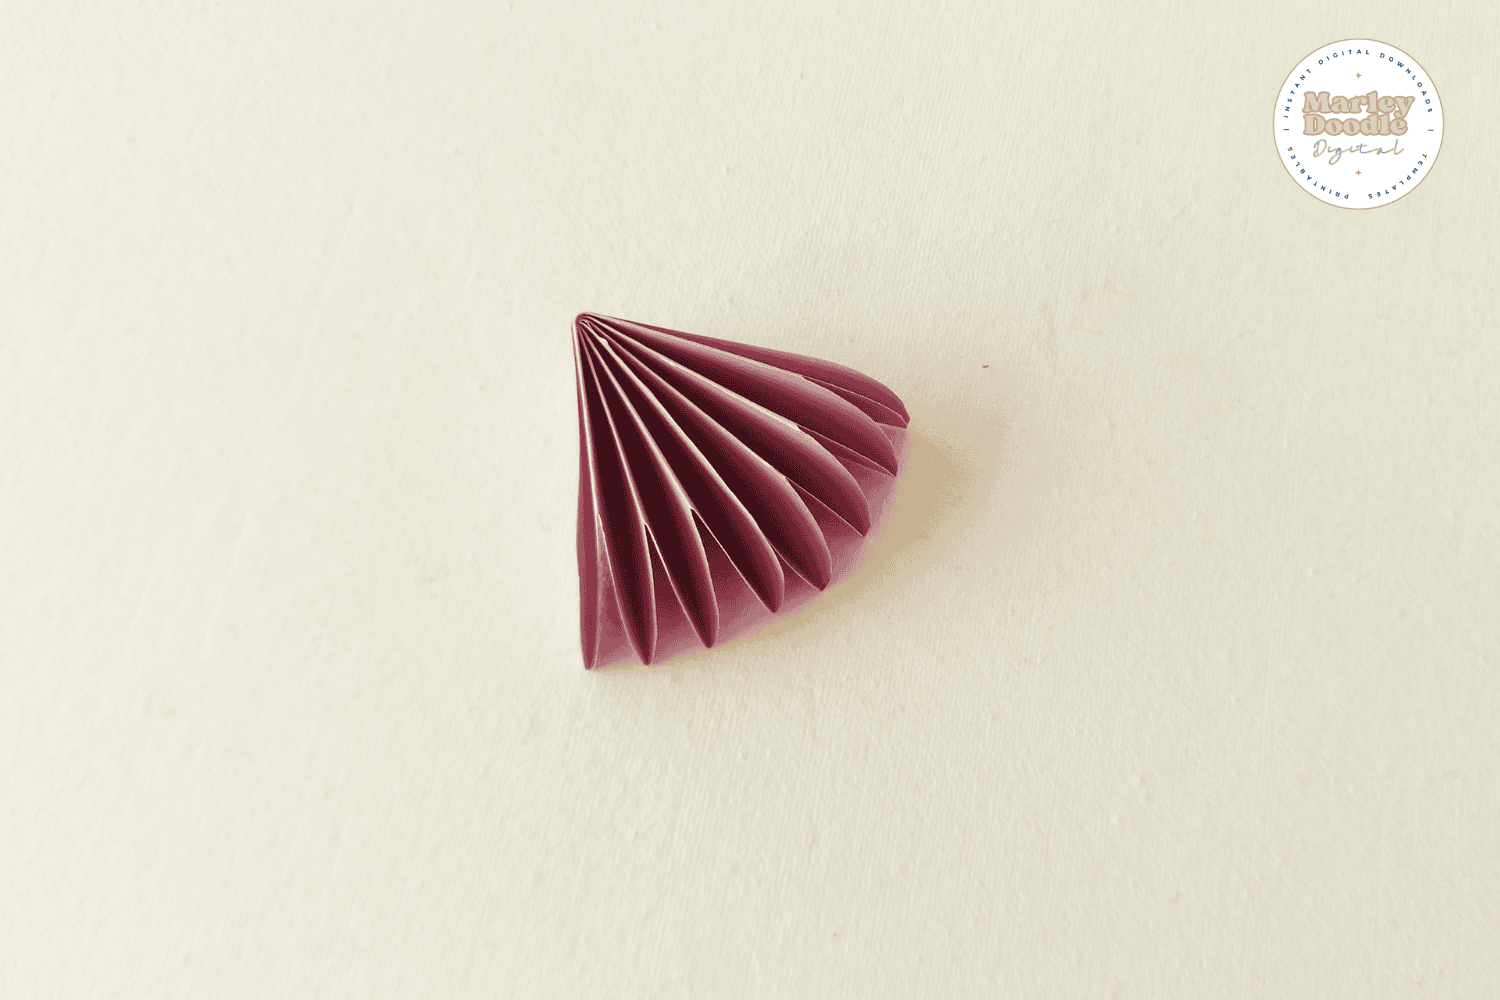
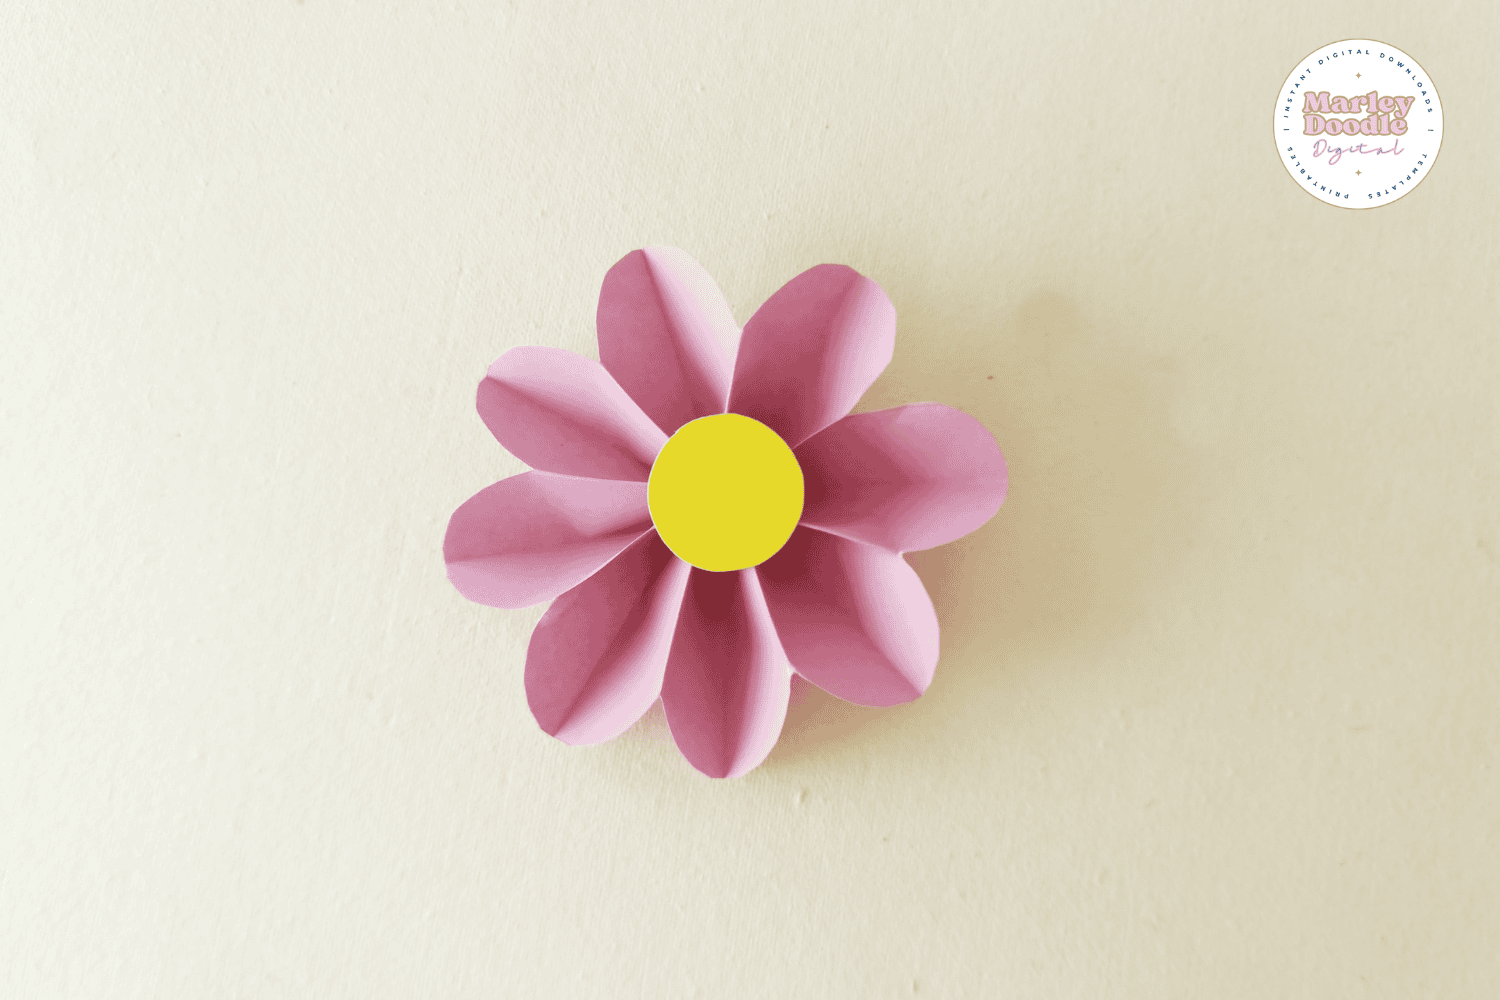
Step 10: Gently fan out the folded paper using your fingers to form a circular flower shape.
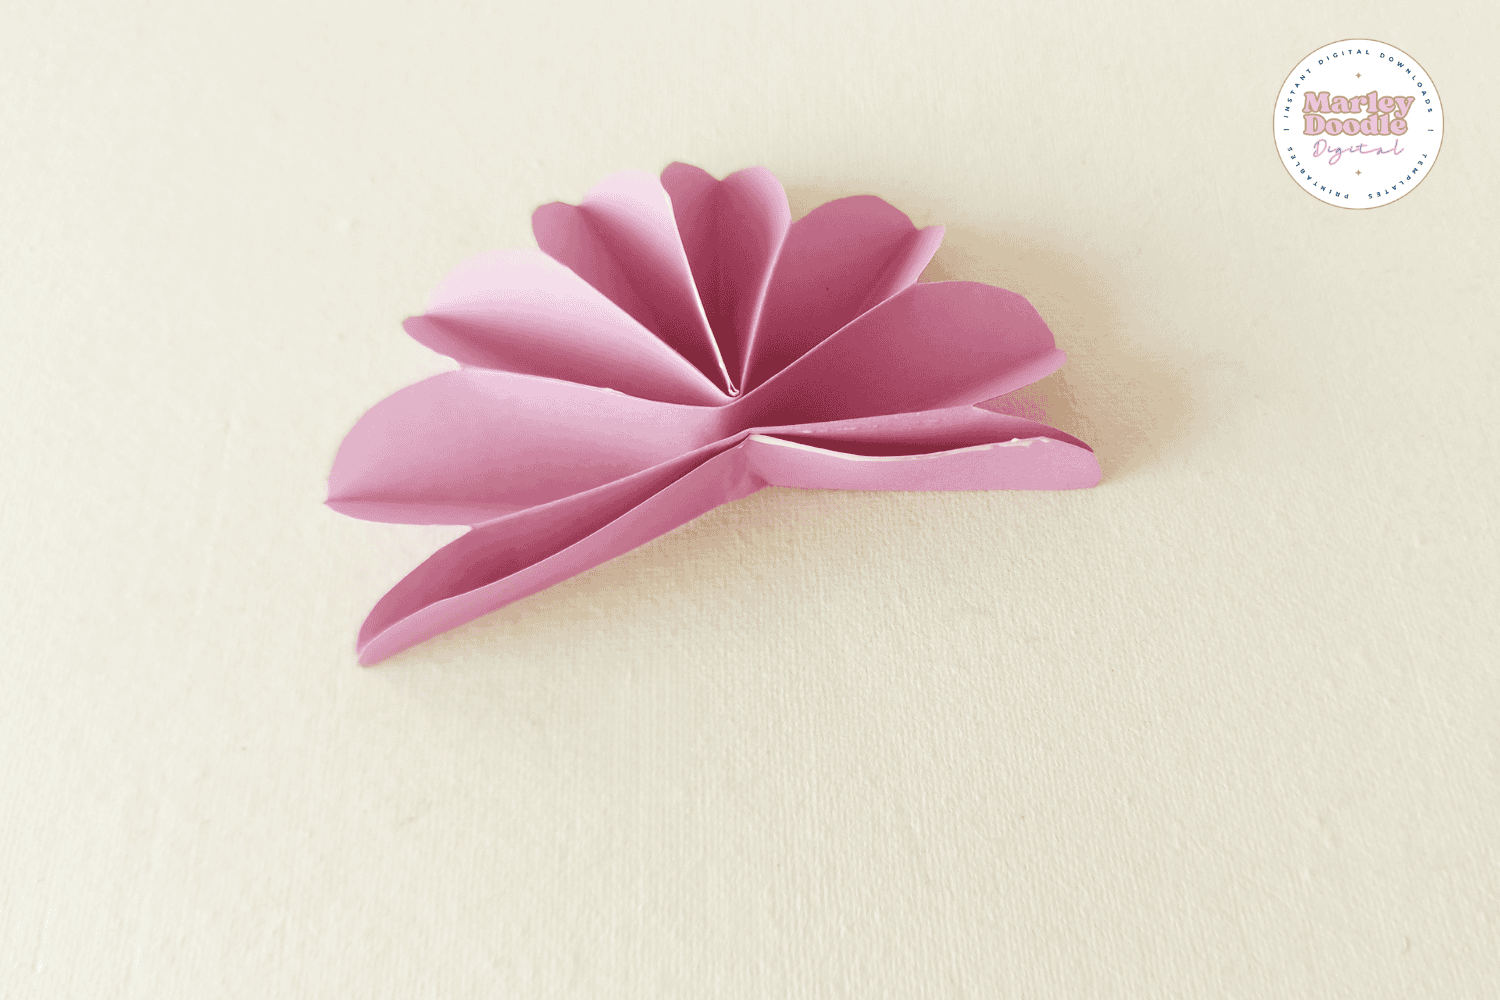
Step 11: Repeat the gluing process to connect the remaining two adjoining sides, completing the flower base.
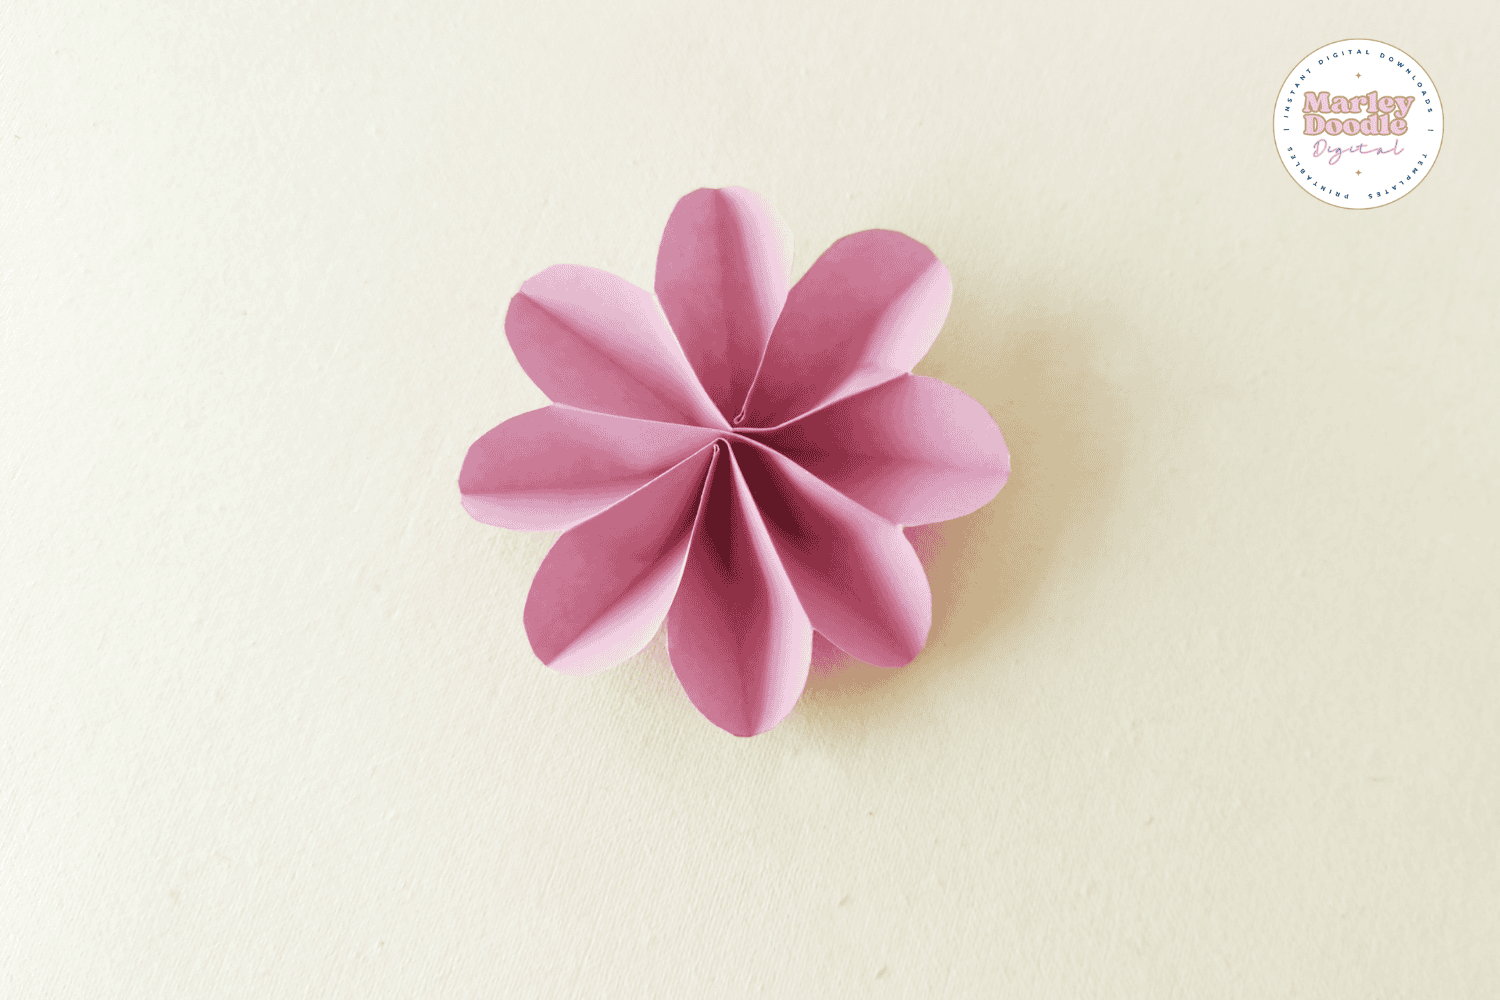
Step 12: Glue the small round cutout to the center of the flower.
Step 13: Use the green paper to create leaf bases using the same folding and cutting method used for the flower.
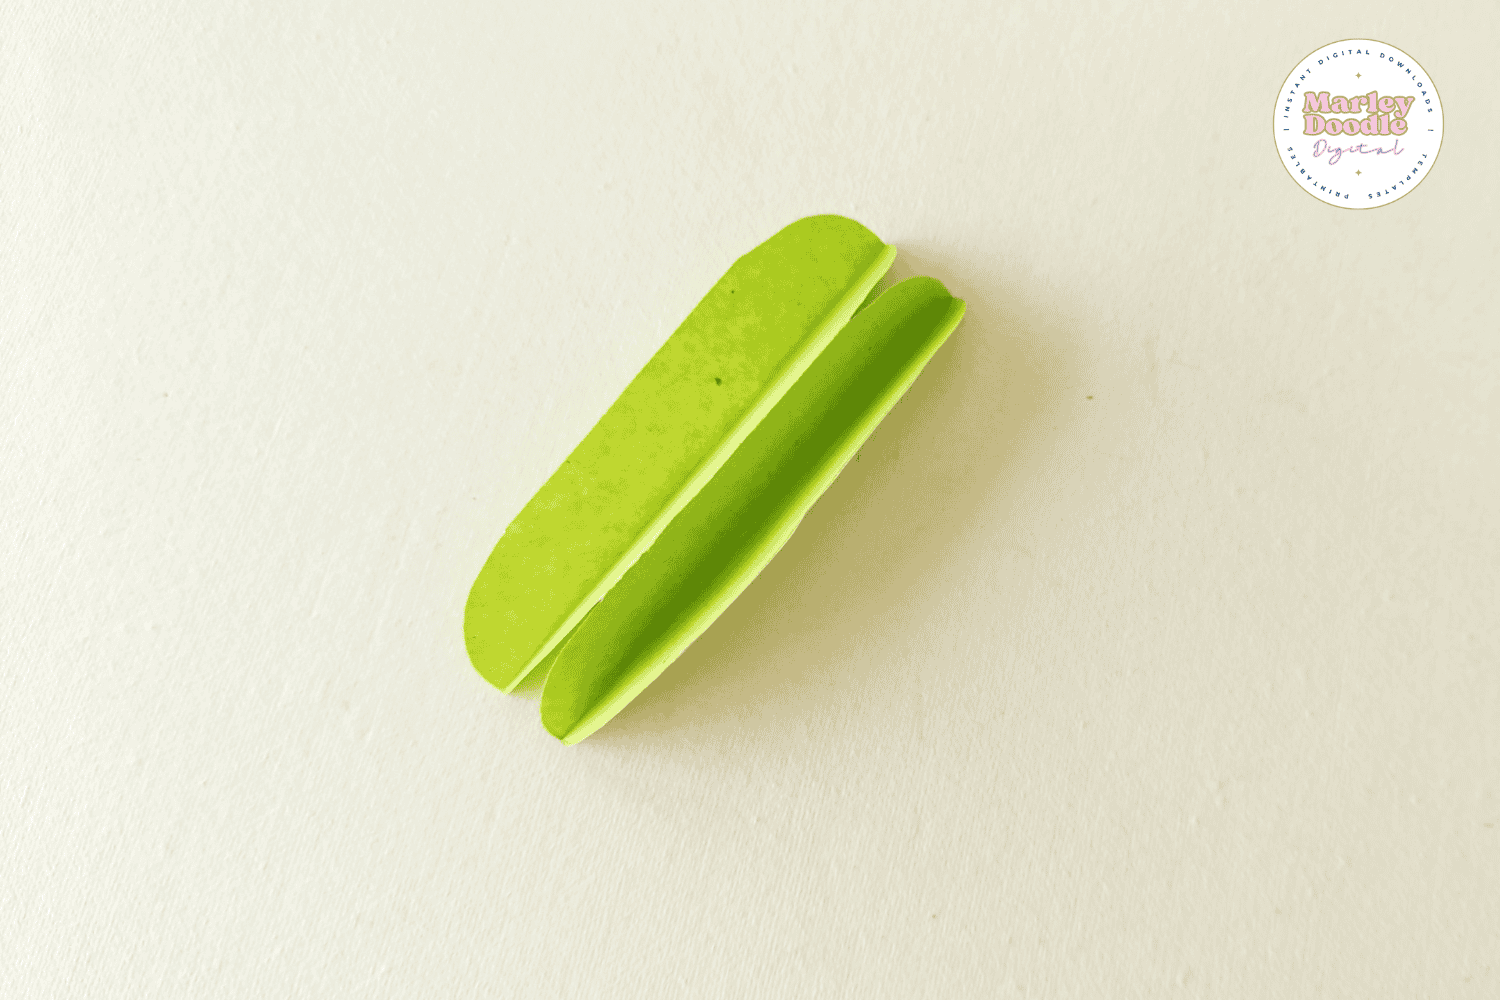
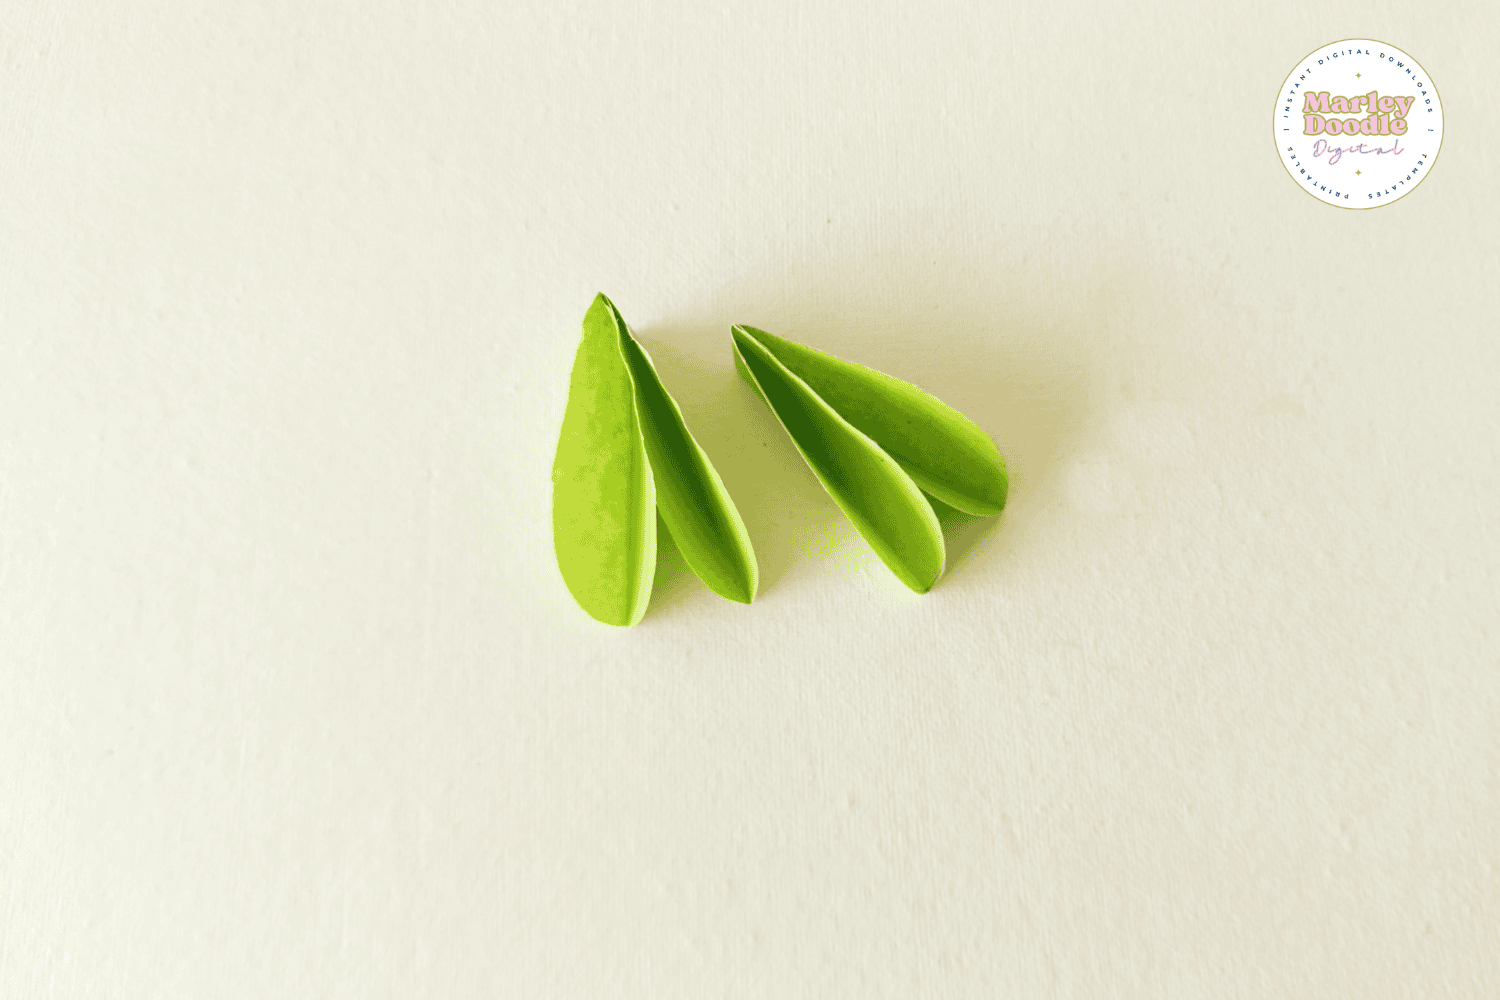
Step 14: Cut the accordion-folded leaf piece in half along the center crease. Take one half, fold it horizontally, and glue the sides together to form leaf shapes.
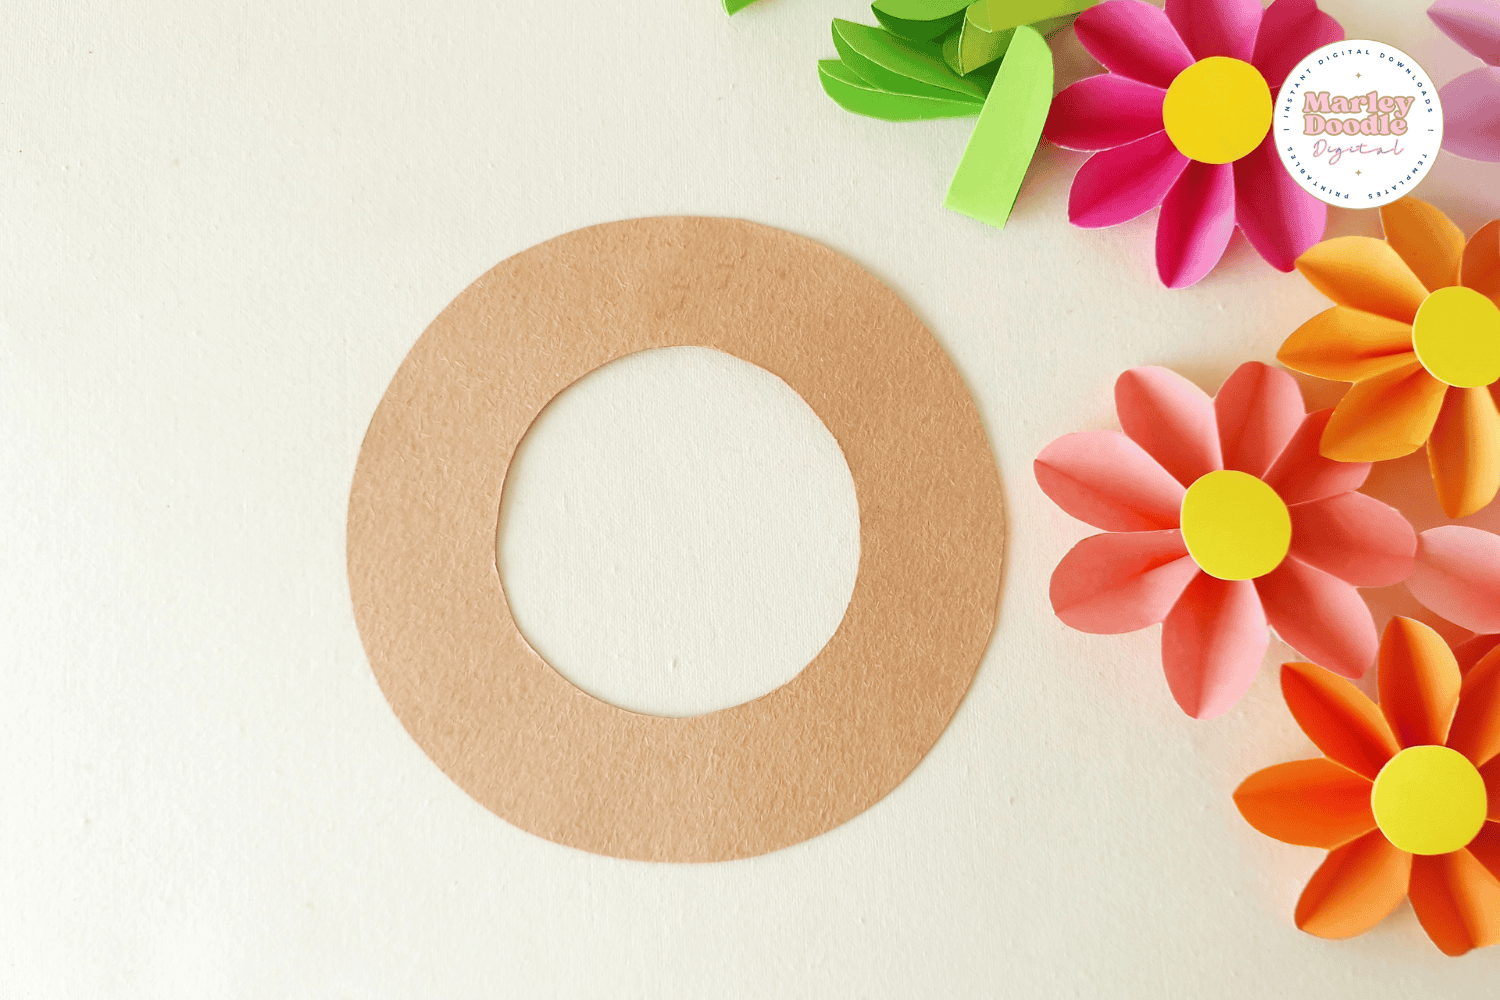
Step 15: Cut a wreath base from sturdy cardstock.
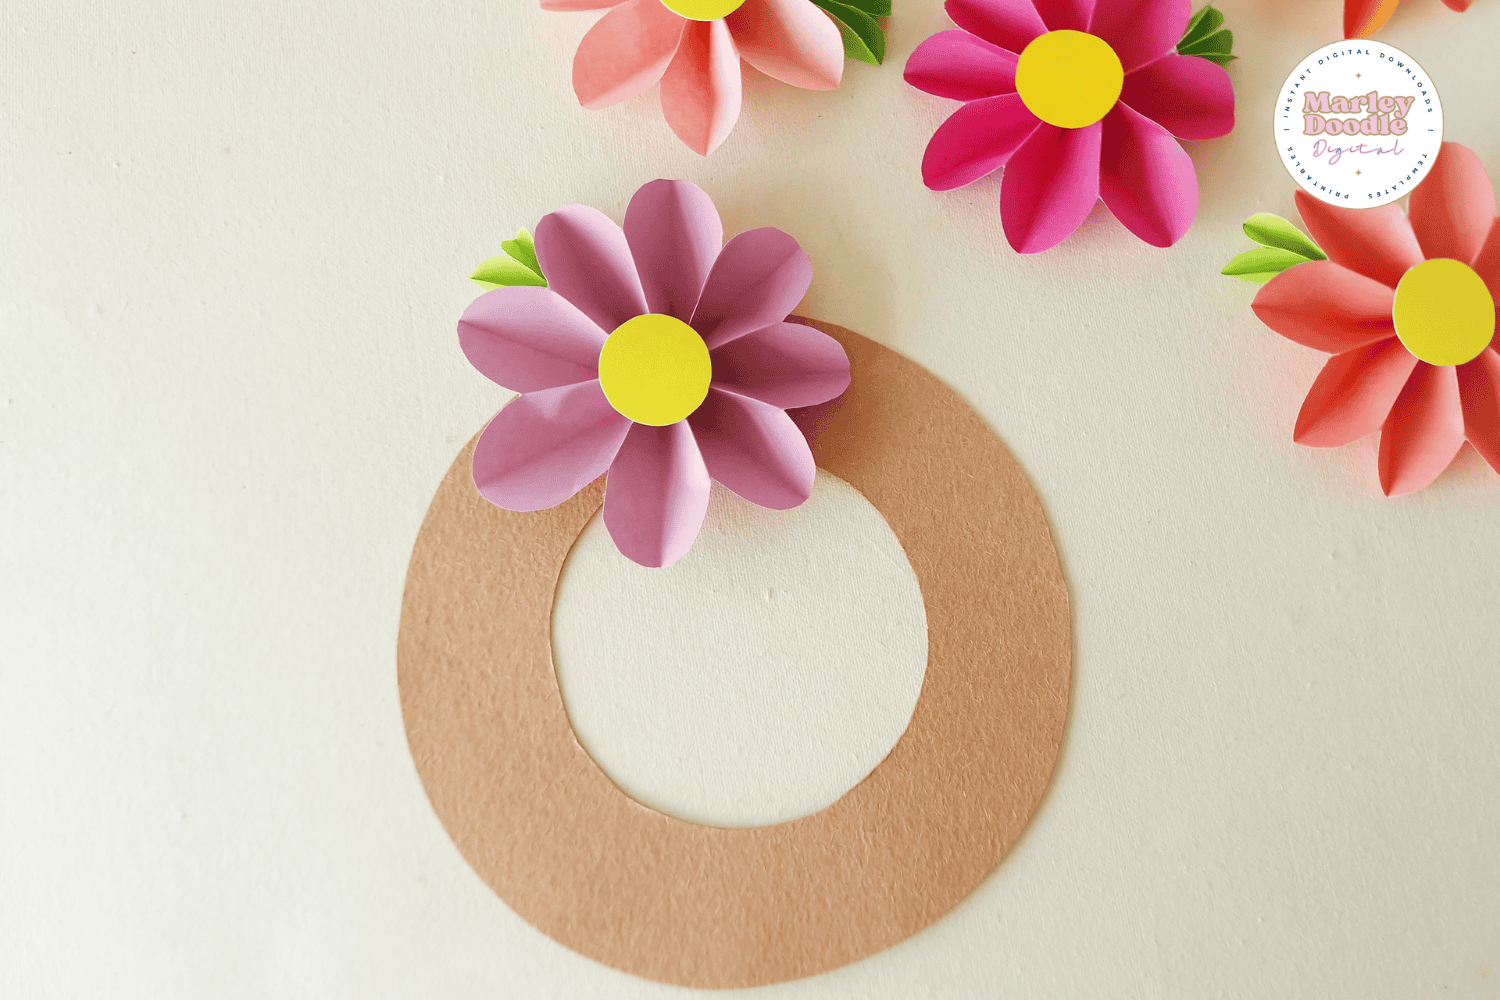
Step 16: Add the leaf pieces to the flowers using glue.
Step 17: Arrange and glue the flowers onto the wreath base in your desired pattern.
Step 18: Fill the entire wreath base with paper flowers. Allow everything to dry completely before hanging the wreath on the wall.

💡Helpful Tips
- Use medium-weight craft paper for the flowers. Paper that’s too thin can tear when folded, while very thick paper is harder to accordion neatly.
- Press folds firmly using your fingers or the edge of a ruler to create sharp creases. Clean folds help the flower open evenly into a round shape.
- Cut multiple pieces at once by stacking paper to save time when making several flowers for a full wreath.
- Keep glue minimal when joining the folded sections. Too much glue can cause the paper to warp or take longer to dry.
- Let glued sections dry briefly before spreading the flower open. This helps the shape hold without coming apart.
- Vary flower sizes or colors to add depth and visual interest to your wreath.
- Use cardstock for the wreath base so it stays sturdy and holds the weight of the paper flowers.
- Lay out your flowers first before gluing them down. This makes it easier to balance colors and spacing.
- Add details with markers or Sharpies to the flower centers or edges for extra personality.
- Allow the wreath to dry completely before hanging to prevent pieces from shifting.
This easy paper flower wreath craft is a fun and creative way to spend time crafting with kids at home or in the classroom. With just a few simple supplies, you can create a colorful decoration that’s perfect for any season.
👍You May Also Like These Free Printables + Ideas
Paper Flower Wreath Craft

Supplies & Materials
- Colored craft paper
- Thick craft paper or card stock paper
- Glue
- Pencil
- Sharpies
Instructions
- Pick your craft paper colors. Cut a 4 x 3 inch rectangle for each flower, a small circle (about 2 cm) for the center, and a 2 x 3 inch green rectangle for the leaves.
- Fold the flower rectangle in half across the short edge. Repeat this fold two more times to create evenly spaced sections.
- Open the paper and refold along the creases to form accordion-style folds.
- With the paper still folded, sketch a curved edge on the open side and trim along the line with scissors.
- Keep the accordion folded neatly, then fold it in half vertically.
- Add glue to one side of the folded piece and press it together to secure.
- Gently spread the folded layers outward to create a circular flower shape.
- Glue the remaining open sides together to finish forming the flower base.
- Attach the small circle to the center of the flower.
- Make the leaves using the green paper by folding, shaping, and trimming the same way as the flower base.
- Cut the folded leaf piece in half, fold one section horizontally, and glue the sides together to form leaf shapes.
- Cut a wreath ring from sturdy cardstock.
- Glue the leaves onto the flowers, then attach the flowers to the wreath base.
- Continue layering flowers until the wreath is full. Let the glue dry completely before displaying.