Free Haunted House Halloween Escape Room for Kids and Teens
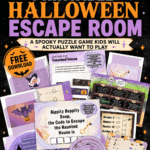
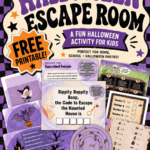
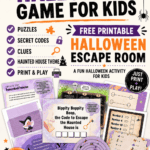
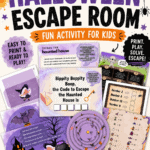
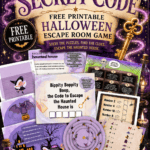
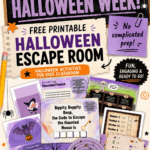
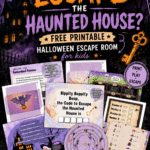
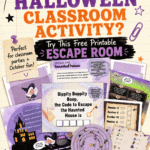
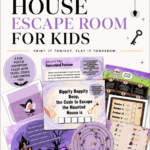
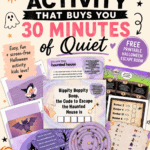
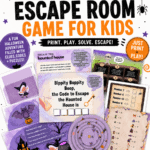
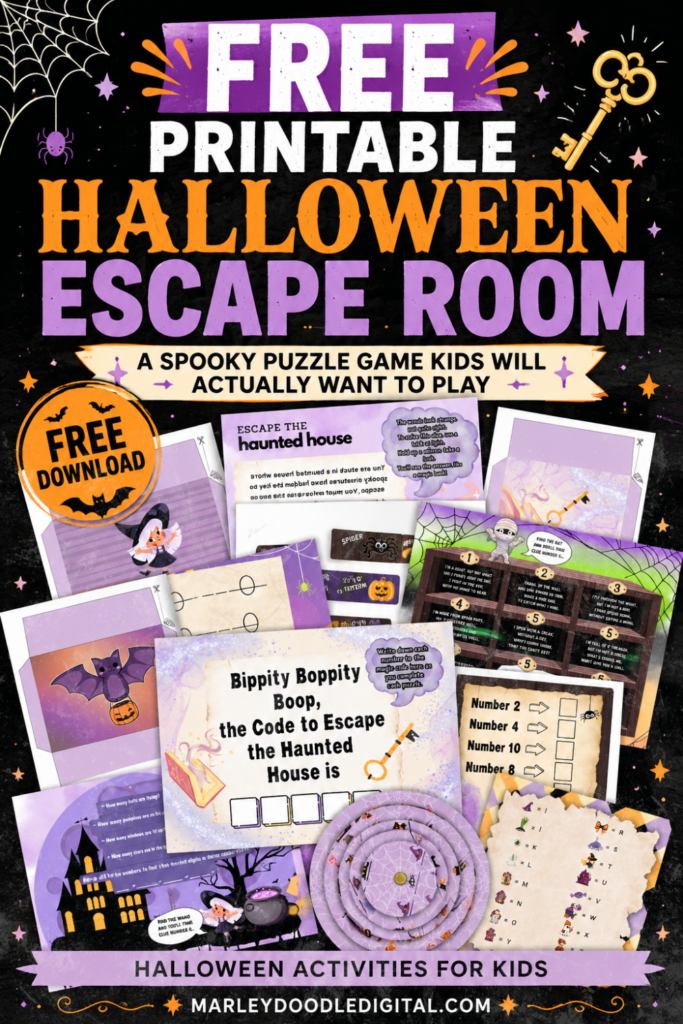
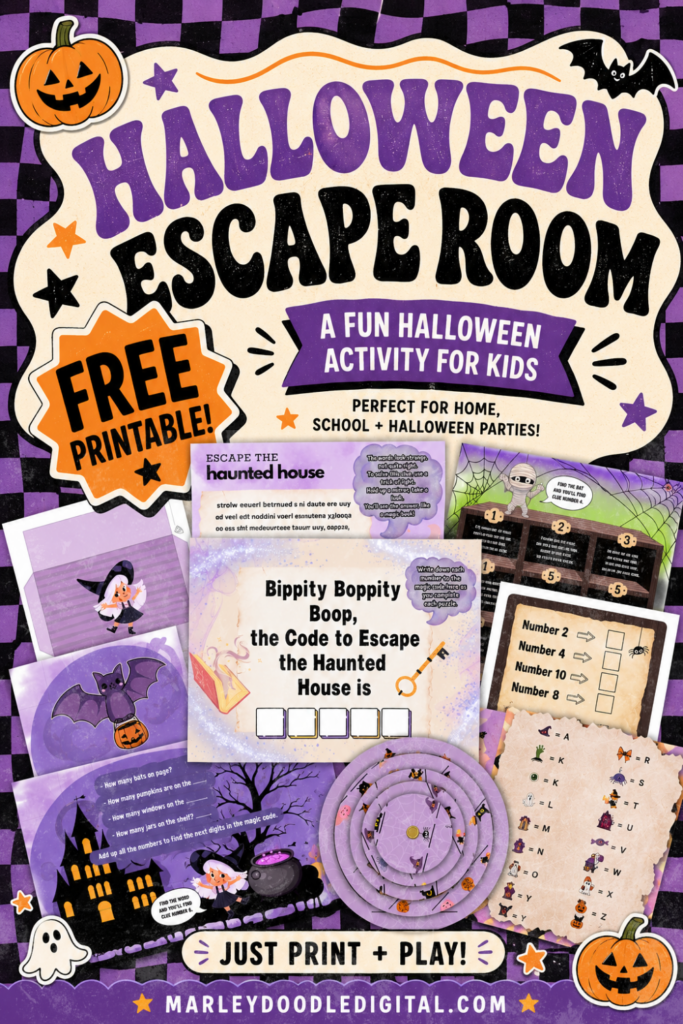
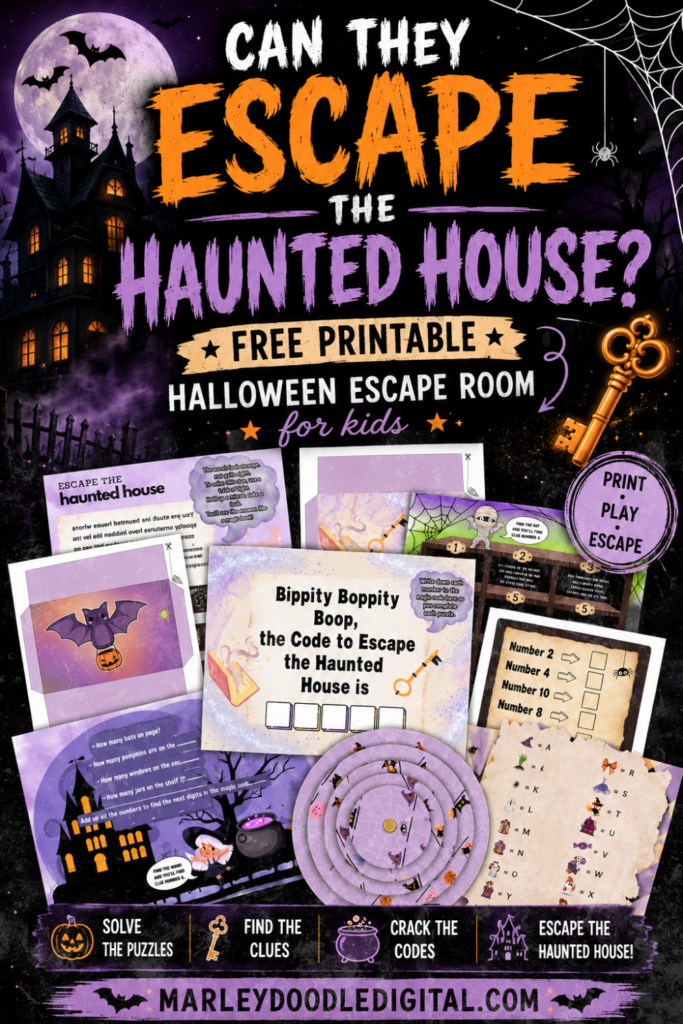
This printable Halloween escape room turns any room in your house into a haunted house your kids have to solve their way out of.Five puzzles. Four hidden envelopes. One five-digit magic code. This Halloween is activity is perfect for parties too!
Love Marley Doodle Digital?
Make us your preferred source on Google so our posts, printables, and guides show up first when you search. One tap and you’re set — it’s free and it helps us so much.

There are affiliate links in this post – please read my full disclosure policy. As an Amazon Associate, I earn from qualifying purchases.
Here’s the problem with most Halloween party games: they’re over in four minutes. You play, you hand out a fun-size Snickers, and you’re back in the kitchen wondering how to fill the next two hours before anyone notices you’ve run out of ideas.
An escape room isn’t that. It’s a mission. And it lands with the exact age group that’s hardest to entertain, the eight-to-fourteen crowd who’ve decided they’re too old for face painting but are absolutely not too old to feel clever.
Below you’ll find what’s inside the game, how to set it up in under thirty minutes, and how to run it three different ways: as a Halloween class party game, as a teen Halloween party race, or as a family night at home.
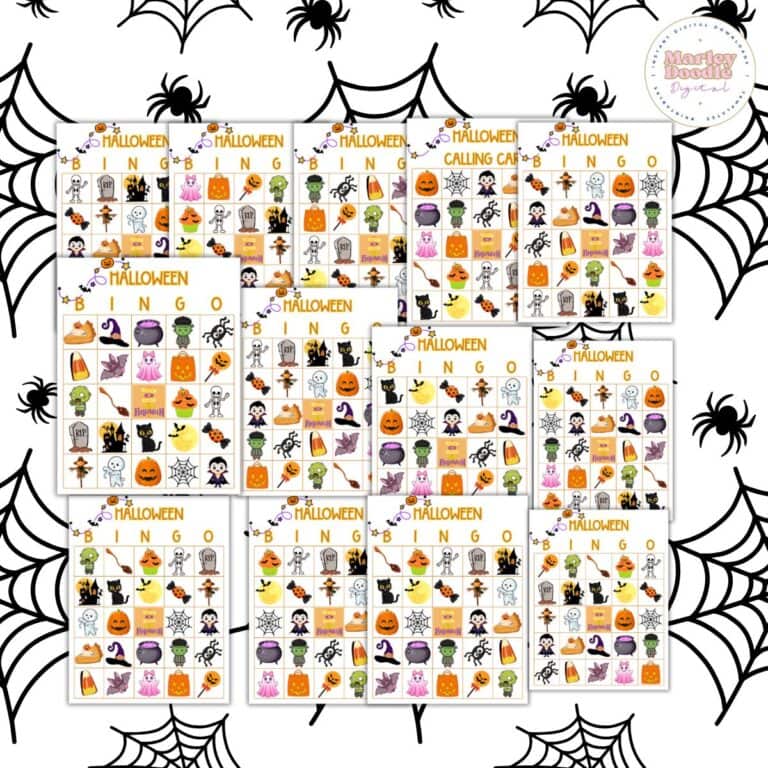
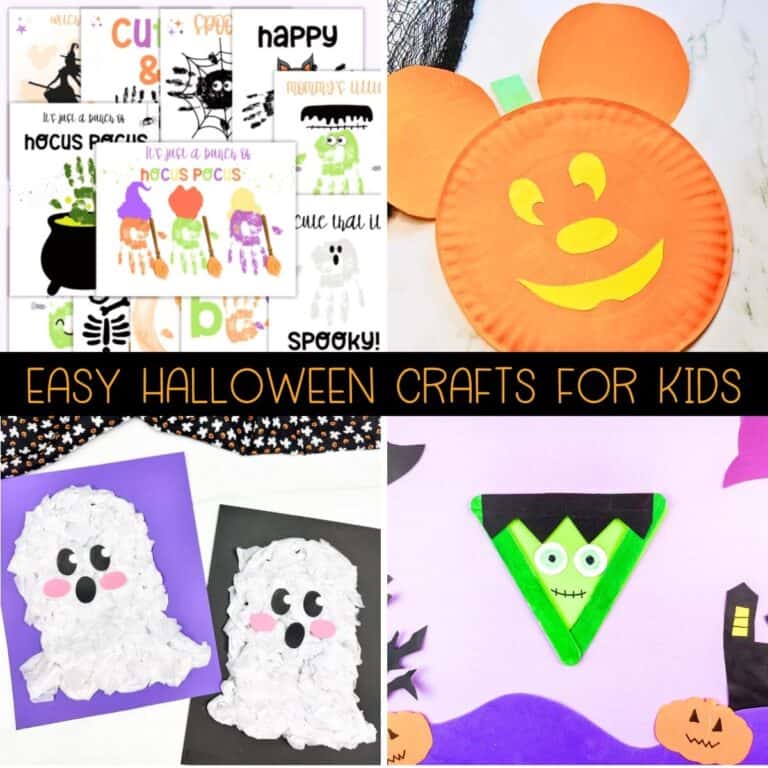
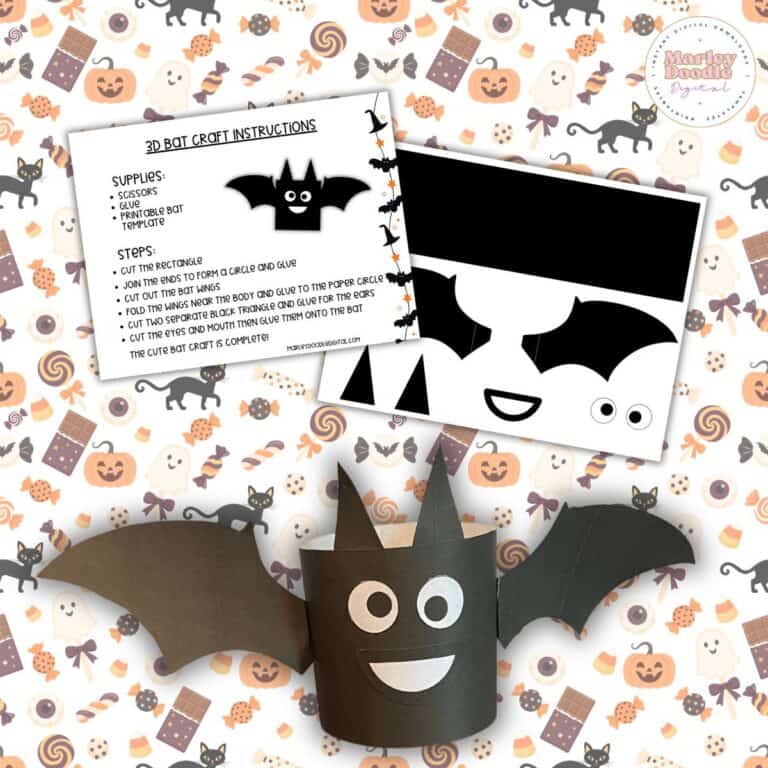
💕Don’t Leave Without Exploring These Fun Ideas!💕
Watch the Video: Making an Halloween Escape Room
Why a Halloween Escape Room Beats the Usual Party Games
The difference is structure. A bean-bag toss has one beat. An escape room has a beginning, a middle, and a genuine ending: the moment they crack the code and realize they got out.
That arc is what holds a room. Kids will push through a puzzle they find hard if they can feel the finish line, and every solved clue makes the next one feel more urgent instead of less.
It also scales in a way most games don’t. One group of four can play it together. Twelve kids can split into three teams and race. A single kid on a rainy afternoon can work through it alone, slowly, with a cup of cider. Same printable, three completely different afternoons.
And because everything is on paper, there’s no screen involved. If you’ve ever tried to run a party where half the guests keep drifting back to their phones, you know that isn’t a small thing.
What’s Inside the Printable Haunted House Escape Room
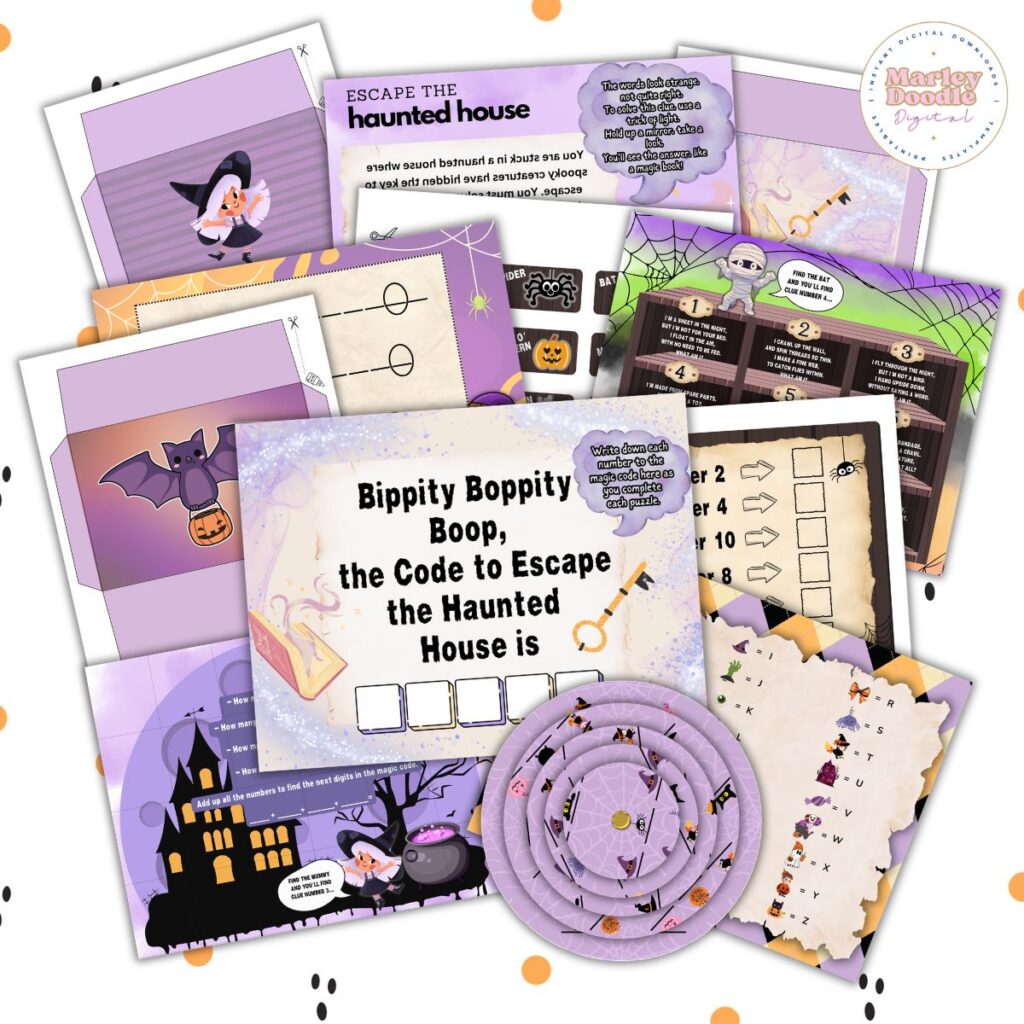
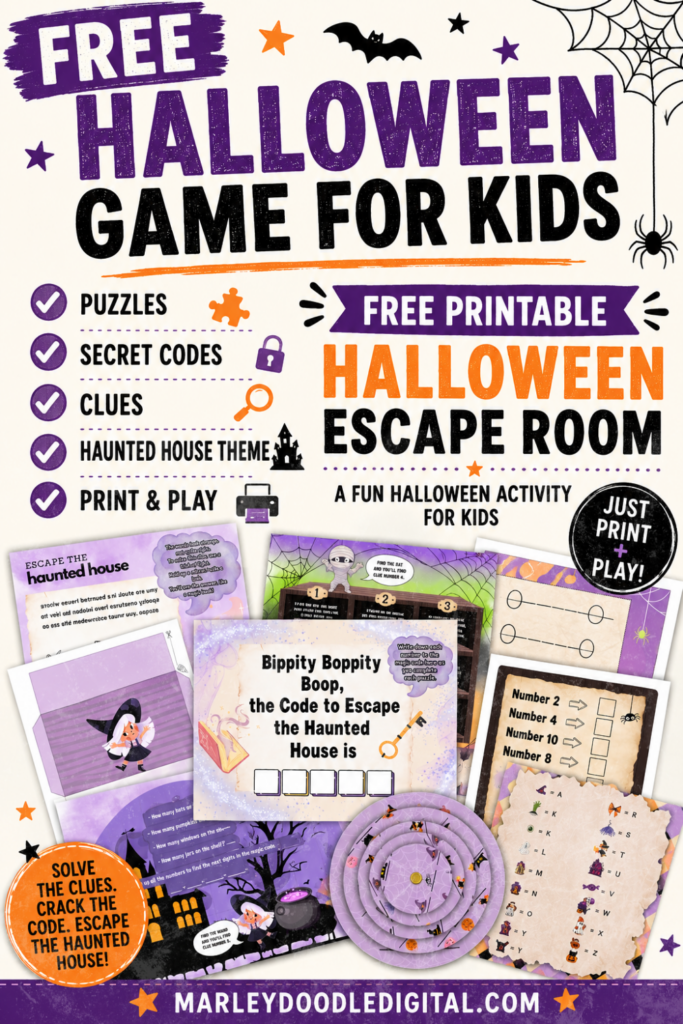
The story opens with a page that doesn’t make any sense.
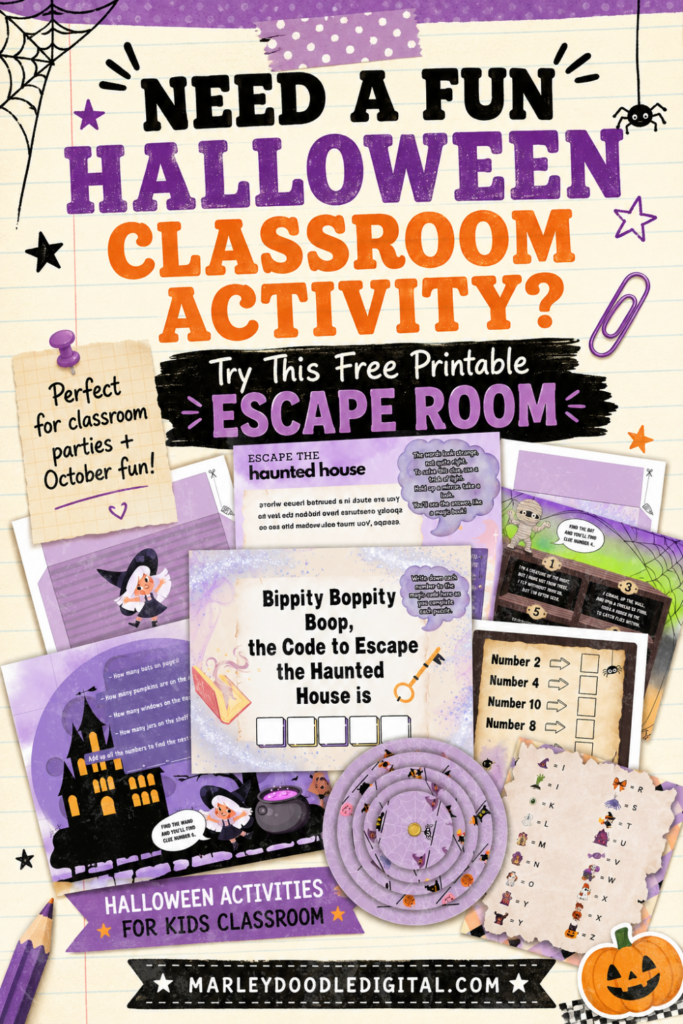
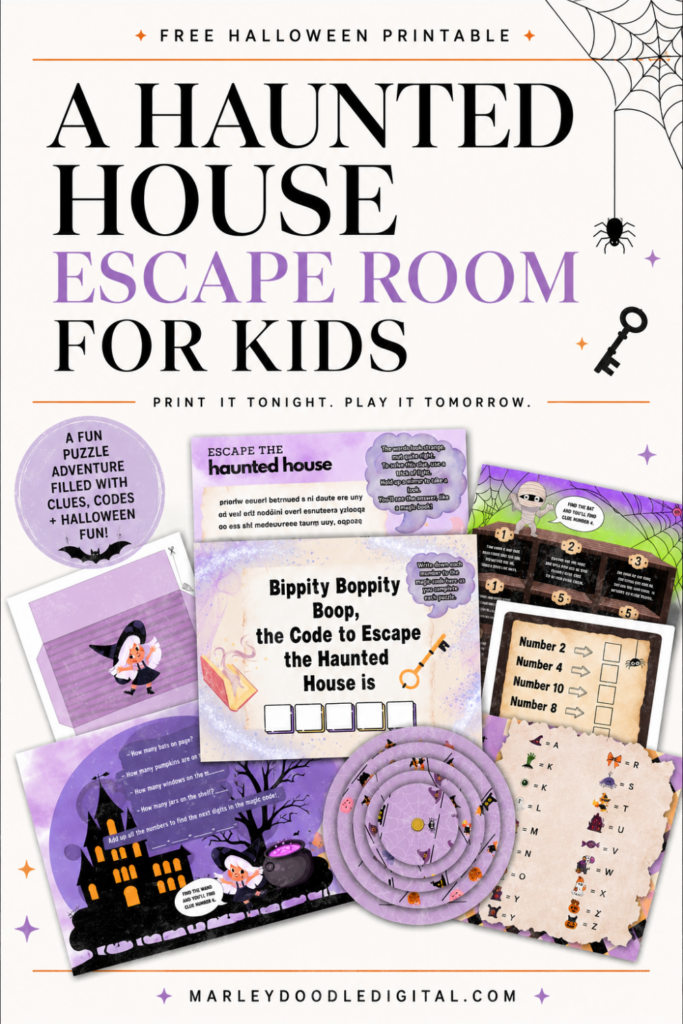
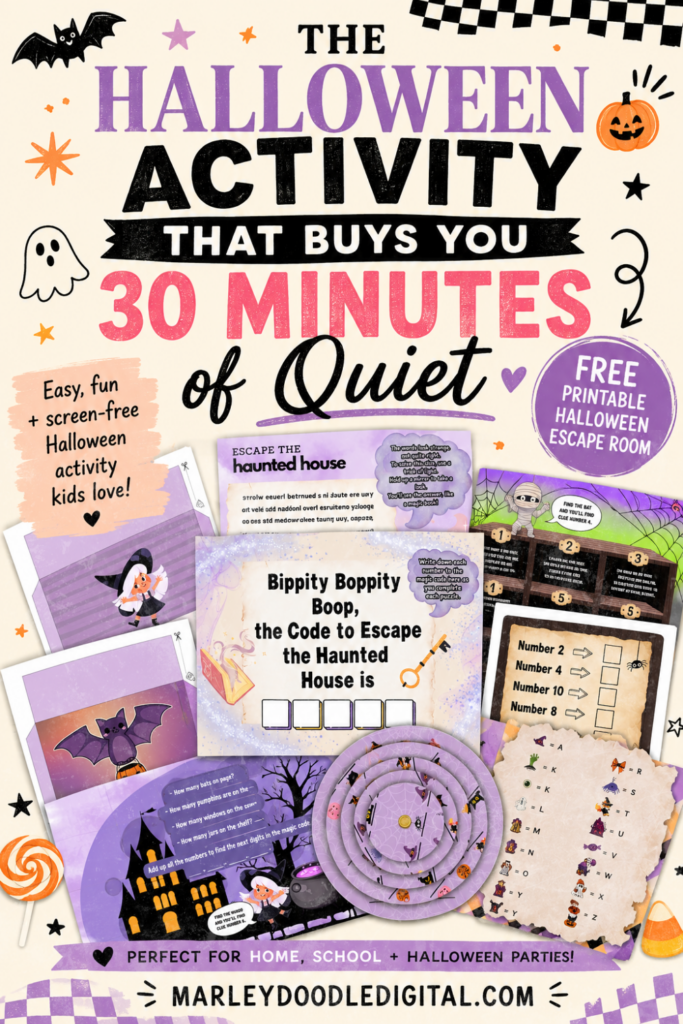
The words are backwards. The letters are wrong. And the only way to read it is to hold it up to a mirror, which is the first small delight of the game, because there’s always one kid who figures it out immediately and gets to feel like a genius in front of everyone.
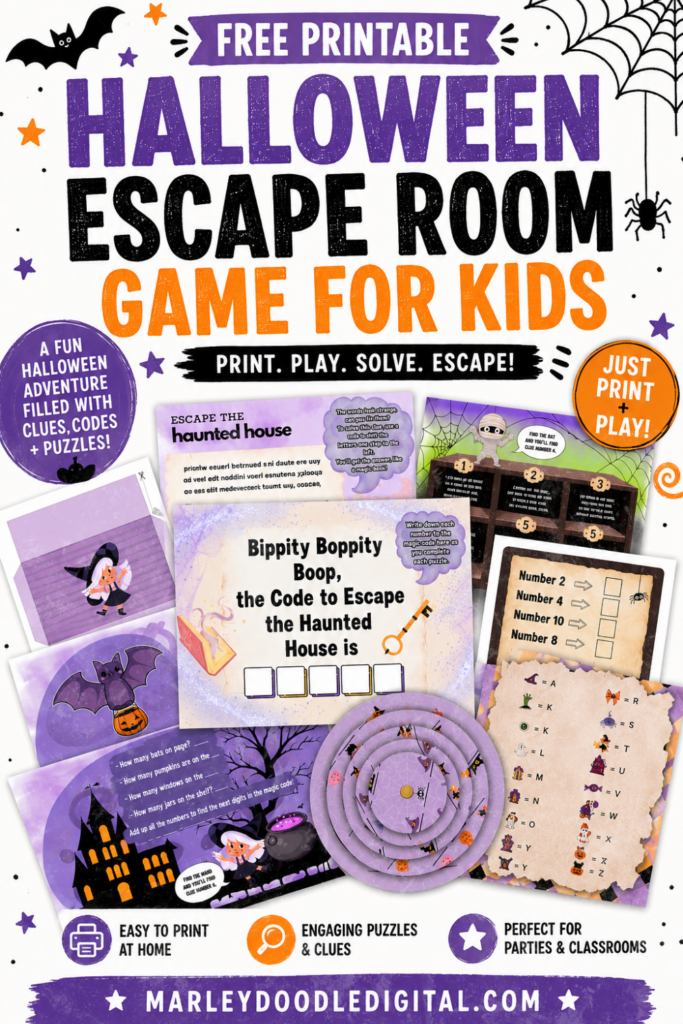
That mirrored page sets up the premise and sends players hunting for the first character. From there, the game unfolds through four hidden envelopes, each one guarded by a different Halloween character, each one holding a clue and a puzzle that reveals part of the magic code.
The Skeleton has gotten himself into a mix-up, and his words have come apart. Players unscramble them, then notice that certain circled letters are trying to tell them something. That’s the first digit.
The Witch is brewing a potion and needs help with her ingredients. This one’s a jigsaw, with actual cut-apart puzzle pieces that players assemble to reveal a picture, followed by a set of counting riddles that add up to the next two digits. (How many legs does a spider have? How many eyes does a cyclops have?) It’s the puzzle that plays best with a group, because everyone can grab a piece.
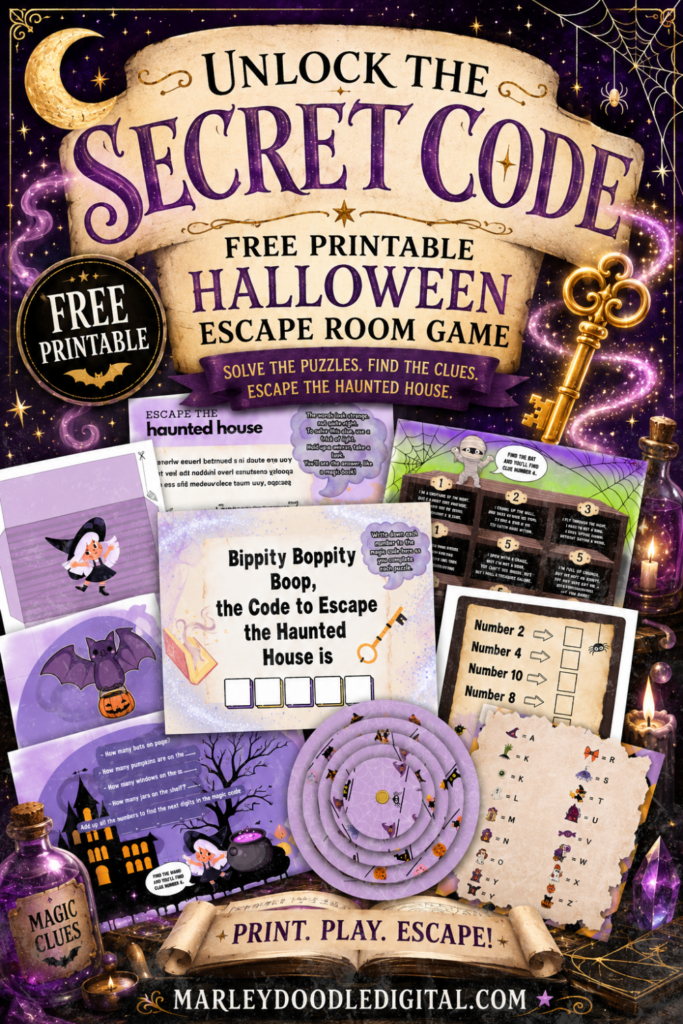
The Mummy has a problem: all the Halloween characters have fallen off their shelves. Nine riddles, nine characters, nine spots to put them back. Solve the riddles, restore the shelf, and a hidden message appears in the vertical boxes. That’s the fourth digit.
The Bat guards the last one, and it’s the showstopper. Players assemble a working spinning cipher wheel with a paper fastener, line up the wheel, use the alphabet key, and decode a secret message that hands over the final digit.
Once all five digits are written down, players get the final envelope with the solution card inside. That’s the moment. Either they nailed it or they’re diving back into the puzzles to find where they went wrong, and honestly both outcomes are fun to watch.
The whole thing runs 20 pages for the game itself, plus a separate 8-page solutions and instructions guide for whoever’s running it.
What You Need to Set It Up
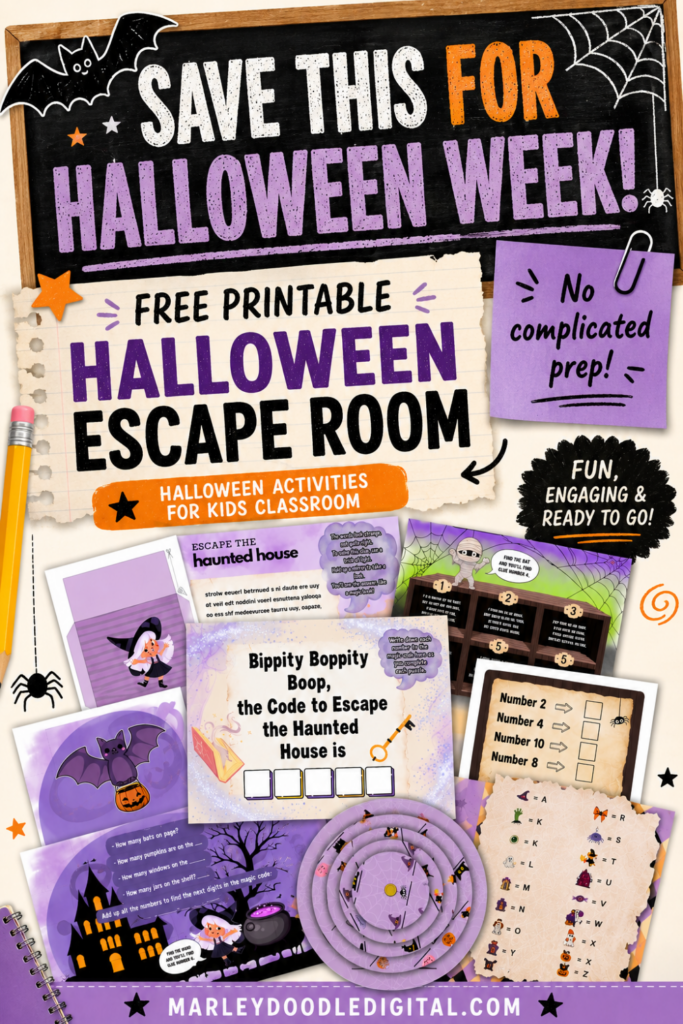
The materials list is short and you probably have most of it already:
- Color printer and paper
- Scissors
- Glue
- Pen or pencil
- Split pins / paper fasteners (for the spinning wheel)
- Cardboard (optional, but see the tip below)
One genuinely useful tip from the instructions: when you’re punching the hole for the cipher wheel, put a piece of cardboard down first, stack your wheel pages on top, and push the pen through into the cardboard. It keeps the pages from wrinkling and buckling, which matters because the wheel needs to spin smoothly. This is the kind of thing you only learn by doing it badly once.
Everything that needs cutting is marked with a little scissor icon on the page, so you’re not squinting at the design trying to guess.
How to Set Up Your Halloween Escape Room, Step by Step
Prep takes about twenty to thirty minutes, mostly cutting and gluing.
1. Print everything. All 20 game pages in color. The solutions guide you can either print or just keep open on your phone while you run the game.
2. Cut out everything marked with a scissor icon. This includes the envelope templates, the witch’s puzzle pieces, the Halloween characters for the mummy’s shelf, and the cipher wheel pieces.
3. Glue the envelopes together. There’s one for each character (skeleton, witch, mummy, bat) plus a final envelope for the solution card.
4. Build the spinning wheel with your split pin, using the cardboard trick above.
5. Load the envelopes:
- Clue #1 goes in the skeleton envelope. The word scramble page hides nearby.
- Clue #2 and the cut-apart puzzle pieces go in the witch envelope. Set the grid-lined page near it so players have a surface to assemble on.
- Clue #3 and the Halloween characters go in the mummy envelope. The shelf page and letter puzzle page hide close by.
- Clue #4 goes in the bat envelope, with the spinning wheel and alphabet key stashed near it.
6. Hide each envelope in its spot around the room, with its companion pages either underneath or close enough to spot.
7. Hold back the final envelope. This is the one with the solution card. Players only get it after they’ve completed every puzzle and written down their full code. Handing it over early ruins the ending.
8. Give players the first two pages, meaning the mirrored story page and the code-recording sheet, and then step back.
Where to Hide the Envelopes
You want them findable but not obvious. Things that work well:
Taped under a chair or the underside of a table. Behind a couch cushion. Inside a decorative pumpkin. Tucked into a bookshelf at kid eye-level. Under a doormat. Inside an unused cereal bowl in a low cabinet. Behind a framed photo.
Things that don’t work: anywhere requiring a step stool, anywhere near an actual hazard, and anywhere you’ll forget you put it. (Write yourself a list. Ask me how I know.)
If you’ve got a mix of ages, hide the earlier clues lower and easier, and save the trickier hiding spots for clues three and four.
Halloween Escape Room for Kids vs. Teens
This game hits a wide age range, but it plays differently depending on who’s holding the clues.
Ages 6 to 8 will need an adult reading the riddles aloud and probably some help with the cipher wheel. The word scramble and the jigsaw are the sweet spots for this group. Plan on it being a together activity rather than a hands-off one.
Ages 9 to 12 is the bullseye. This is the age that can run the whole thing independently, argue productively about the riddles, and get genuinely triumphant about the cipher wheel. Expect 45 minutes to an hour.
Teens will move faster, probably 25 to 35 minutes, so if you’re running this for a teen Halloween party, make it a race. Print two or three sets, split into teams, hide each team’s envelopes in a different room, and start a timer. Competition does the work that difficulty would otherwise have to do.
The cipher wheel is the puzzle that lands with every age. There’s something about a physical decoder that feels like real spy business, and even the too-cool teenagers put their phones down for it.
Using It as a Halloween Class Party Game
If you’re a teacher or the room parent who got voluntold for the Halloween party, this solves your whole afternoon.
Run it as stations. Print four sets, set up four corners of the classroom, and rotate small groups through. Each group works one character’s puzzle, then rotates. It keeps everyone moving, and it means you don’t need twenty-four copies of everything.
Or run it as a team race. Split the class into groups of four or five, give each team a full set, and see who cracks the code first. Small prize for the winners, participation candy for everyone.
The academic cover story is real, too, if you need one for an administrator. The word scramble is spelling practice, the witch’s puzzle is addition, the riddles are inference and figurative language, and the cipher wheel is straight-up pattern recognition and early cryptography. It’s a Halloween party that quietly does some work.
Best grades for a classroom run: 3rd through 6th. Below that you’ll want an adult at each station.
How to Make It Feel Like a Real Escape Room
The printable does the heavy lifting, but atmosphere is what turns a worksheet into an experience. A few cheap moves:
Set a timer and put it somewhere visible. Nothing raises stakes like a countdown. Forty-five minutes is right for most groups, thirty for teens.
Kill the overhead lights and hand out flashlights. Instantly ten times spookier, and it makes hunting for envelopes genuinely challenging.
Put on a soundtrack. A creepy ambience playlist with creaking doors, distant wind, and a music box running quietly in the background changes everything.
Give a briefing in character. Thirty seconds of “you’ve been trapped in the haunted house and the only way out is the magic code” before you hand over the first page. Commit to the bit.
Have a hint system. Three hint tokens per team, redeemable when they’re truly stuck. It prevents the frustration spiral and gives you a graceful way to nudge them without just handing over answers.
Frequently Asked Questions
How long does the game take to play? Most groups finish in 45 minutes to an hour. Teens tend to run faster, around 25 to 35 minutes. Younger kids with adult help can stretch to 75 minutes.
How many people can play? It works for one player up to a group of about six on a single set. For larger groups, print multiple sets and run teams in parallel.
How long does setup take? Around 20 to 30 minutes the first time, mostly cutting and gluing. Once it’s assembled, you can reuse it. Store the pieces in their envelopes and it’s ready to go again next year.
Do I need a color printer? Yes, color is recommended. The characters and envelope designs carry a lot of the atmosphere, and the puzzle pieces are easier to work with in color.
Is it scary? No. It’s spooky-cute, with friendly skeletons, a potion-brewing witch, and a cartoon mummy. No gore, no jump scares. Fine for sensitive kids.
Can it be reused? Absolutely. Store everything back in its envelopes after playing. The only thing you may want to reprint is the code-recording sheet, since players write on it.
What if my kid gets stuck? The solutions guide walks through every puzzle in order, so you can give a nudge on exactly the right step without giving away the whole answer. Keep it on your phone during gameplay.
Whether it’s a class party, a family game night, a sleepover, or a rainy October Saturday where nobody can agree on anything, hand them the mirrored page and watch what happens.
Ready to Print Your Halloween Escape Room?
Escape the Haunted House comes as an instant-download printable with 20 game pages plus the full 8-page solutions and instructions guide.